Halloween Cuisine: 6 Iconic Recipes & Photography Tips
Who doesn’t want to have a little Halloween bash? Our blog is no exception. On the eve of the holiday, we put on a cookbook “costume” and imagine ourselves as chefs claiming Michelin stars. Whether we succeeded is up to you—at least we are sure to have shown holiday beverages in a mouth-watering way.
Ready to kill two birds with one stone? Let’s master 6 traditional Halloween recipes and learn how to capture your culinary achievements before hungry guests make them disappear!
6 iconic Halloween meals & Tips to cook and shoot them
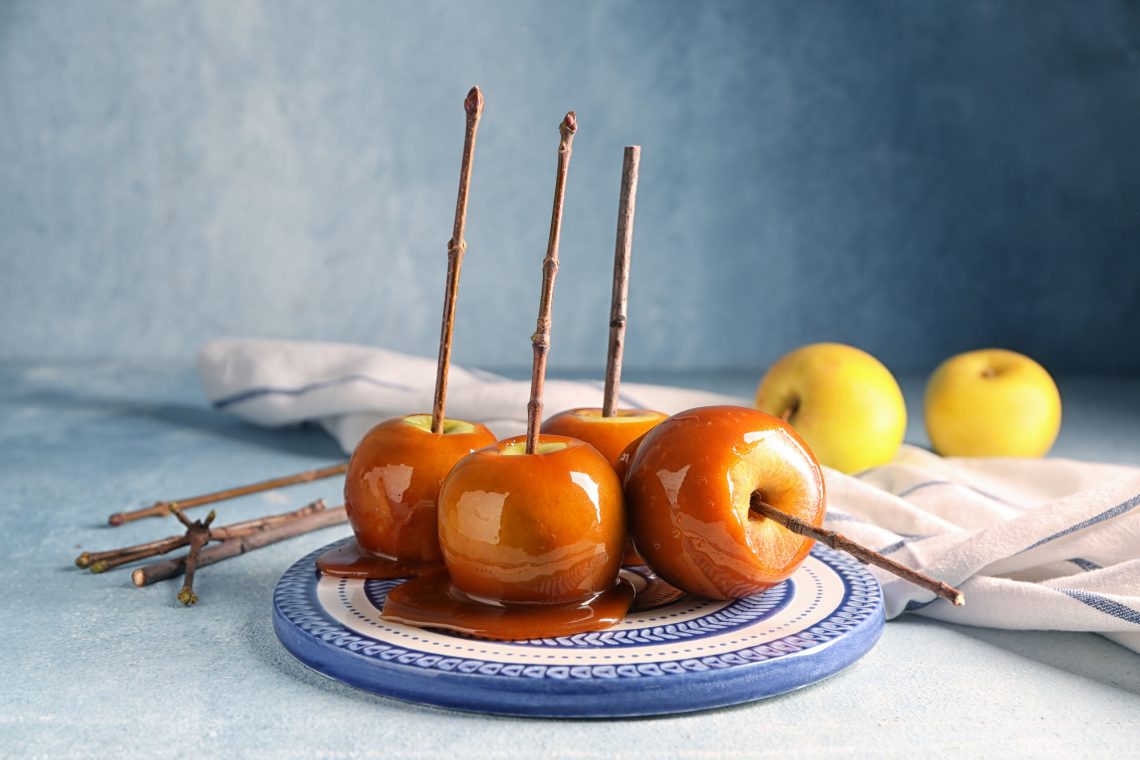
1. Caramel apples
90 min—Easy—Makes 10 items
What you need:
Brown sugar — 440 g
Tart apples — 10
Sweetened condensed milk — 400 g
Corn syrup — 330 g
Butter — 250 ml
Vanilla and other spices
Food dyes
Toppings
Chopsticks for handles
How to cook:
Boil water in a large saucepan and add your apples for a bit. Take them out and remove the wax, then dry and cool them. Put apples on sticks.
Mix sugar, corn syrup, condensed milk, and butter in a saucepan and put in over medium-high heat. Let ingredients stir constantly and reduce heat to medium. Keep your caramel stirring for up to 30 minutes over light heat.
Turn the heat off and add spices to the caramel. Dip apples into the saucepan and use a spoon to evenly distribute the caramel over them. Add decorations and toppings and leave caramel apples for an hour to cool.
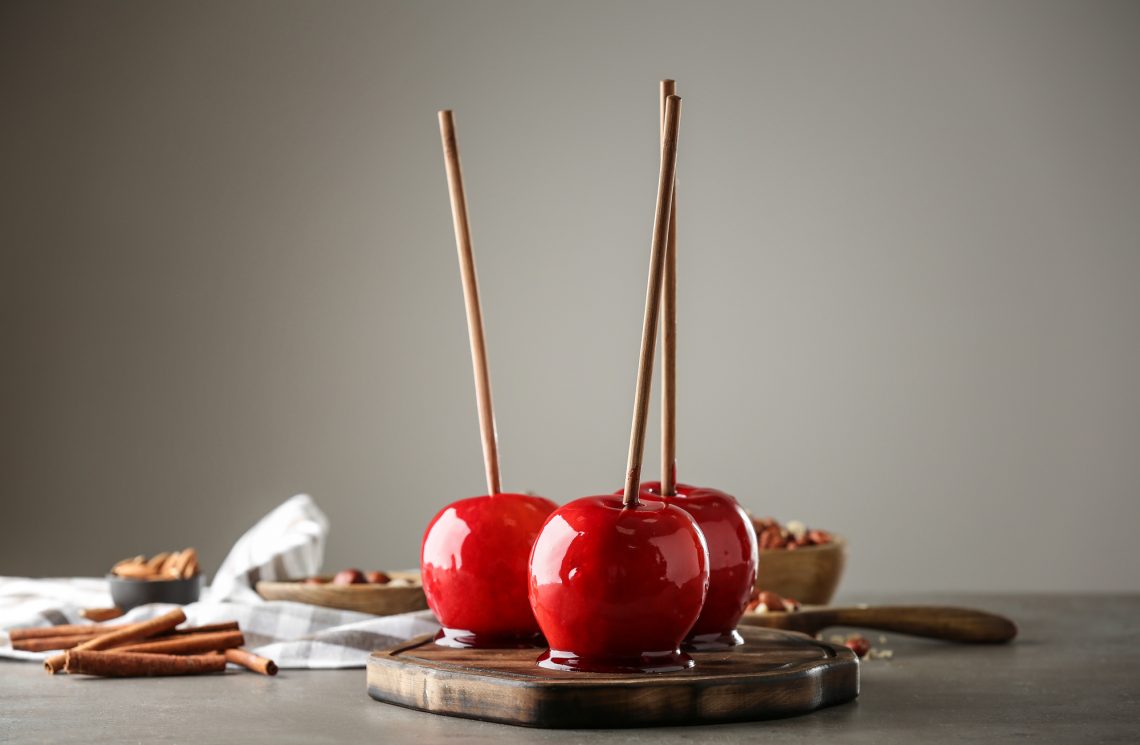
Photography idea to practice: Play with lighting.
Caramel apples are round, smooth, and shiny. And these qualities can make photos of them appetizing and atmospheric. Use different types of light to bring out the texture of this dish: natural daylight, light boxes, or candles.
Natural light works best with food. Moreover, you can easily modify it at home using sheets of white paper on the right side. Locate your apples on the window and try close-ups for better results. And avoid using direct light.
More on this topic — 10 Fun and Useful Food Photography Tips and Tricks.
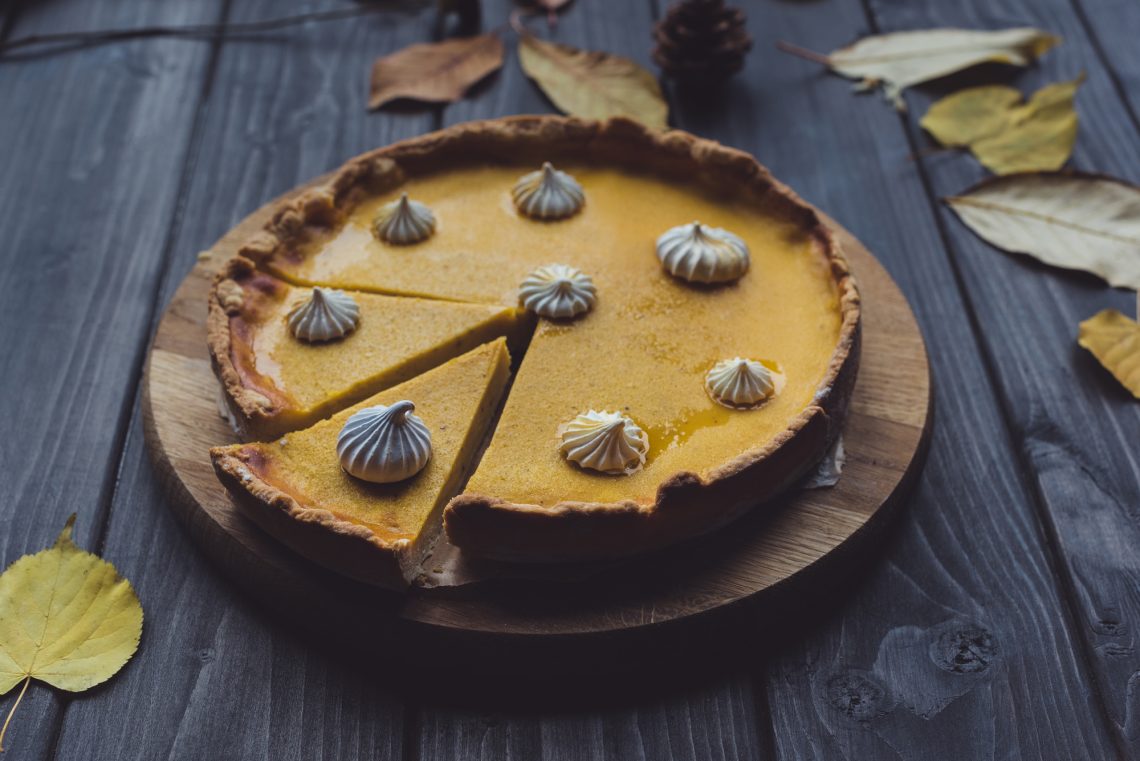
2. Pumpkin pie.
180 min—Easy—1 cake
What you need:
Refrigerated pie dough — 250 g
Brown sugar — 0.5 cup
Salt — 0.25 teaspoon
Condensed milk — 1.5 cups
Eggs — 3
Pumpkin puree — 400 g
Ginger, cinnamon, vanilla, and nutmeg
Whipping cream
How to cook:
Start with blind baking a pie crust. Grease a pie plate with butter, put your ready-made dough onto it, and pull it over its surface. In order for the dough to take the required shape, use pie weights (rounded pieces of ceramic to weigh down your crust) on parchment.
Preheat your oven to 220°C, then slide a weighted pie plate in. Bake the crust for 15 minutes, remove the pie weight, and bake it until the crust gets dry (up to 10 minutes).
Take your pumpkin puree. Add eggs, spices, sugar, salt, and condensed milk. Whip your filling and pour it onto your crust. Preheat the oven to 220°C and bake the pie for 15 minutes. Then, reduce the temperature to 180°C and bake for another 40 minutes.
Decorate the cooled pie with whipping cream.
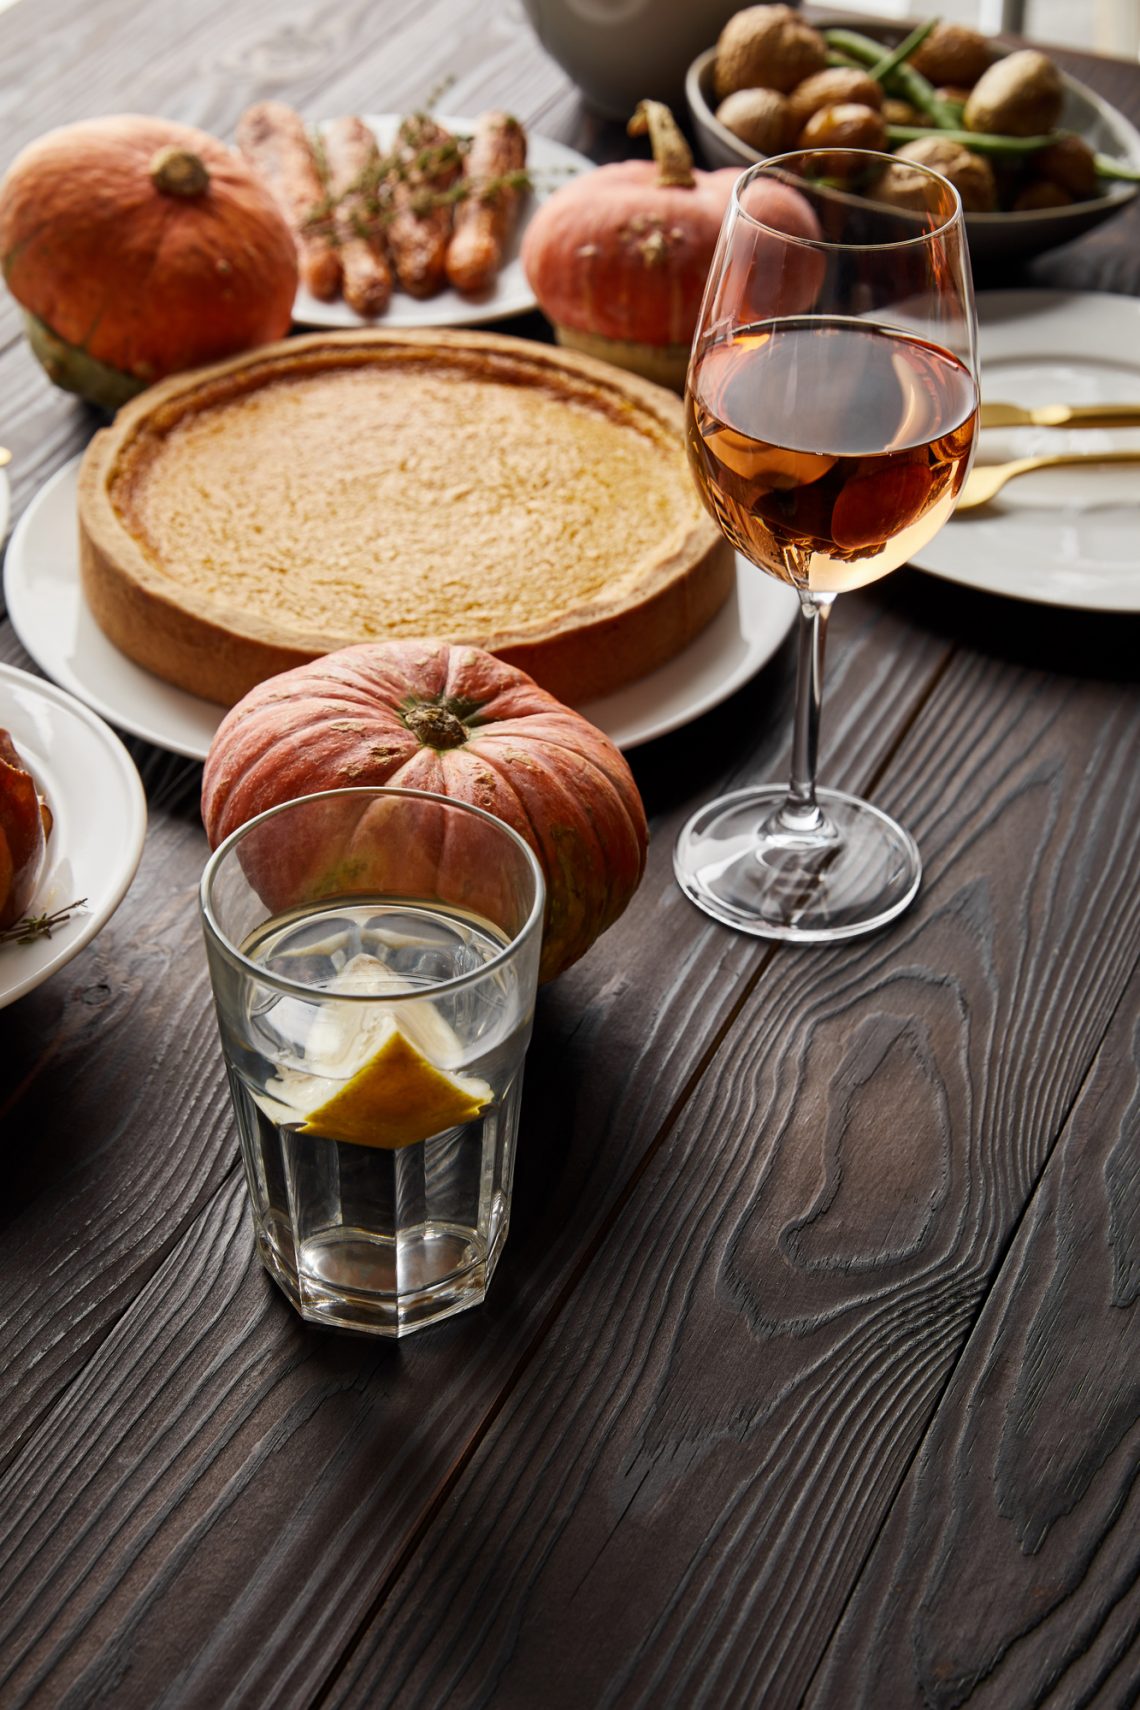
Photography idea to practice: Composition-based storytelling.
Ask yourself what the most unusual angle in which you can showcase your culinary creation is. Avoid flatlays and think original. Take some close-ups to show that your pie is unique and made by you; use grandma’s plate and capture the cake from below; show it from the angle of the fork on the table.
Master food photography with experts — Interview with a Self-Taught Food Photographer Marina Kuznetsova.
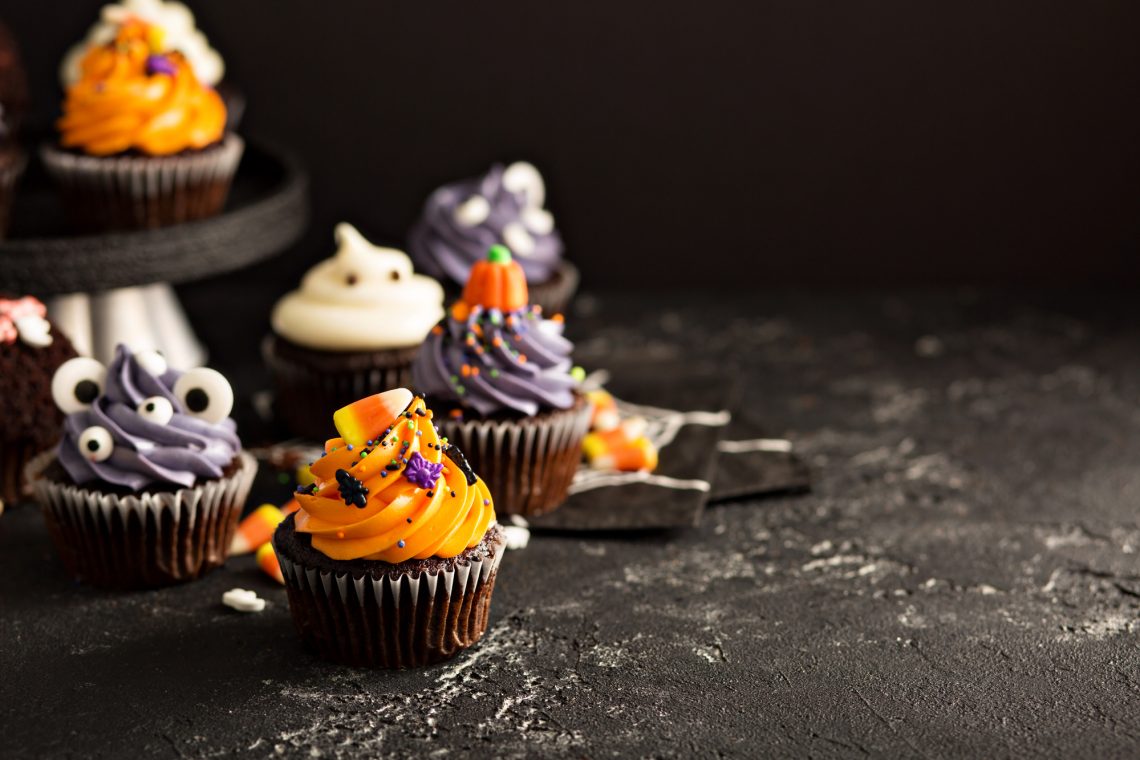
3. Halloween cupcakes.
40 min—Easy—Makes 12 cupcakes
What you need:
Cupcakes
Butter — 200 g, softened
Golden caster sugar — 200 g
Eggs — 3
Vanilla extract — 2 teaspoons
Self-raising flour (flour mixed with baking powder and salt) — 200 g
Milk — 2 tablespoons
Icing & Decoration
Butter — 160 g, softened
Powdered sugar — 300 g
Milk — 1 tablespoon
Vanilla extract — 1 teaspoon
Food dyes, dark icing pens, colored fondant icing, icing eyes, etc.
How to cook:
Mix butter and sugar until fluffy, then add eggs and vanilla and beat thoroughly. Add flour and milk last, and whip your batter with a whisk.
Preheat the oven to 180°C. Take tins for baking cupcakes and add liners. Fill the cases with your batter and put them in the oven for 25 minutes. Remove the cupcakes from the oven and leave them to cool.
To make the icing, mix butter, sugar, milk, and food dye with an electric whisk. In a couple of minutes, the icing will become fluffy. Spread icing on the cooled cupcakes and decorate them using icing pens.
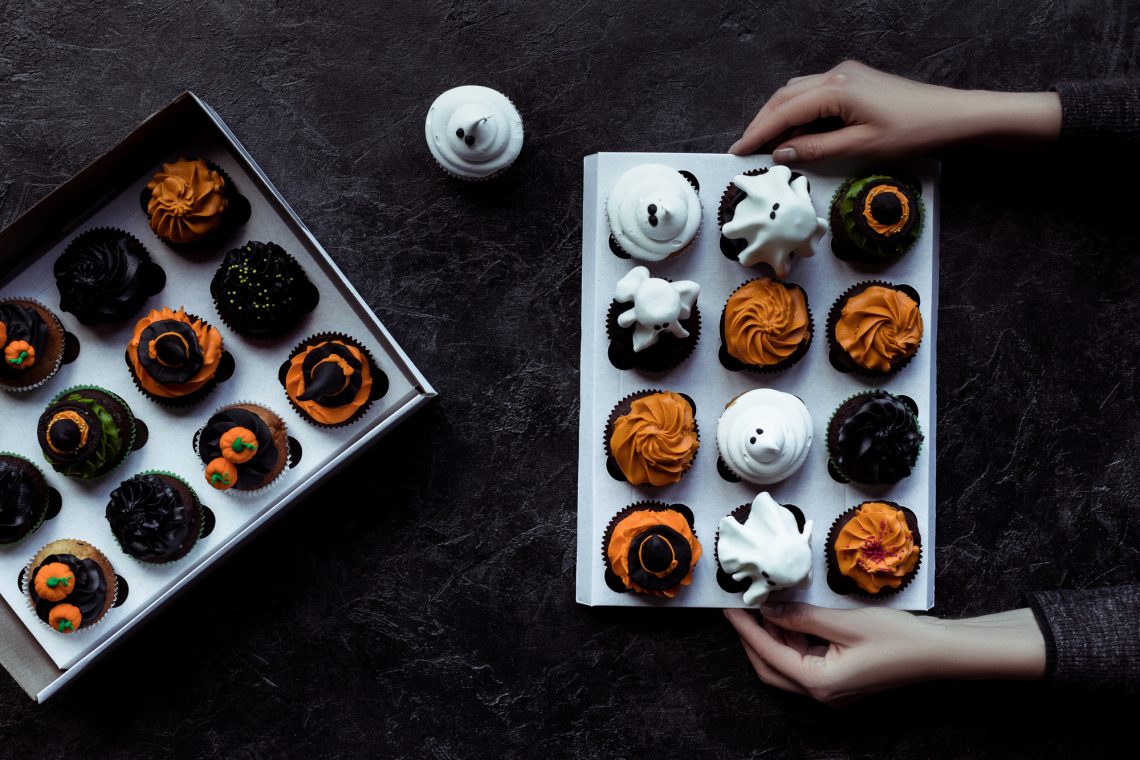
Photography idea to practice: Lines, squares, and layers.
How your festive cupcakes will look depends on the edible decor you used and your imagination. But what we know about your cupcakes for sure is that there will be many of them on the plate! In turn, this means that you will be able to try different positions of the same objects in the frame.
Lay out the cupcakes in lines or multiple layers on a large platter. Create or emphasize an existing pattern with items that you have in your holiday arsenal. Candle holders, beautiful thematic napkins, witches’ beads, and fortune-telling cards, all will come in handy.
Try two typical food photography angles: a flatlay, shoot from the front, or a low angle from above (25° and 75° angles). Use diffused warm light to make cakes look mouth-watering.
More tips and ideas here — What’s in demand: Top 5 Photos in the Food Category.
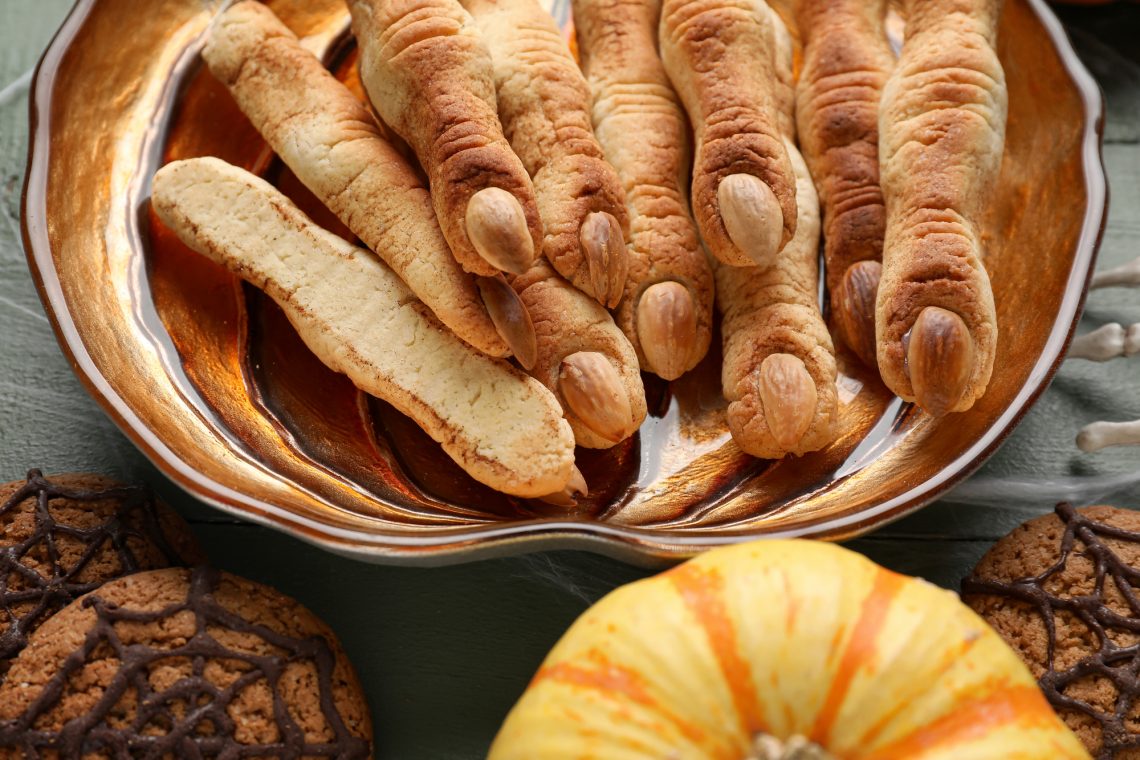
4. Monster Fingers.
40 min—Easy—8 items
What you need:
Butter — 3 ounces
Powdered sugar — 0.5 cup
Egg — 1
Vanilla extract — 1 teaspoon
Flour — 1 cup (128 g)
Salt — 0.25 teaspoon
Any red jam (cherry, strawberry, or raspberry)
Almonds or peanuts
How to cook:
Mix the softened butter with powdered sugar and then add an egg, vanilla, and salt. Mix them again and add the flour. Cover your dough with a kitchen towel and let it rest.
Preheat the oven to 180°C. Uncover the dough and divide it into pieces to form “monster fingers”. At the tip of each finger, stick in a nut to imitate a nail, and surround it with drops of jam to imitate splatters of congealed blood. Use the edge of a spoon or a knife to create relief on the surface of the “fingers”.
Bake the cookies for 20 minutes.
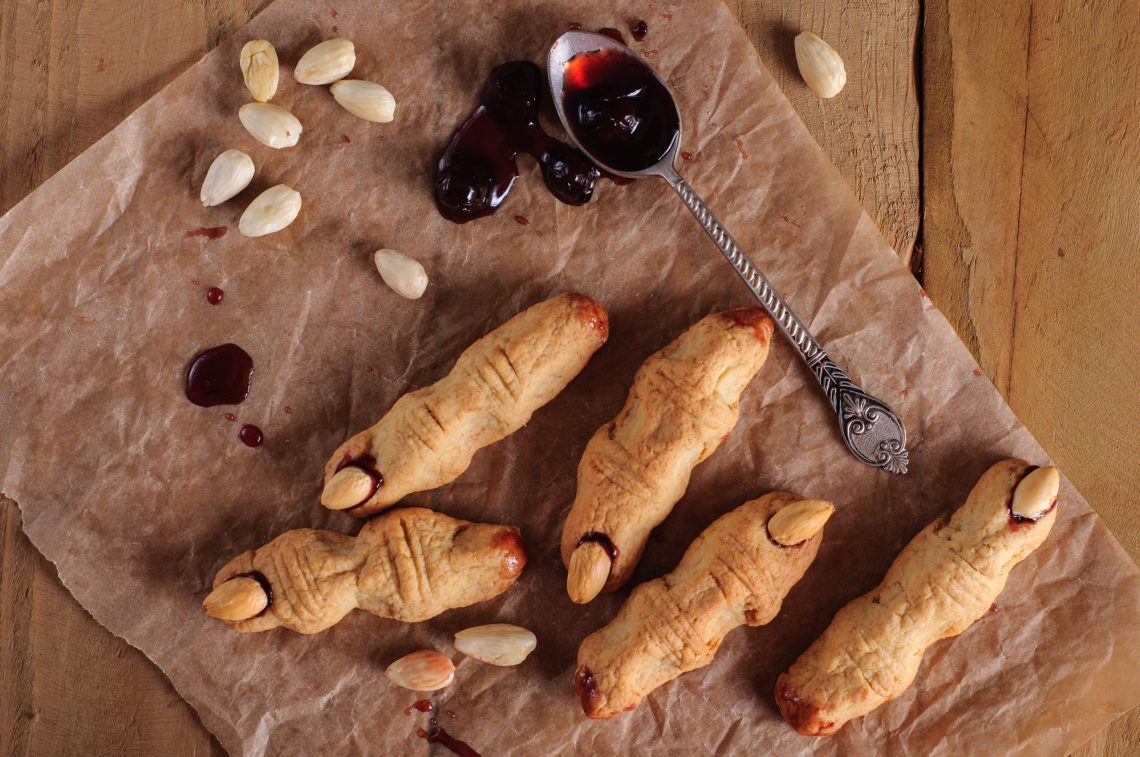
Photography idea to practice: Create a well-balanced palette.
If you’ve done everything right, the baked Monster Fingers will be a soft brown color and the sprigs of jam on them will turn dark red. Think about how you could develop this palette.
You have two options and each of them is worth shooting! Choose a visual setting based on the same colors and shades. For example, you can add ceramics, a glass of wine, and a linen tablecloth to the frame.
The second option is complimentary colors. Create a setting in which there are colors opposite to yours (blue and green). Do not forget about accents. Your meal is not bright, so create contrast using Halloween decor or guest hands. However, we suggest you use neutral tones as backdrops!
Need more inspiration? Here is a thematic selection of images — Featured Collection: Mouthwatering Autumn Cuisine Images.
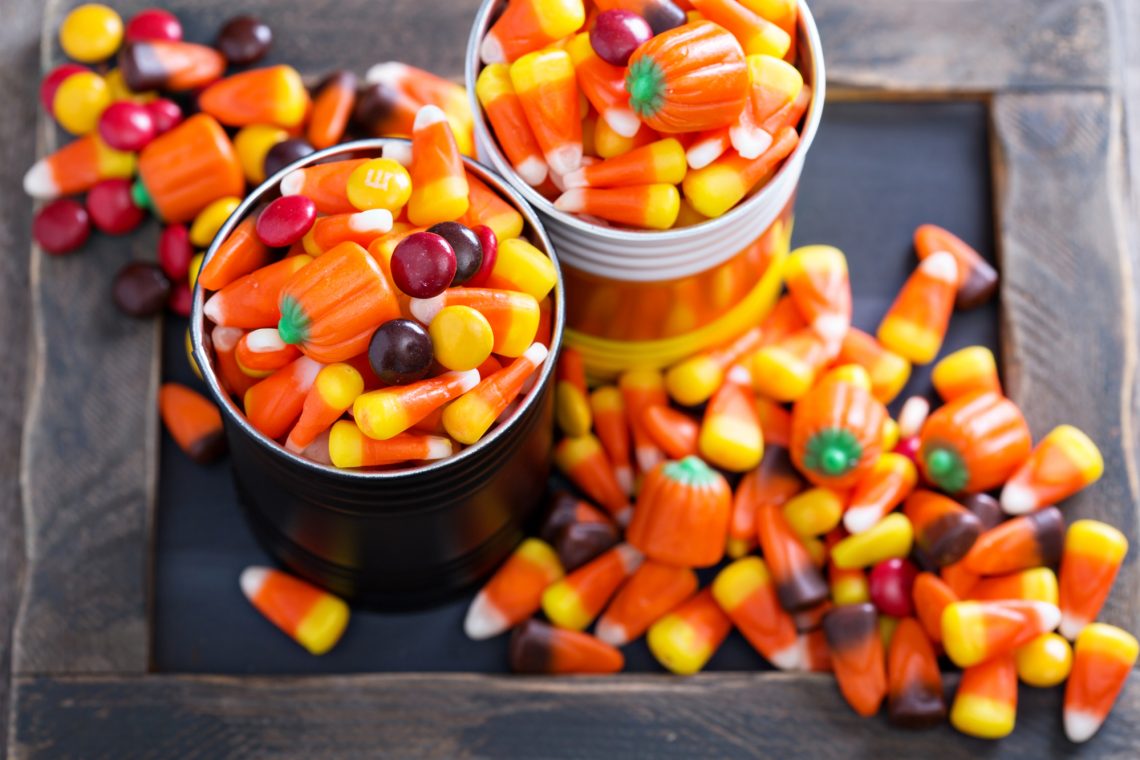
5. Candy corn.
120 min—Medium—70 items
What you need:
Confectioners’ sugar — 1.25 cups
Dry milk — 6.5 teaspoons
Salt — 0.25 teaspoon
Sugar — 100 g
Corn syrup — 0.3 cup
Butter — 2 tablespoons
Water — 5 tablespoons
Orange and yellow dyes
How to cook:
Combine sugar and corn syrup in a saucepan with water. Choose medium heat and cook the mixture for 5 minutes. Add the butter and bring the liquid to 120ºC (use a pot thermometer). Take the pan off the heat and add the powdered milk, salt, and confectioners’ sugar. Mix thoroughly.
Slowly stir the candy dough for 15 minutes while it cools. Place the dough on a silicone mat and wait until it is cool enough for you to handle.
Divide the dough into three balls and add dyes to two of them. Roll each piece of dough into a strand, put them together (classic order: white, orange, yellow), and press so that the edges of the strands stick together. After that, cut the candies into triangles and let them cool and dry for a couple of hours.
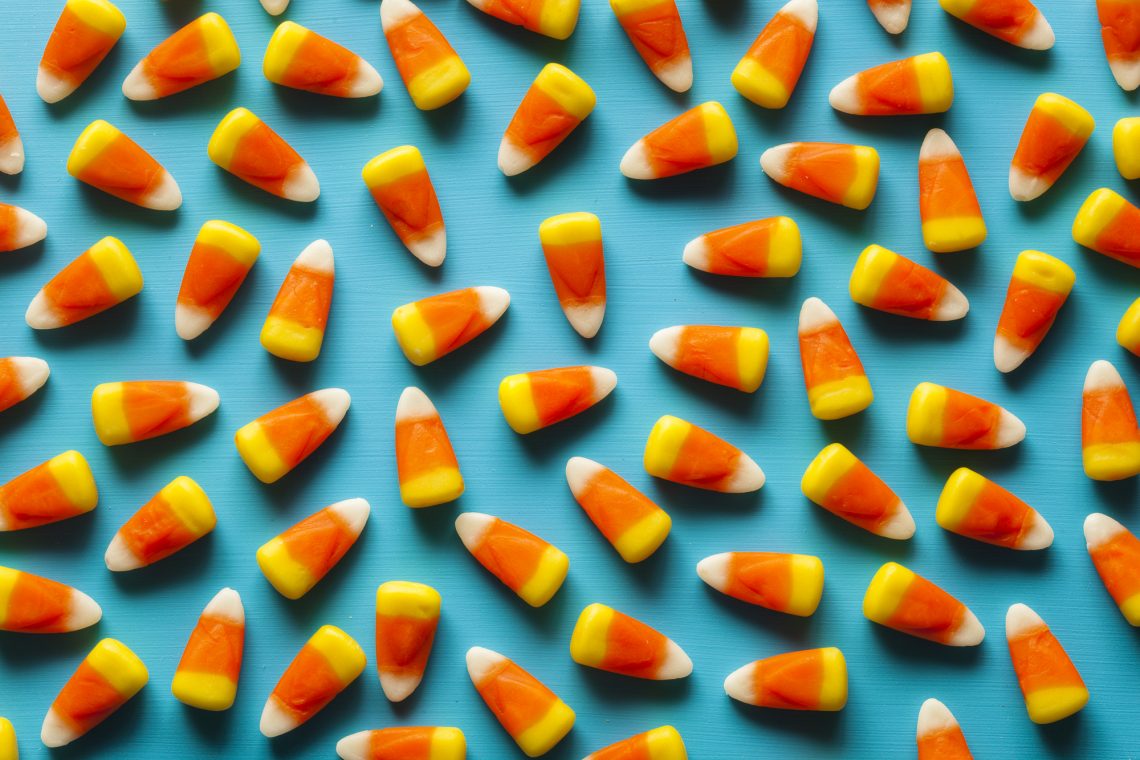
Photography idea to practice: Clear your background.
A background full of intriguing details adds to the atmosphere of a photo, but when it comes to food photography, minimalism can make it even more expressive and authentic. We recommend starting with simple plain backdrops. It is easiest to isolate Halloween food such as candy corn; they are brightly colored and that’s why they attract attention. In addition, they are easy to move and combine in the frame!
The second step is a minimalist background that hints at the season or holiday. In this case, textured black fabric or a simple but huge orange pumpkin in the background will work for you.
Finally, use your candies as a background pattern to reveal the holiday theme. Check out one more image collection for food enthusiasts to get inspired — Photo Collection: Guilty Pleasure Vs Healthy Food.
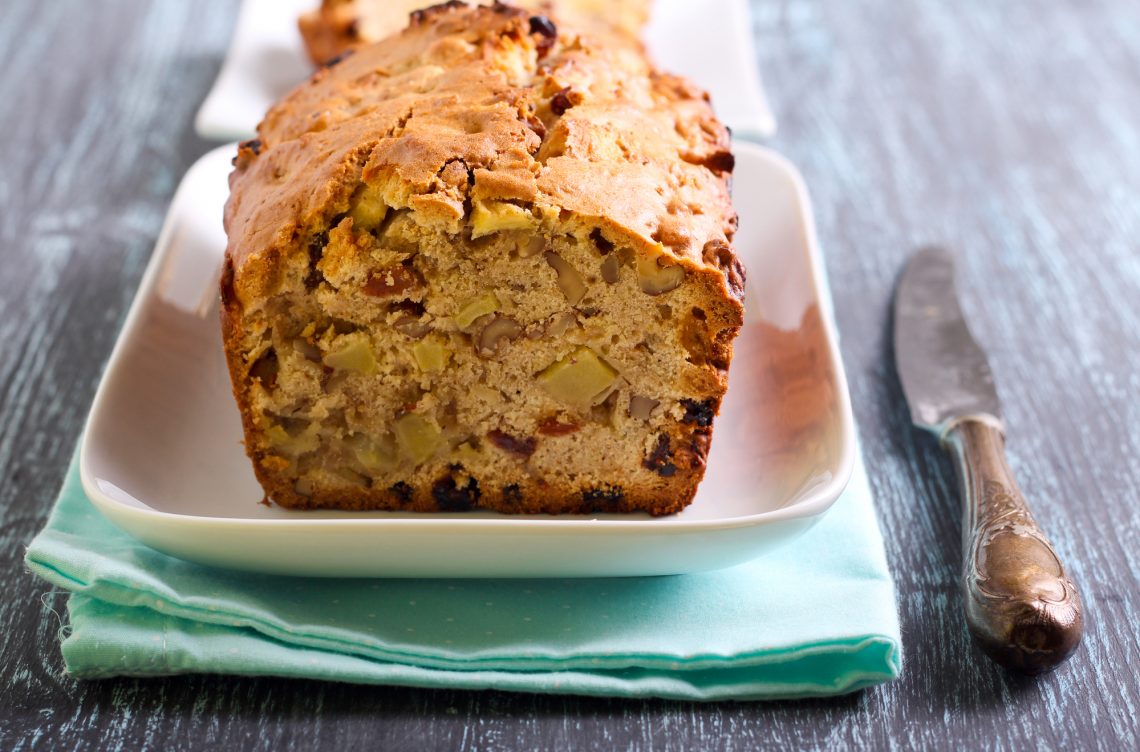
6. Apple bread.
50 min—Easy—1 cake
What you need:
Apples (Pink Lady, Gala, or Honeycrisp) — 2 big apples
Flour — 1.5 cups (200 g)
White sugar — 100 g
Brown sugar — 100 g
Butter — 120 g, melten
Eggs — 2
Vanilla extract — 1 teaspoon
Baking powder — 1 teaspoon
Baking soda — 0.5 teaspoon
Salt — 0.25 teaspoon
Ground cinnamon — 1.5 teaspoons
How to cook:
Grease a loaf pan with butter and sprinkle with flour. To make the swirl mixture, combine cinnamon and brown sugar.
In a large bowl, beat two eggs with white sugar. Add melted butter and vanilla extract to the future dough. Mix flour, baking powder, and baking soda separately. Mix in the beaten eggs and the dry ingredient mixture.
Peel your apples, get rid of their pits and tails, and chop them into medium pieces. Fill your loaf pan with half the batter, then spread the apple pieces over it and cover them with the other half of the batter.
Spread your swirl mixture on top of the dough and place the loaf pan in the oven (180°C). Bake the apple pie for 35—45 minutes or until an inserted toothpick comes out clean.
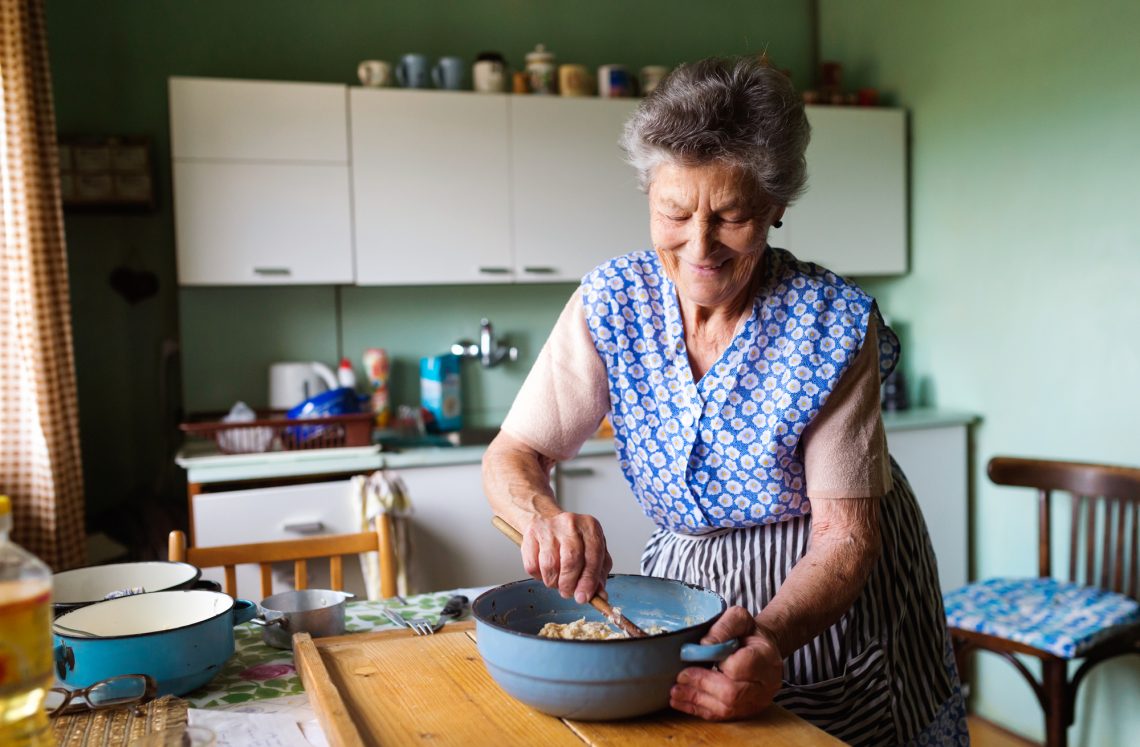
Photography idea to practice: Steam, hands, and sugar powder.
Food can look dramatic, comforting, and even inspiring. To achieve one of these effects, explore what happens during cooking with your camera. Often, photographing the process of preparing the dough, cooling the dish, and decorating it is even more interesting than ready-made apple bread served on the table.
This time, we suggest you invite a model or just ask your kitchen mate for assistance. Ask them to show their hands in the frame while mixing, decorating, or slicing apple bread. Dynamics will enhance your shot, so ask your model to dust the bread with powdered sugar or position the light so that the steam coming from the baked dough is clearly visible.
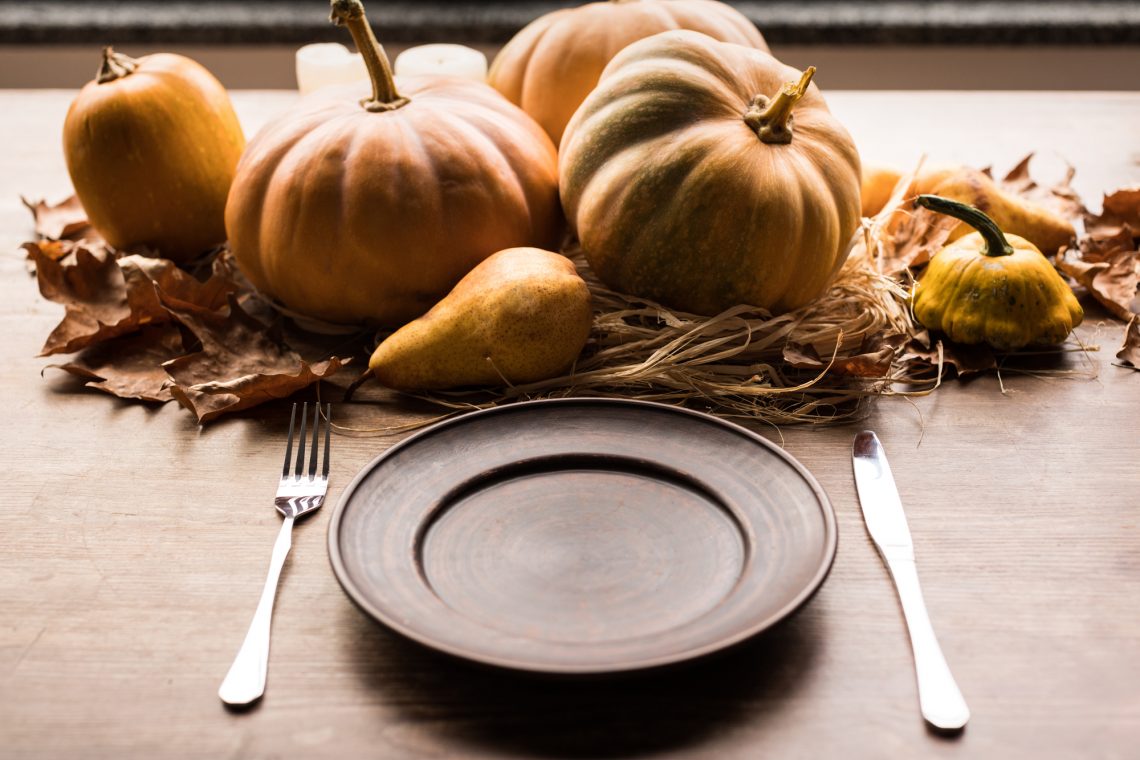
Photographers getting ready for Halloween: Things to keep in mind
Halloween is one of the most favorable holidays for stock photographers. First, brands in Europe and the USA always launch thematic campaigns and actively buy content for them. Second, the aesthetics of Halloween are well-known and barely change over the years. This means you can safely use last year’s props for a new photo shoot. Low investment, high profit!
Third, it’s a fun and colorful holiday that guarantees sincere smiles in your frames. In addition, you can combine cooking and partying with a photoshoot. And even if you process your photos after October 31, don’t be sad—they will still generate income every year.
Celebrate Halloween with thematic projects and activities:
Cheerful Ways to Get Ready for Halloween in 2021
Your Halloween Kit: Thematic Design Templates, Photo Collections, and Marketing Ideas
10 Short Scary Stories to Read This Halloween
40 Free Pumpkin Carving Stencils From Depositphotos
Depositphotos Halloween Video: Find Your Fears
