Diving Into Underwater Photography
Underwater photography reveals new opportunities for professional photographers. Almost everything, from wildlife shots to fashion photography, can be shot underwater. Yet, taking underwater pictures isn’t easy — it’s one of the most complicated tasks for an experienced photographer. Light, distance, temperature, and more aspects can influence the final result. Besides, you have to not only care about the beauty of your shots or the protection of your gear but, most importantly, your personal safety.
It can feel overwhelming if you’re just beginning to take aquatic shots. That is why we created a simple guide to help you improve your underwater photography skills or prepare you for your first photo dive.

Get Used to Water
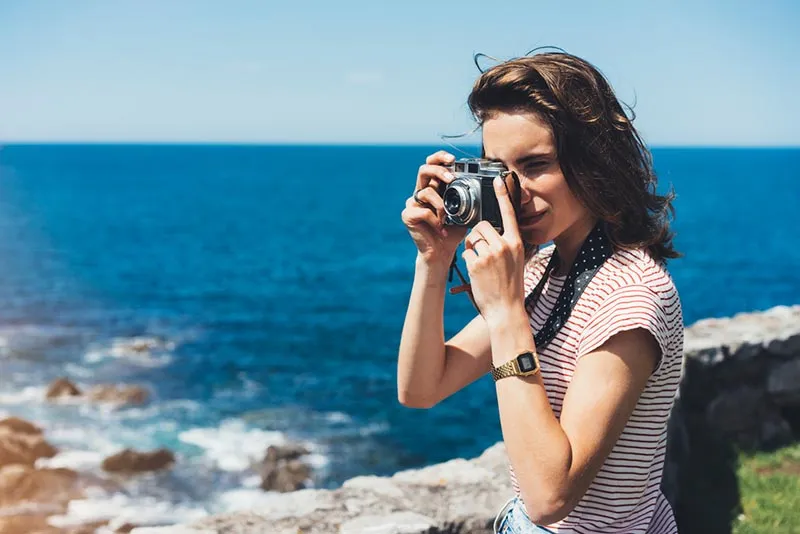
First and foremost, you need to get comfortable with water to take great pictures. For some of us, even swimming in the pool or snorkeling up to a meter below water can be challenging — you never know until you try. You don’t need a lot of skills if you’re in shallow waters or don’t plan to spend a lot of time underneath. Yet, when it comes to going deeper or even scuba diving, you’ll need some basic training to master your buoyancy and diving skills.
Understanding your swimming gear and handling it effortlessly is essential so that you can concentrate on your pictures instead of the technicalities of shooting. But don’t get too absorbed by the photography; you still need to constantly check the depth, diving time, and remaining air. Steady hands are another key to excellent underwater photos, so practice different breathing methods for motion control and learn how to use your surroundings for balance.
Understand Your Equipment
While you may need a wetsuit, your gear also needs the right outfit for diving. But if you give it proper housing, you can use almost any camera underwater. You can go simple with only a camera, or take things seriously and take several cameras with lenses and strobes. The equipment list depends on the depth of your dive and the particular results you want to achieve.
You can choose buoyant or non-buoyant housing, it depends on your needs. For shallow water and close-to-surface shots, buoyant housing is a perfect option. Yet, if you’re planning a deep dive for several meters, you’ll need non-buoyant housing so your camera can sink with you. Either way, you have to adjust everything before diving underwater.
Adjust Your Settings
You’ll have other things to think about underwater, so ensure you set up all the proper settings beforehand. Besides, adjusting your camera is uncomfortable once you’re diving. These types of photos require specific adjustments, so test your camera in different modes, inside the housing, and with flash or strobe to see the possibilities and results of various lighting.
Shooting with natural light has its challenges, since light behaves differently underwater. In many cases, downwards shots can turn out too dark, while upwards shots — too bright. If you decide to use only natural light, avoid under- or overexposing by setting aperture priority mode on your camera. You can also set a high ISO and a fast shutter speed to prevent any blur if you are not confident in your buoyancy. And, of course, don’t forget to set your camera to shoot in RAW.
Learn to Use Light
The deeper you go underwater, the less natural light there will be. If you are in shallow waters or close to the surface, the lighting might be enough, but the water may be a bit cloudy, so you’ll still need flash. But if you’re going scuba-dive down for several meters, you’ll definitely need a strobe or even two to brighten your photographic objects and get a high-quality image. In case you don’t have additional lighting and don’t plan to buy any, try shooting at noon when the sunlight is at its brightest.
Learning light behavior underwater can also help you understand how it affects different colors. The water absorbs the whole light spectrum, so don’t be surprised if your photos look dim. You can change this with additional lighting or during post production.
Get Closer to Objects
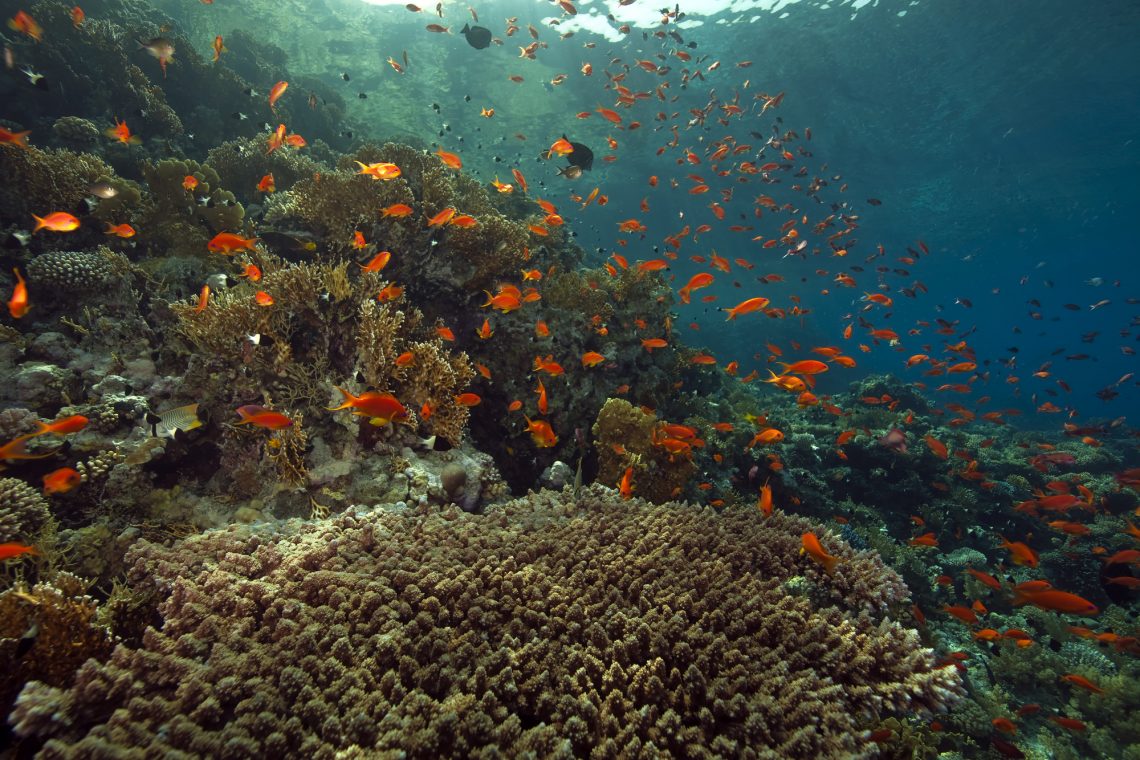
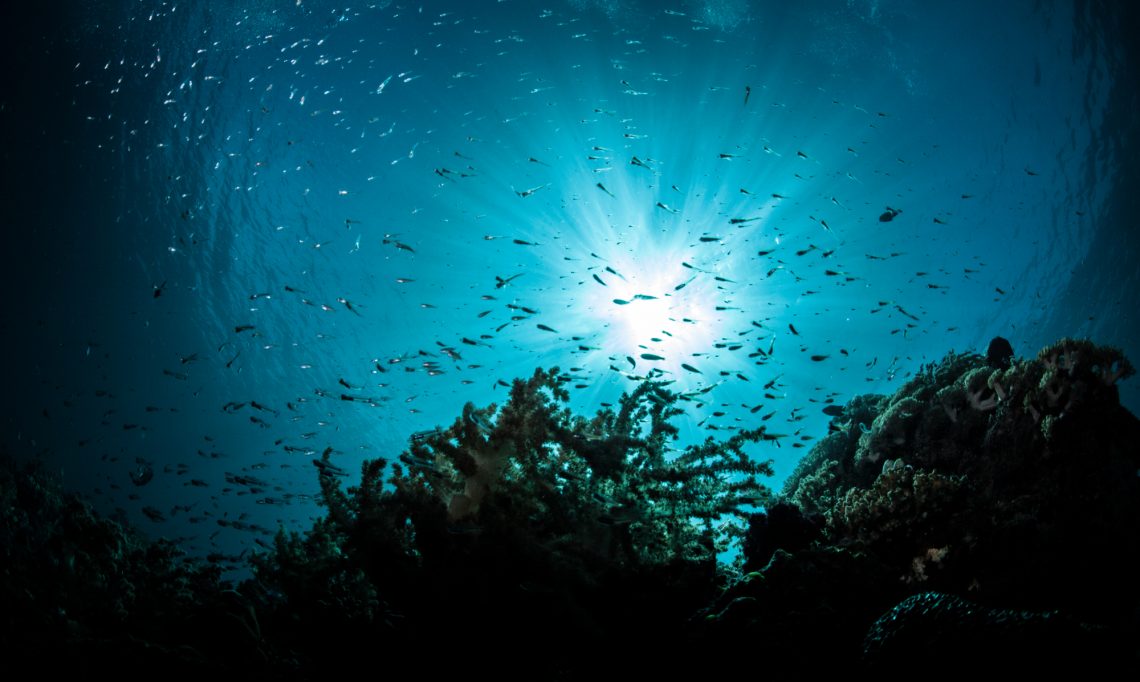
For better quality photos, you need to get closer to the subject — the closer, the better. It is not only about capturing small details and taking a sharp image, but also about dominant colors. Water is way denser than air, so the longer the light travels, the bluer the final image will be. The thing is, red is the first color to disappear in the spectrum, which is why blue dominates most underwater pictures, replacing all the other tones.
But be careful enough to not disturb your subject. Try to move slowly, so that you can reach touching distance to the subject and not scare it away.
5 Underwater Photographers to Follow
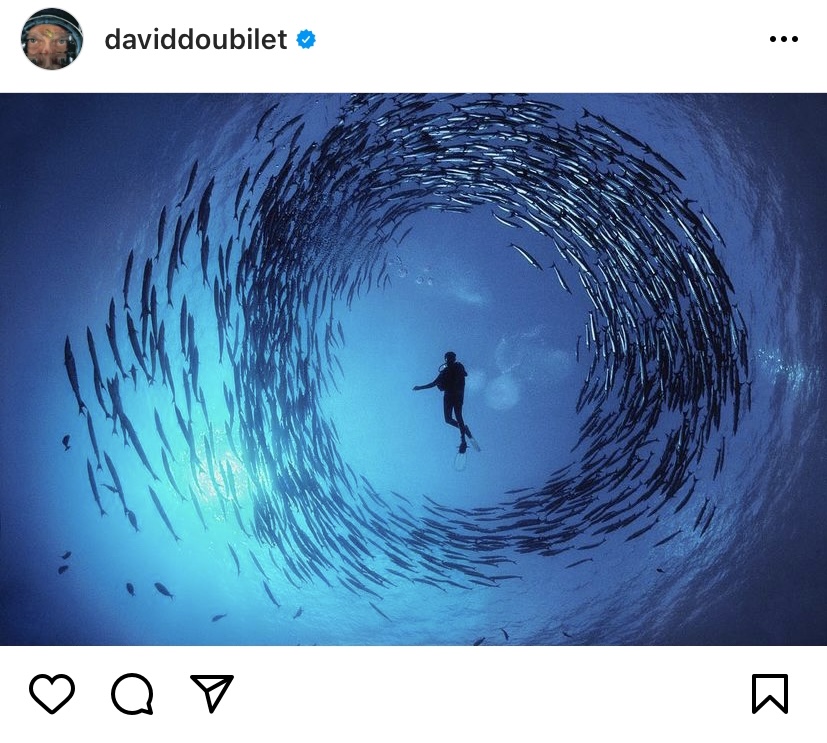
David Doubilet
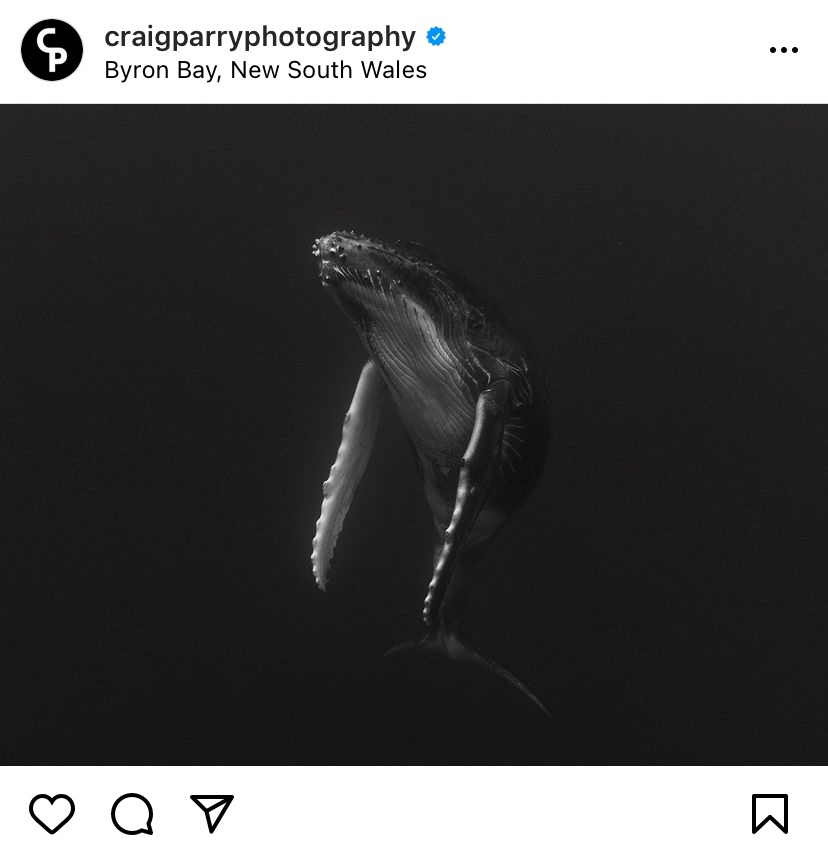
Craig Parry
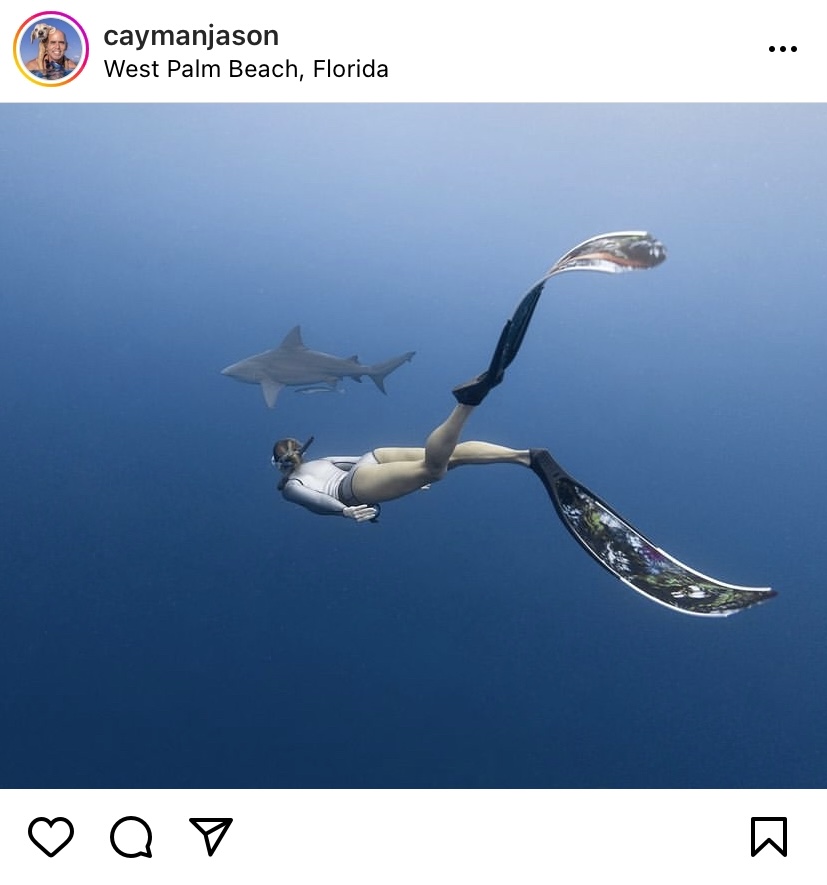
Jason Washington
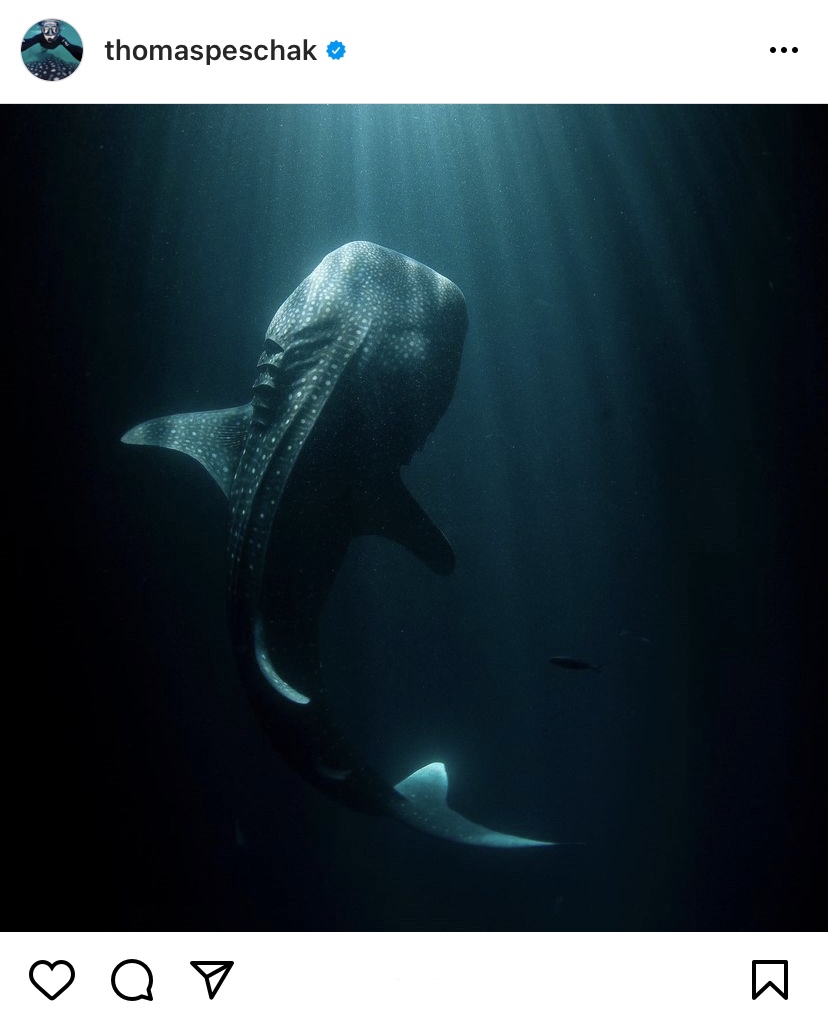
Thomas Peschak
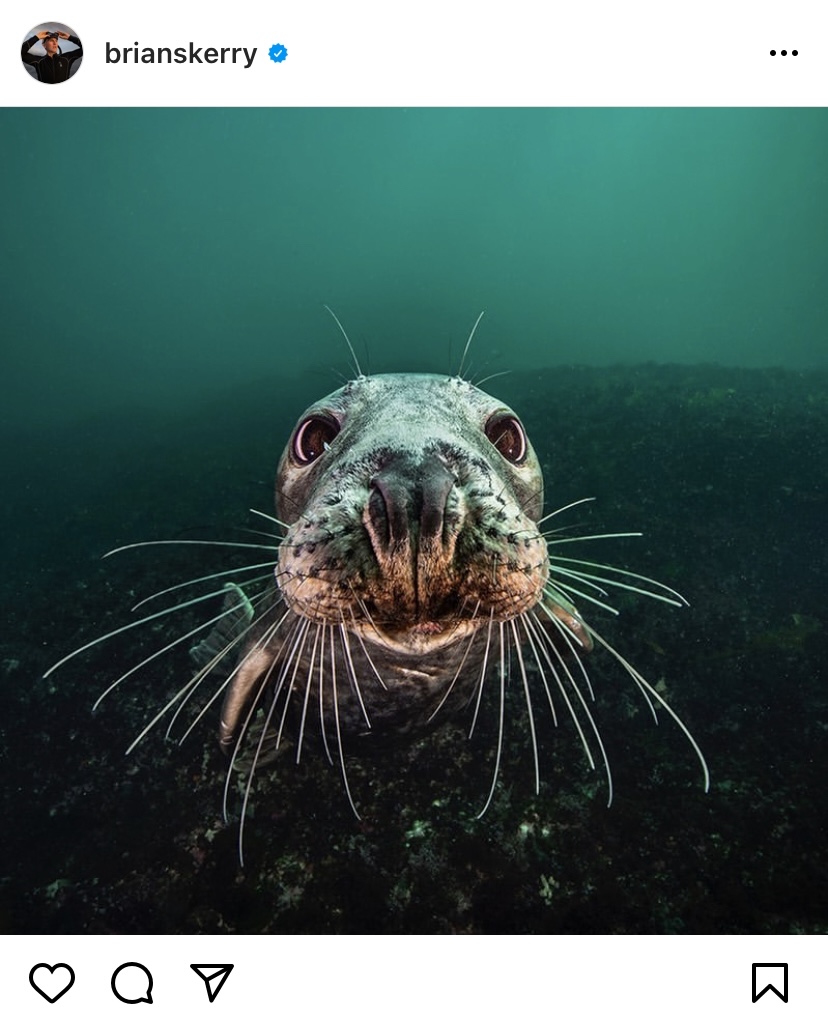
Brian Skerry
Wrap it up
Even the most ordinary objects will look different in water, so underwater photography is the way to go if you want to bring something new into your style or develop your photography skills. We’re not even talking about the entire aquatic world, which is full of mesmerizing creatures that are simply interesting to discover. Just remember to put your safety first and be respectful to the animals and environment you’re photographing.
Here are some other articles you may be interested in:
Wildlife Photography Guide: Useful Tips and Ultimate Destinations for Perfect Animal Pictures
Popular Travel Photography Tips and Trends