A Step-by-Step Guide to Organizing a Stock Photoshoot
Organizing a stock photoshoot is a complex process. You might have done it many times before but there’s always a chance that you could forget something and get anxious about it. However, planning a stock photoshoot is also an interesting and fun process and instead of stressing out and making last-minute decisions, you should enjoy the process knowing you’ve ticked every box.
To help you remember all the important things that go into organizing a stock photoshoot, we’ve created a detailed and useful checklist that you can always keep at hand.
Step 1. Decide on a theme
Choosing a theme for your shooting is the first but very important step that will help you make all the next decisions regarding photoshoot planning and preparation. You will look for location, models, props, and gear depending on your theme so take your time to research and decide on it.
If you’re already a contributor to a stock photography platform, you can start with analyzing your portfolio and setting a goal for your future photoshoot. What do you aim for? Would you like to diversify your portfolio with new themes and concepts or to add some new images within the topics you have already covered?
Once your goal is determined, you can choose whether you’ll opt for stock photography themes you can’t go wrong with like backgrounds or choose niche ones such as medicine and the internet of things.
Pro tip: If you settle for an unexplored theme, you’ll get a chance to occupy a less popular niche and with time and hard work, you can become a best-selling author.
Don’t ignore moodboards – they are helpful
When you have decided on a theme, try to look for inspiration on the internet. You can surf the Pinterest feed or any other alternative for it and create a moodboard for your photoshoot directly on the platform.
Your moodboard can include anything you would like to be a part of your future photoshoot. Makeup and outfit ideas, props, color solutions, and any other details that you think are important to remember. In addition, a moodboard will help you better communicate your idea to other people that are part of your team.
Step 2. Choose and scout the location
Finding time to visit your location before the shooting will help you decide on what gear and props you need. You’ll also get familiar with the lighting conditions there which are extremely important if you aim to take high-quality images.
You’ll have to set up the lighting for a studio photoshoot, while taking pictures outdoors will be much easier if you plan your session for a sunny day. Images taken during the blue or golden hours look particularly charming and allow you to experiment with natural light that will be changing literally every minute during sunrise or sunset.
You also need to scout the location keeping in mind the logistics. How will you get to the location? If you need a lot of props and gear for your photoshoot, it will be great to decide in advance what kind of vehicle to rent. You can also take pictures of your future location beforehand so you can remind yourself of every detail there as you plan.
Step 3. Find an assistant, models, and stylists
Whether you miss or proceed with Step 3 will depend on your theme and location. Not every photoshoot requires a team of assistants, models, and stylists. Sometimes, photographers can hold a photoshoot by themselves or only together with their models.
Thus, in the beginning, you should identify if you need other team members to help you with your photoshoot. If you’re planning a large-scale session, you’ll definitely need an assistant, models, and stylists to help you during the shooting and make your photography look more professional.
You can go to modeling agencies if you have a budget and aim to create professional shots. You can search for people posting ads on your Instagram and Facebook accounts or in photography communities as well. But if you plan to take authentic images, you can ask your friends and family to pose (if they don’t mind being included in your stock photography portfolio) and, thus, save money on recruiting staff.

Step 4. Create gear and photography shot lists
To ensure that your photoshoot runs smoothly, devote some time to paper (digital) work – create gear and photography shot lists. The first one is quite easy to do. Based on your theme, location, and lighting conditions there, write down a list of things you should not forget to take with you. It can be designed as a simple to-do list where you say that you should put in your gear backpack all the lenses you have, a tripod, as well as extra batteries.
However, creating a useful photography shot list requires more attention and time. It looks like a checklist of frames you’d like to capture and includes brief descriptions of your future images. A photography shot list is also a great tool to diversify your portfolio. It allows you to think about the angles and viewpoints in advance so when a shooting takes place, you don’t waste time on that.
To have a better idea of must-take pictures, you can also divide your shot list into sections and draw sketches. You can even include a rough overview of how a model should pose during a photoshoot.
Although a photography shot list is a crucial tool, you should leave some space for improvisation. Sometimes, when you’re immersed in the process, your gut can tell you if you should deviate from a shot list to capture some spontaneous but authentic photographs.
Step 5. Get release forms
Whether stock photography is a hobby or a full-time job for you, there’s one thing you should remember – ask your model to sign a release form.
A release form is a contract or an agreement that you sign with a model that gives photographers the right to use images with a specific person at his own discretion. The latter implies various activities such as sharing the images on social media, portfolio websites, exhibiting, printing, or selling them on stock photography platforms, for example.
In general, a release form includes the following information:
- a model’s full name
- a photographer’s full name
- shooting date
- model’s passport details
- signatures of both parties

In a release form, you can include a paragraph that would specify whether a model allows you to use all the images from a photoshoot or only particular shots.
Pay attention that even if you’re taking self-portraits and act both as a photographer and a model, you still need to sign a model release form to upload images to a stock photography platform like Depositphotos.
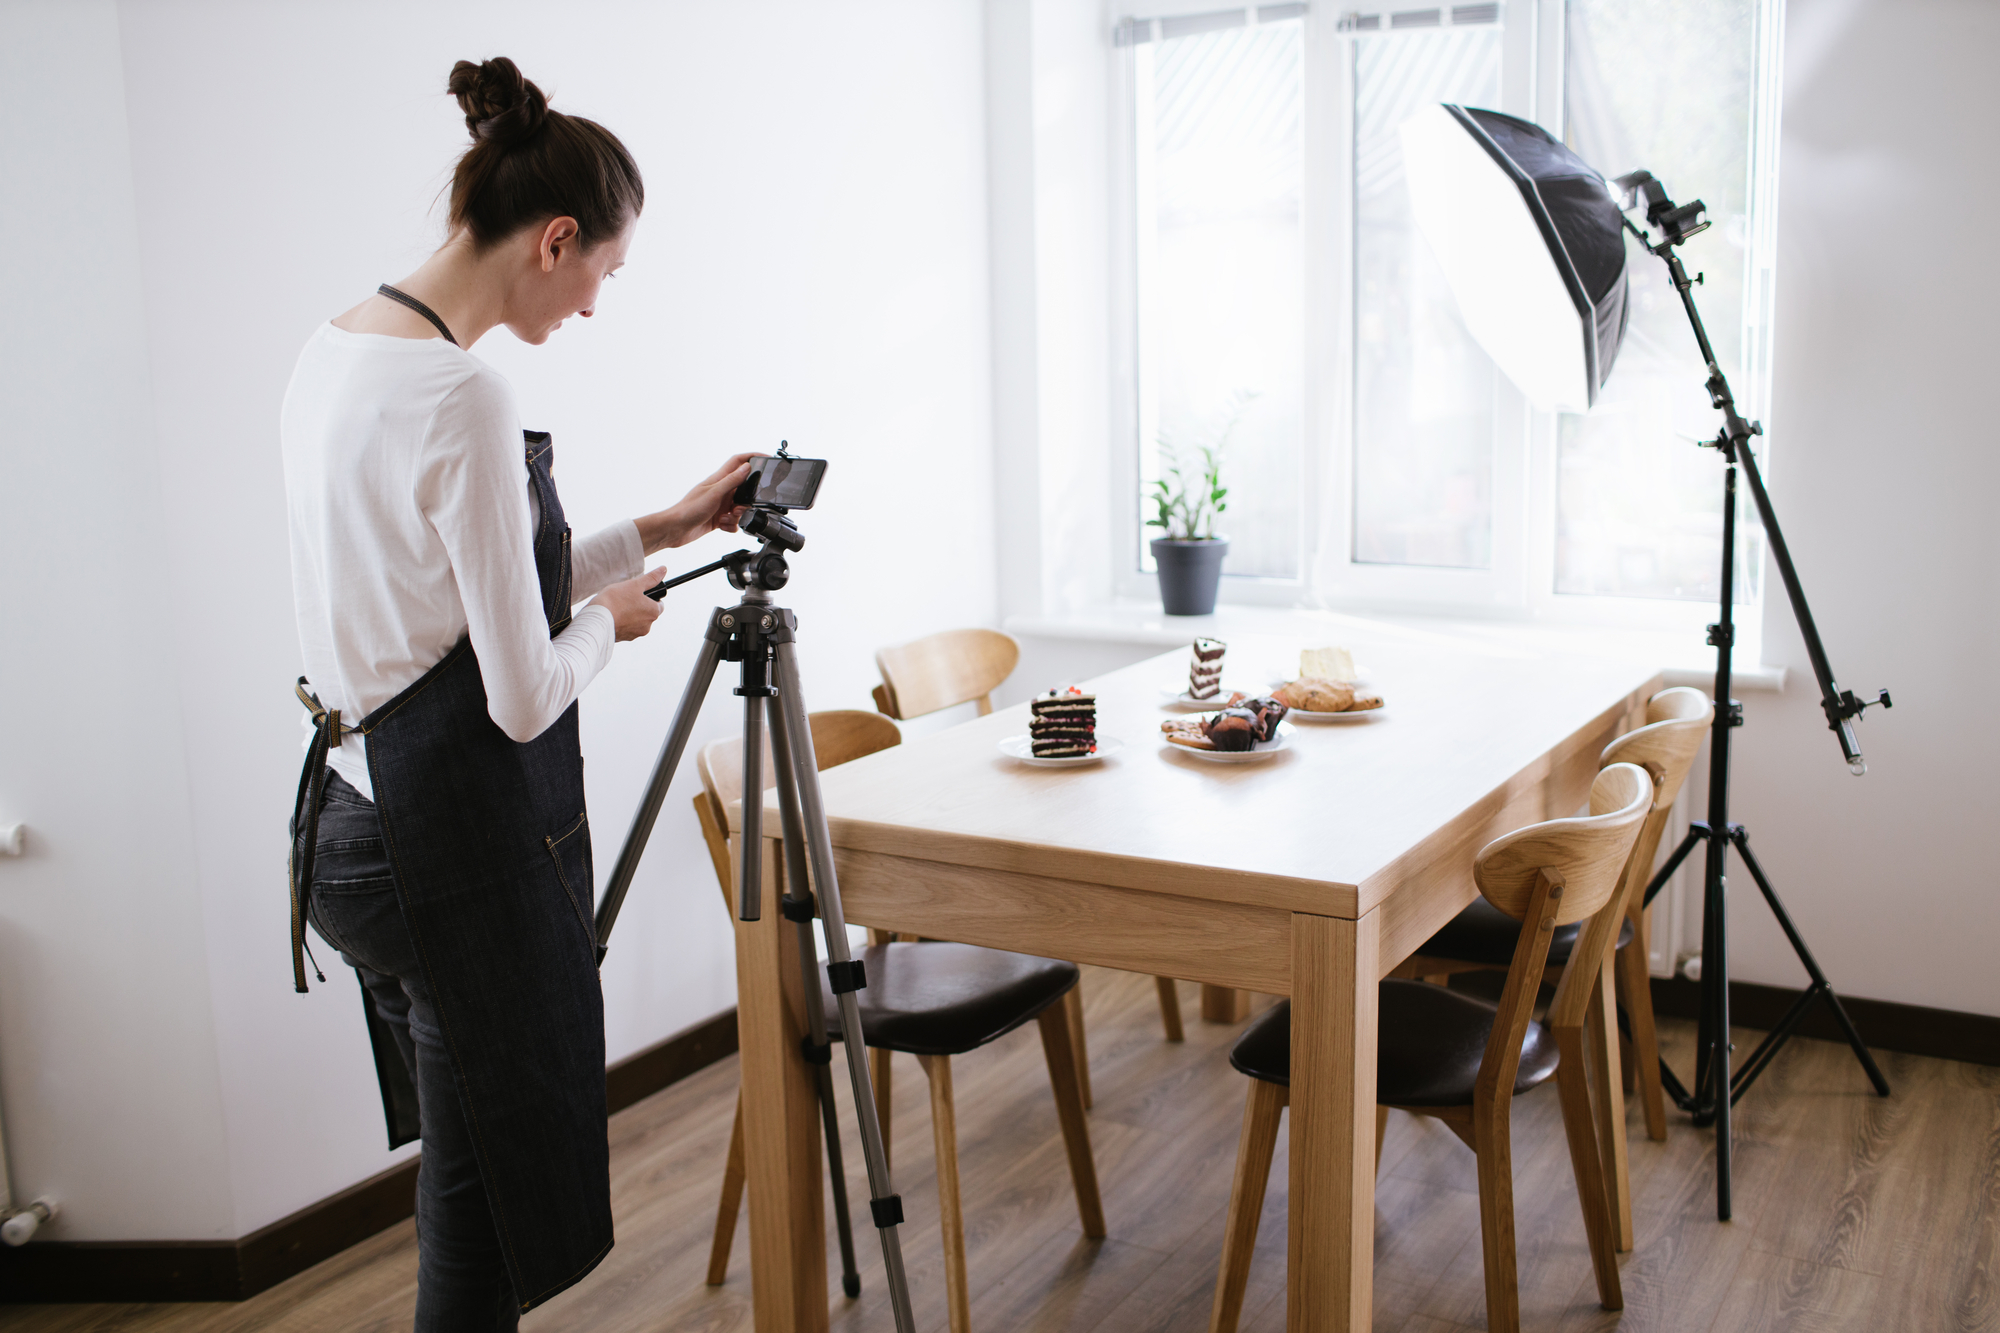
Step 6. Take some test shots
When you’re a stock photographer, a lot of responsibilities and tasks fall on your shoulders, from writing your own brief to producing a photoshoot. You need to come up with a theme, scout the location, find a model, create a shot list, sometimes rent additional gear, set up the lighting, and do many other things. In addition, you’re directly responsible for the quality of images you take and provide.
Although you can better the image quality during the post-production stage, you shouldn’t completely rely on it. Make sure to arrive at your location in advance to take some test shots. They will allow you to analyze the kind of lighting you’ll have to work with and determine the exposure value and other camera settings. Moreover, you’ll see how your props look inside the frame and decide if you need to move or get rid of something to improve your composition.
Last but not least advice: Be flexible!
Life is unexpected and things don’t always happen exactly the way you planned them to. Don’t panic if something went wrong and think of how you can make the most of this situation.
Clients to stock photography platforms appreciate the diversity of choice and if your photoshoot is about to fall through, you shouldn’t necessarily postpone it for better times. For instance, if your model has accidentally got allergic before the shooting and now her face and body are covered with spots, you can work with that as well. Illnesses and diseases are amongst the unexplored themes in stock photography and maybe, you can take some images for that niche as well.
Wrap up
Although organizing a stock photoshoot is a daunting task, you shouldn’t take it too seriously. Follow each step mentioned above but also have some fun when creating a moodboard, scouting your location, and choosing props. Try to not stress out because nothing harms your work more than anxiety and your inability to concentrate on important things.
To find out more about the peculiarities of a stock photography business, read these articles:
— How Much Does It Cost to Make Stock Photography?
— Working with Stock Photography 101: Understanding Your Clients