Photo Editing Tips for Stock Photography Platforms
When you’re uploading images to stock photography platforms in hopes of generating a source of income, there’s one thing you should always keep in mind – the value for clients. Often, post-production plays a key role in the wide appeal of an image and even results in clients choosing certain images over others.
From the early planning stage to the final one of uploading images to stocks, you should aim to fill both niche themes and the ones in high demand. It is also extremely important to wisely approach post-production, especially if your aim is to make money with stocks. Images that sell are diverse and authentic but are also not subject to intense post-production. Find out the best photo editing tips for stock photography platforms in this article.
5 Best photo editing tips for stocks
1. Cropping an image to fit different purposes
When uploading images to stock photography platforms, you should aim to provide a diversity of photos that go together and are tied by one theme. Although a lot of photographers think that they know best which images will be in demand among clients, the reality is slightly different. Depending on the purpose, stock photography customers choose images for their project based on their versatility, and interestingly, their choice can’t always be predicted in advance. For this reason, the best thing every photographer could do is supply a series of images on the same concept.
Aside from experimenting with angles and viewpoints, the easiest way is to crop the images during the photo editing stage. If you photographed a guy working at home, you can crop the picture in several ways.
Original:

Cropped:
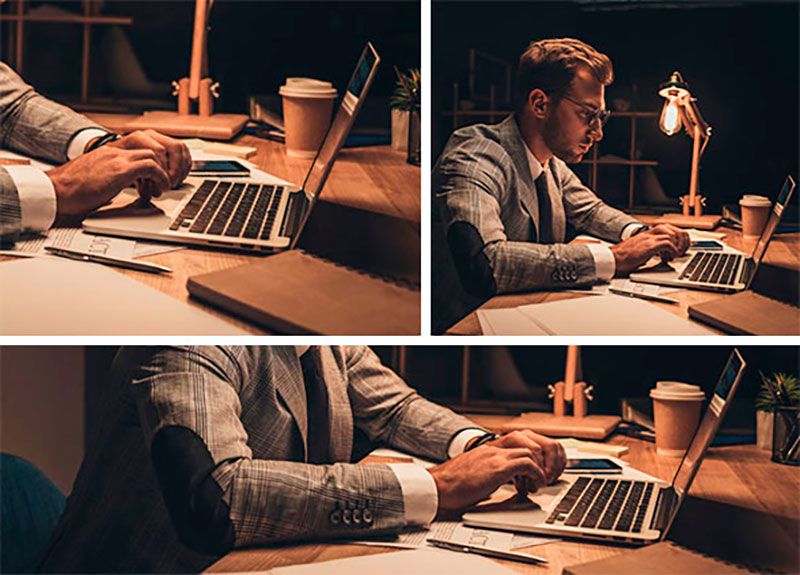
For instance, the square image can be used for social media posts, the rectangular at the bottom will be useful for banners or headers, while the evergreen classic ‘laptop with hands’ will perfectly illustrate a thematic article in both print and digital magazines. In short, using a crop tool is one of the most effective photo editing tips, as it saves your time and helps you showcase an entire variety of alike shots to your potential clients.
Keep in mind that excessive cropping clearly gives results in lower quality, so you should always balance your composition choices during the shoot with the cropping during post-production. Both should be integrated into your workflow.
2. Not applying vignettes
In the photography industry, there has been a debate about using vignettes for many years. Some professionals dislike and avoid them, while others see no trouble in slightly darkening that or another part of the image for the sake of contrast and focusing on the primary subject.
However, if you want your stock photography submissions to work in your favour, the answer is definite: no vignettes. The first and the most important reason for that is that vignetting makes your image look outdated. This type of effect got extremely popular with the launch of Instagram in 2010, but with the span of time and the appearance of technologically advanced gadgets and editing apps, vignettes lost their popularity.
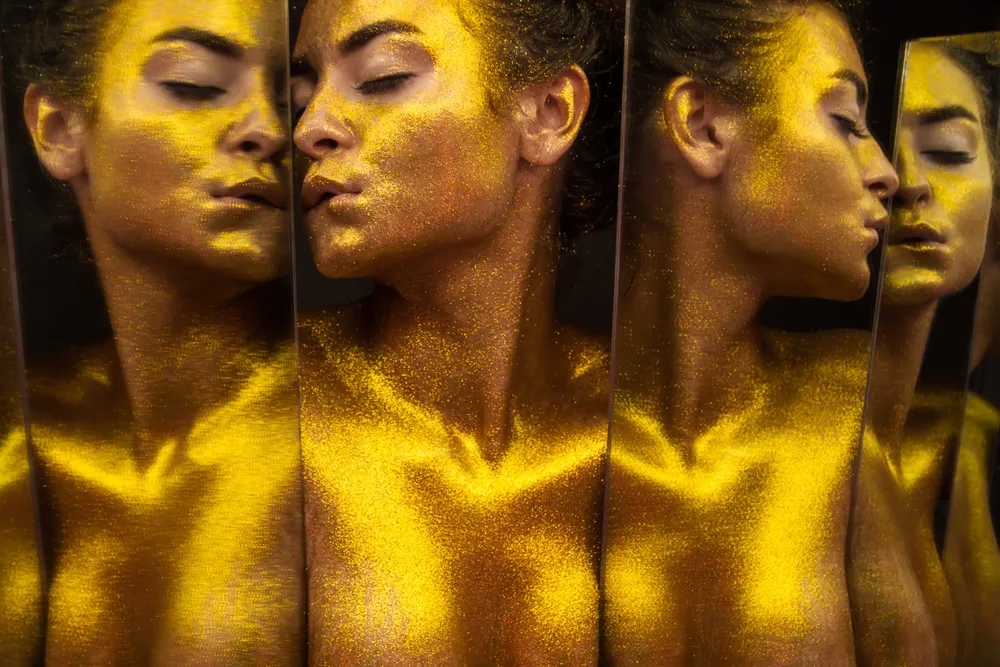
Today, vignetting is inappropriate with stock photos unless you aim to apply it for artistic purposes. Professional photographers will frown upon them and tell you that it was shot by a beginner who’s still trying to sort out the basic composition rules.
In the case when you get natural vignetting due to your lens properties, it is up to you whether to edit it away or to leave. But when it comes to manipulating an image during the post-production stage, opt out from the idea to apply a vignette to your photograph.
3. Being careful with retouching and filtering
To a large extent, photo editing for stocks is not different from how you edit the images for different purposes. Adjusting contrast, brightness, and saturation is necessary for basic balance of light and colors. But when it comes to retouching, this is where you should be careful and not allow your passion for photography outshine common sense.
As we’ve already said, you should keep your client in mind when submitting stock photos. For instance, if you’ve decided to specialize in one of the unexplored niches in stock photography such as medicine, modern routine, or illnesses and diseases, you shouldn’t retouch images the same way as you would retouch them for a fashion photography project. It is also important to not forget about the ethical side of photo retouching and thus, be in trend with images you submit to stocks.
Being in trend means that over-retouched photos are the thing of the past. Clients to stock photography platforms are looking for authentic and natural pictures that would relate to the contemporary audiences in the best way. They might choose to customize or edit photos to fit their brand’s, image, aesthetic, or message. That is also why drastically filtering images at the post-production stage is not the best decision.
4. Minimizing noise
If you go to any stock photography platform, you’ll see that images are sold in different sizes, from S to EL. While someone can use them for social media posts or to illustrate articles, others might need to print a photo or use it as a website hero image for a landing page. In the latter case, even the smallest noise in the photo will be visible and a client will choose not to use your work for their project.
To minimize noise, try to initially take a picture at a lower ISO setting, and of course, give preference to the RAW format. It is a factor that influences the overall image quality but also allows you to better adjust the image during the photo editing stage in Photoshop or Lightroom.
If you plan to add a couple of night time shots to your stock photography portfolio, the image noise will be inevitable. However, with trial and error, you’ll learn the optimal settings that allow you to meet the best image quality with your shots.
5. Using presets
Another simple but effective photo editing tip is using presets. This is useful not only for photographers who want to save some time but for those who are trying to develop their own artistic vision and style.
You’ll have to devote a couple of hours or days to come up with one or a series of presets that fit different light conditions. But eventually, you’ll save a lot of time with presets when post-processing photoshoots from the same spot and with the same light conditions. Of course, sometimes you’ll have to manually do adjustments over a rendered photo but this won’t take you as long as it would take when separately editing every single image.
One more perk from using presets is that you’ll manage to tie your portfolio together. As most of the stock photography platforms have a search filter according to image authorship, being consistent with post-processing might help you gain a pool of regular clients that appreciate your photography style.
These photo editing tips are the fundamental basics that help stock photographers optimize their workflow during post-production. Editing images can make your works stand out from the feed and with time, your passive income might become a significant one. You should also forget to follow trends in different industries. Our annual Visual Trends 2020 project might be of great use to you as you can explore what is relevant in the design, marketing, and photography as well.
You might also be interested in the following articles:
1. A Beginner’s Guide to Selling Your Photography on Depositphotos