6 Quick Tips for Stunning Blue Hour Photography
When warm seasons come and the days are longer, photographers get more opportunities for experiments. They are to shoot the awakening of nature, the numerous fascinating sunsets and sunrises, and are to simply spend more time outdoors chasing the perfect frames in the streets.
However, spring and summer have even more perks for unique shots. During this time, the weather is sunny and the sky is clear which is what makes these seasons perfect for blue hour photography. Taking place right after the golden hour, the blue hour is a chance to get a greater series of stunning visuals to add to your photography portfolio.
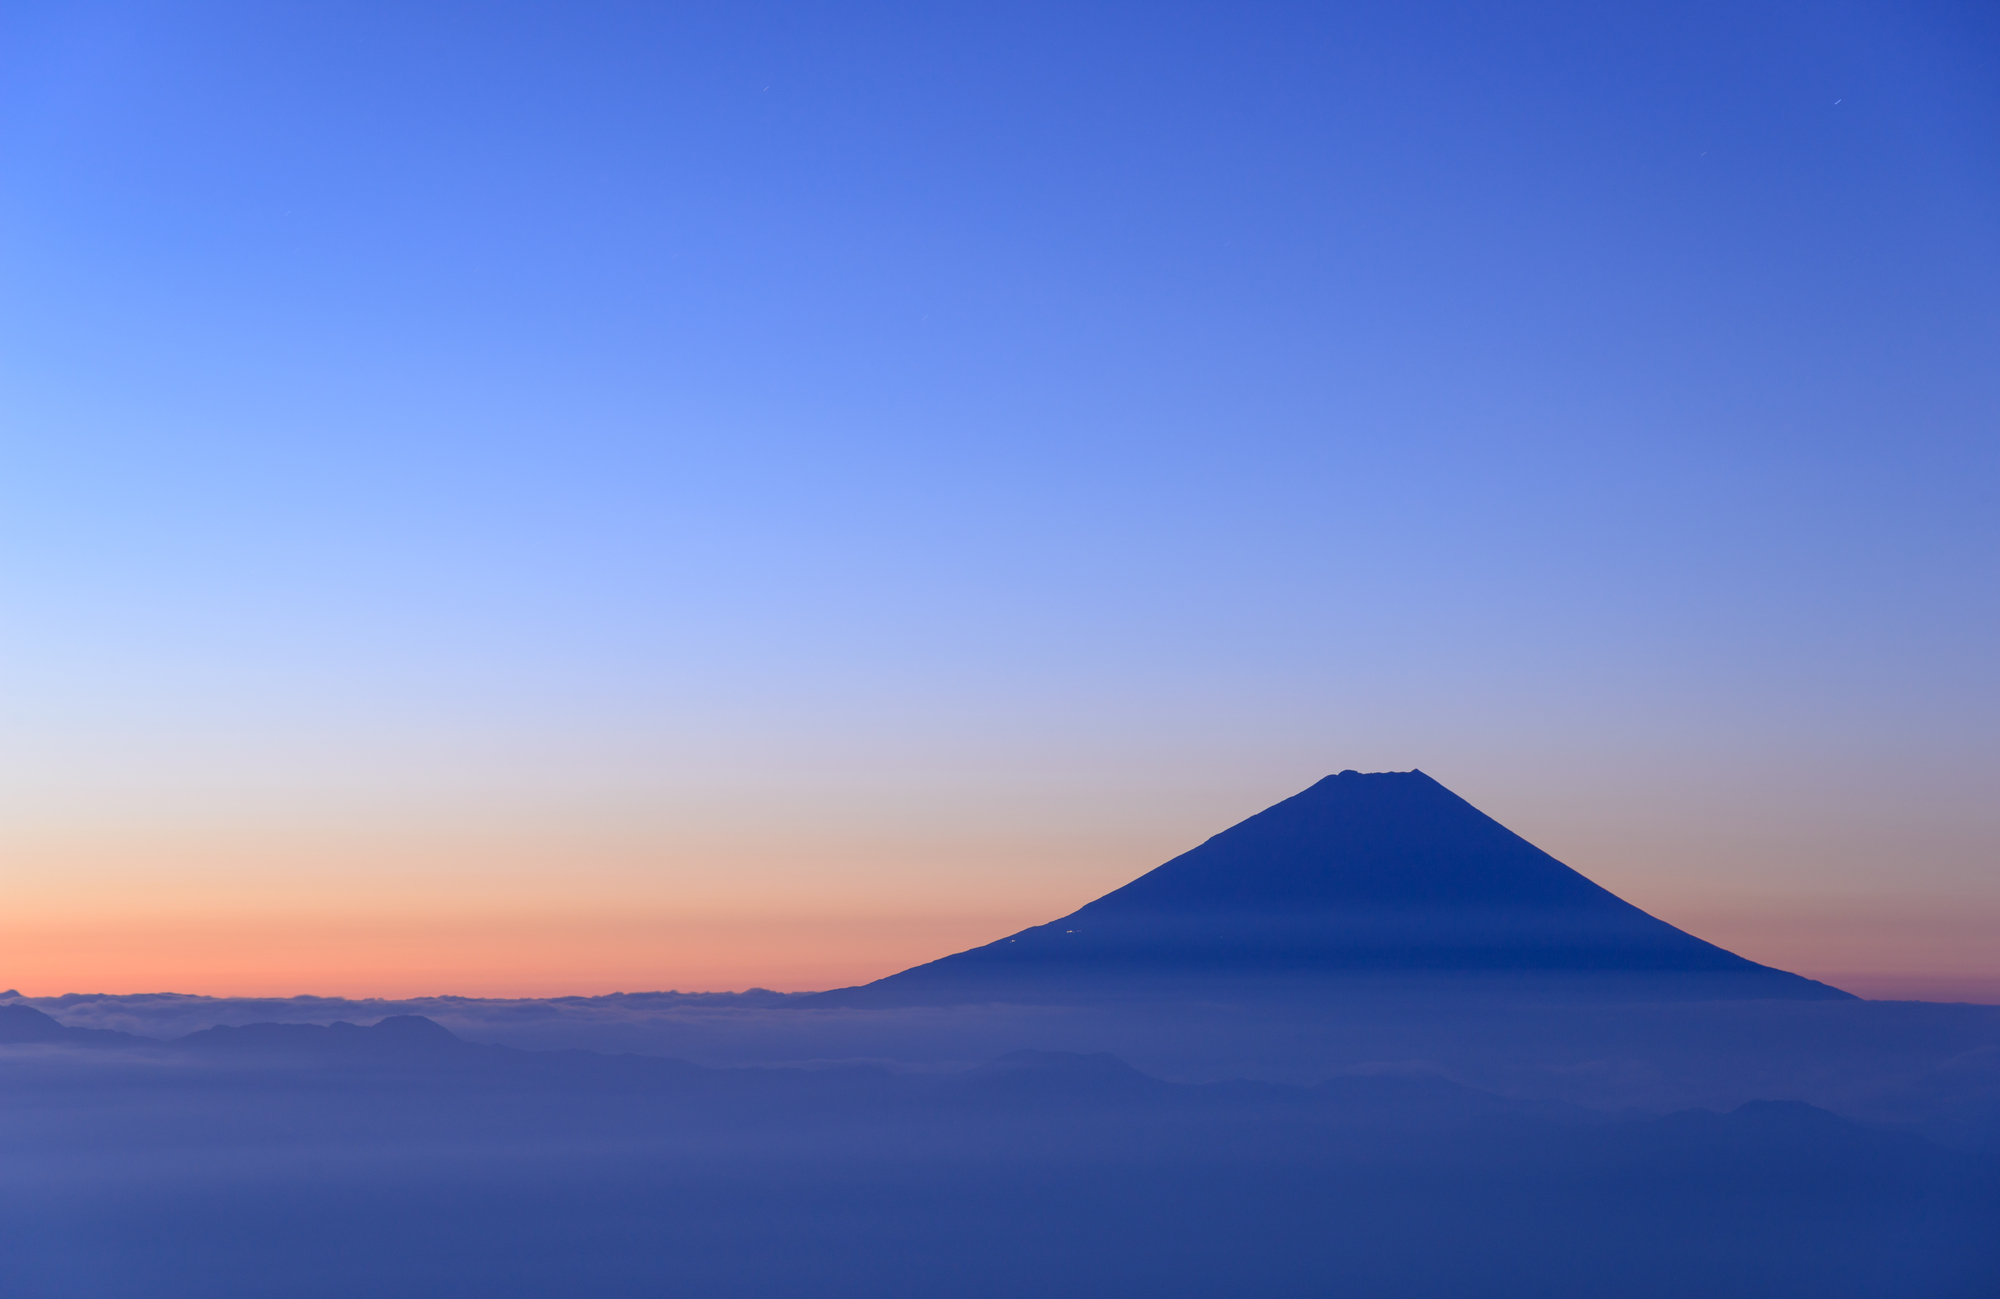
Briefly about the blue hour
Blue hour is the time before the sunset and after the sunrise when the sky has a deep blue color. To be more precise, it usually takes place around 30 minutes before the sun rises and after the sun sets. The blue hour occurs before the golden hour in the morning, and after it, in the evening. This makes a blue hour an amazing opportunity for photographers to extend their golden hour photoshoots and try their hand at taking pictures during different light conditions.
What makes the blue hour so special?
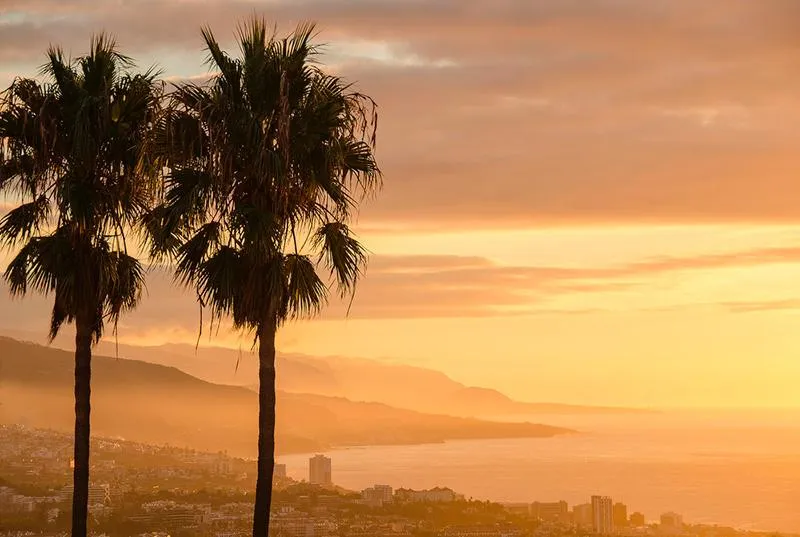
Blue hours is great timing for photographers that would like to experiment with their works and make a large series of photos at once. During this short period of time, the light is especially soft and it changes every minute. With a little bit of patience and prior preparation, you might get atmospheric pictures in dark blue tones and with cool color temperature.
Another highlight of the blue hour is that sky is not always blue. Sometimes, it gets covered with pink, yellow, or orange undertones and makes your images look even more interesting.
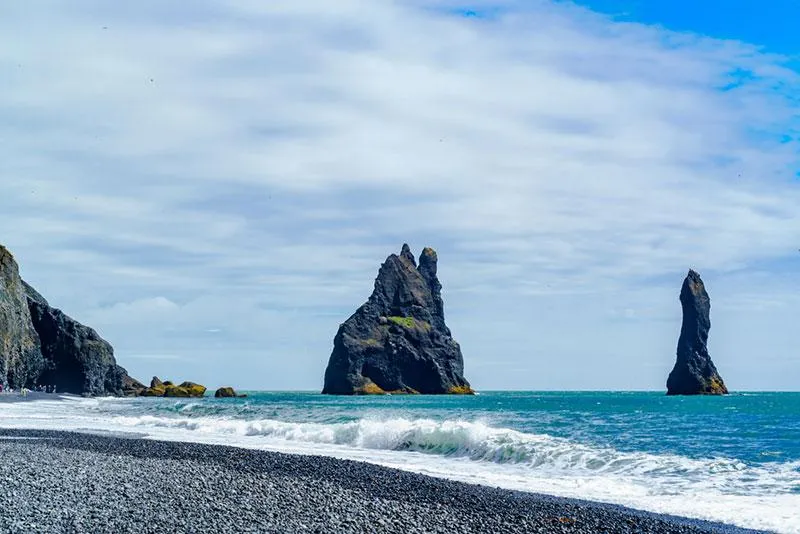
What should you shoot during the blue hour?
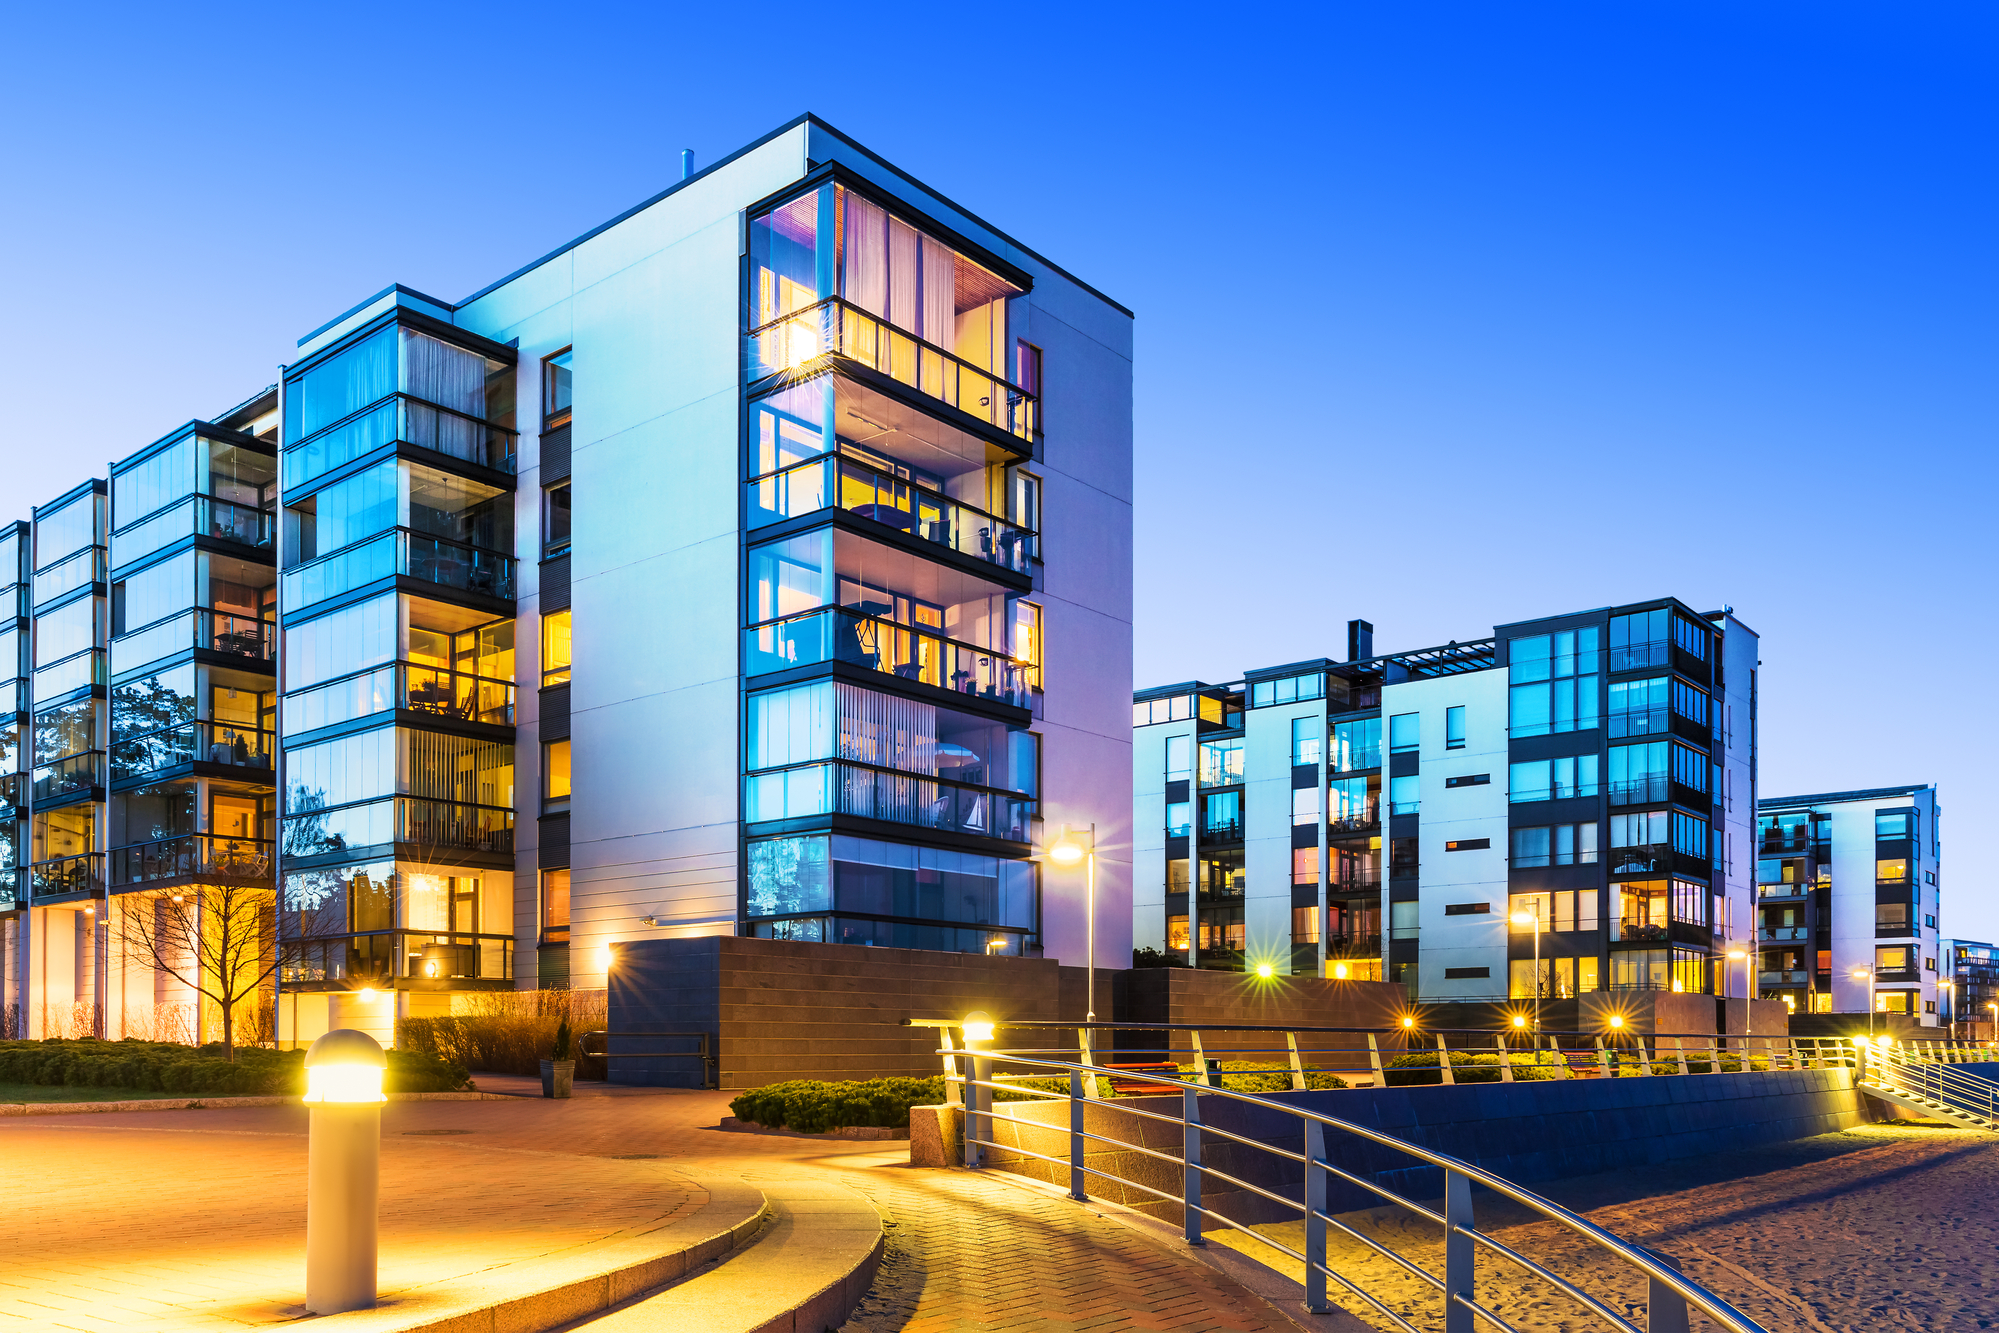
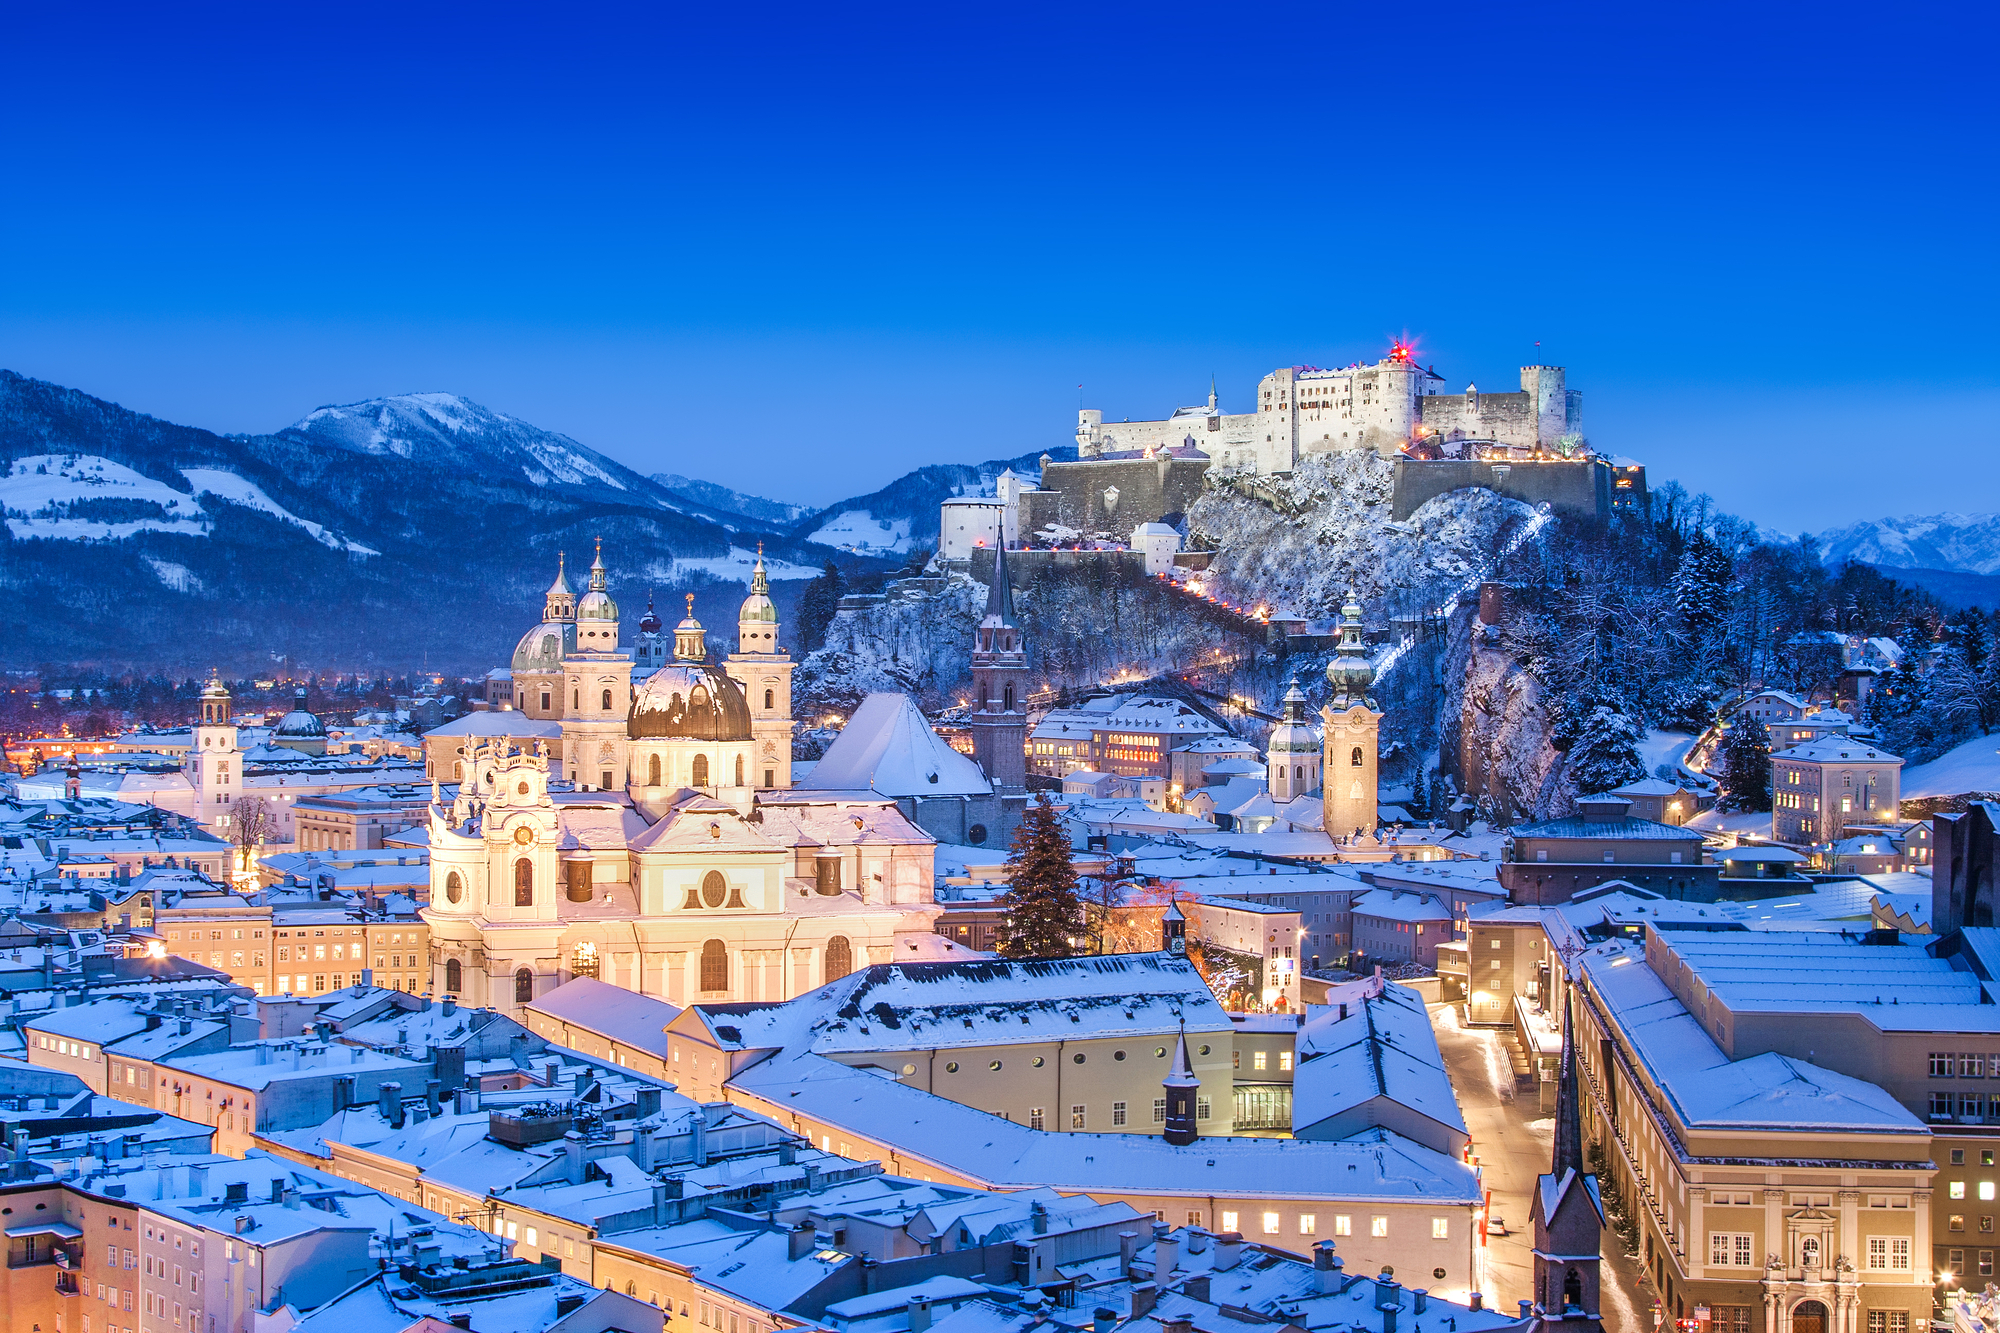
The blue hour is perfect for any kind of outdoor shots. You can do landscape, street, and portrait photography. However, you might get the most impressive pictures with architectural photography. Having captured a blend of cool color tones of the sky and warm window lights of skyscrapers, you’ll see the complexity and allure the blue hour endows your images with.
Quick tips for shooting during the blue hour
1. Plan your blue hour photoshoot in advance
The first thing you should do when preparing for the blue hour photoshoot is to check the time of sunrise and sunset at your location. There are a couple of apps that help you do that but the easiest one to use is the Blue Hour Site. It automatically calculates morning and night blue hours so you can definitely arrive in time and take a series of stunning photos.
Another thing to remember is that you should arrive early to explore the location. Before the morning blue hour, everything is covered in dark and you might have to walk around a bit to see what you can capture and to make sure nothing interferes with your framing. Then, try to set your camera equipment at least 30 minutes before the shooting so you have time to take some test pictures and find the best possible composition.
2. Switch to manual mode for the blue hour photography
Because the blue hour photography happens in low light conditions, it’s better to switch to manual mode to control the exposure settings. While with the automatic settings you might get a wrong focus or too much light and grain, the manual mode will allow you to manipulate the ISO and get a picture that would translate almost what your eyes see.
3. Shoot in RAW
If you want to include the blue hour photography to your portfolio, upload it to stock photography platforms, or simply share it on social media, you should be careful with compression. Usually, most DSLRs offer RAW or JPEG formats and you are definitely to choose the first one for a couple of reasons. RAW is an uncompressed format that weighs more but gives an opportunity for better adjustments like exposure compensation during the post-productions stage. Shooting in RAW will always result in better image quality than JPEG, thus, the choice is obvious.
4. Don’t forget a tripod and a timer
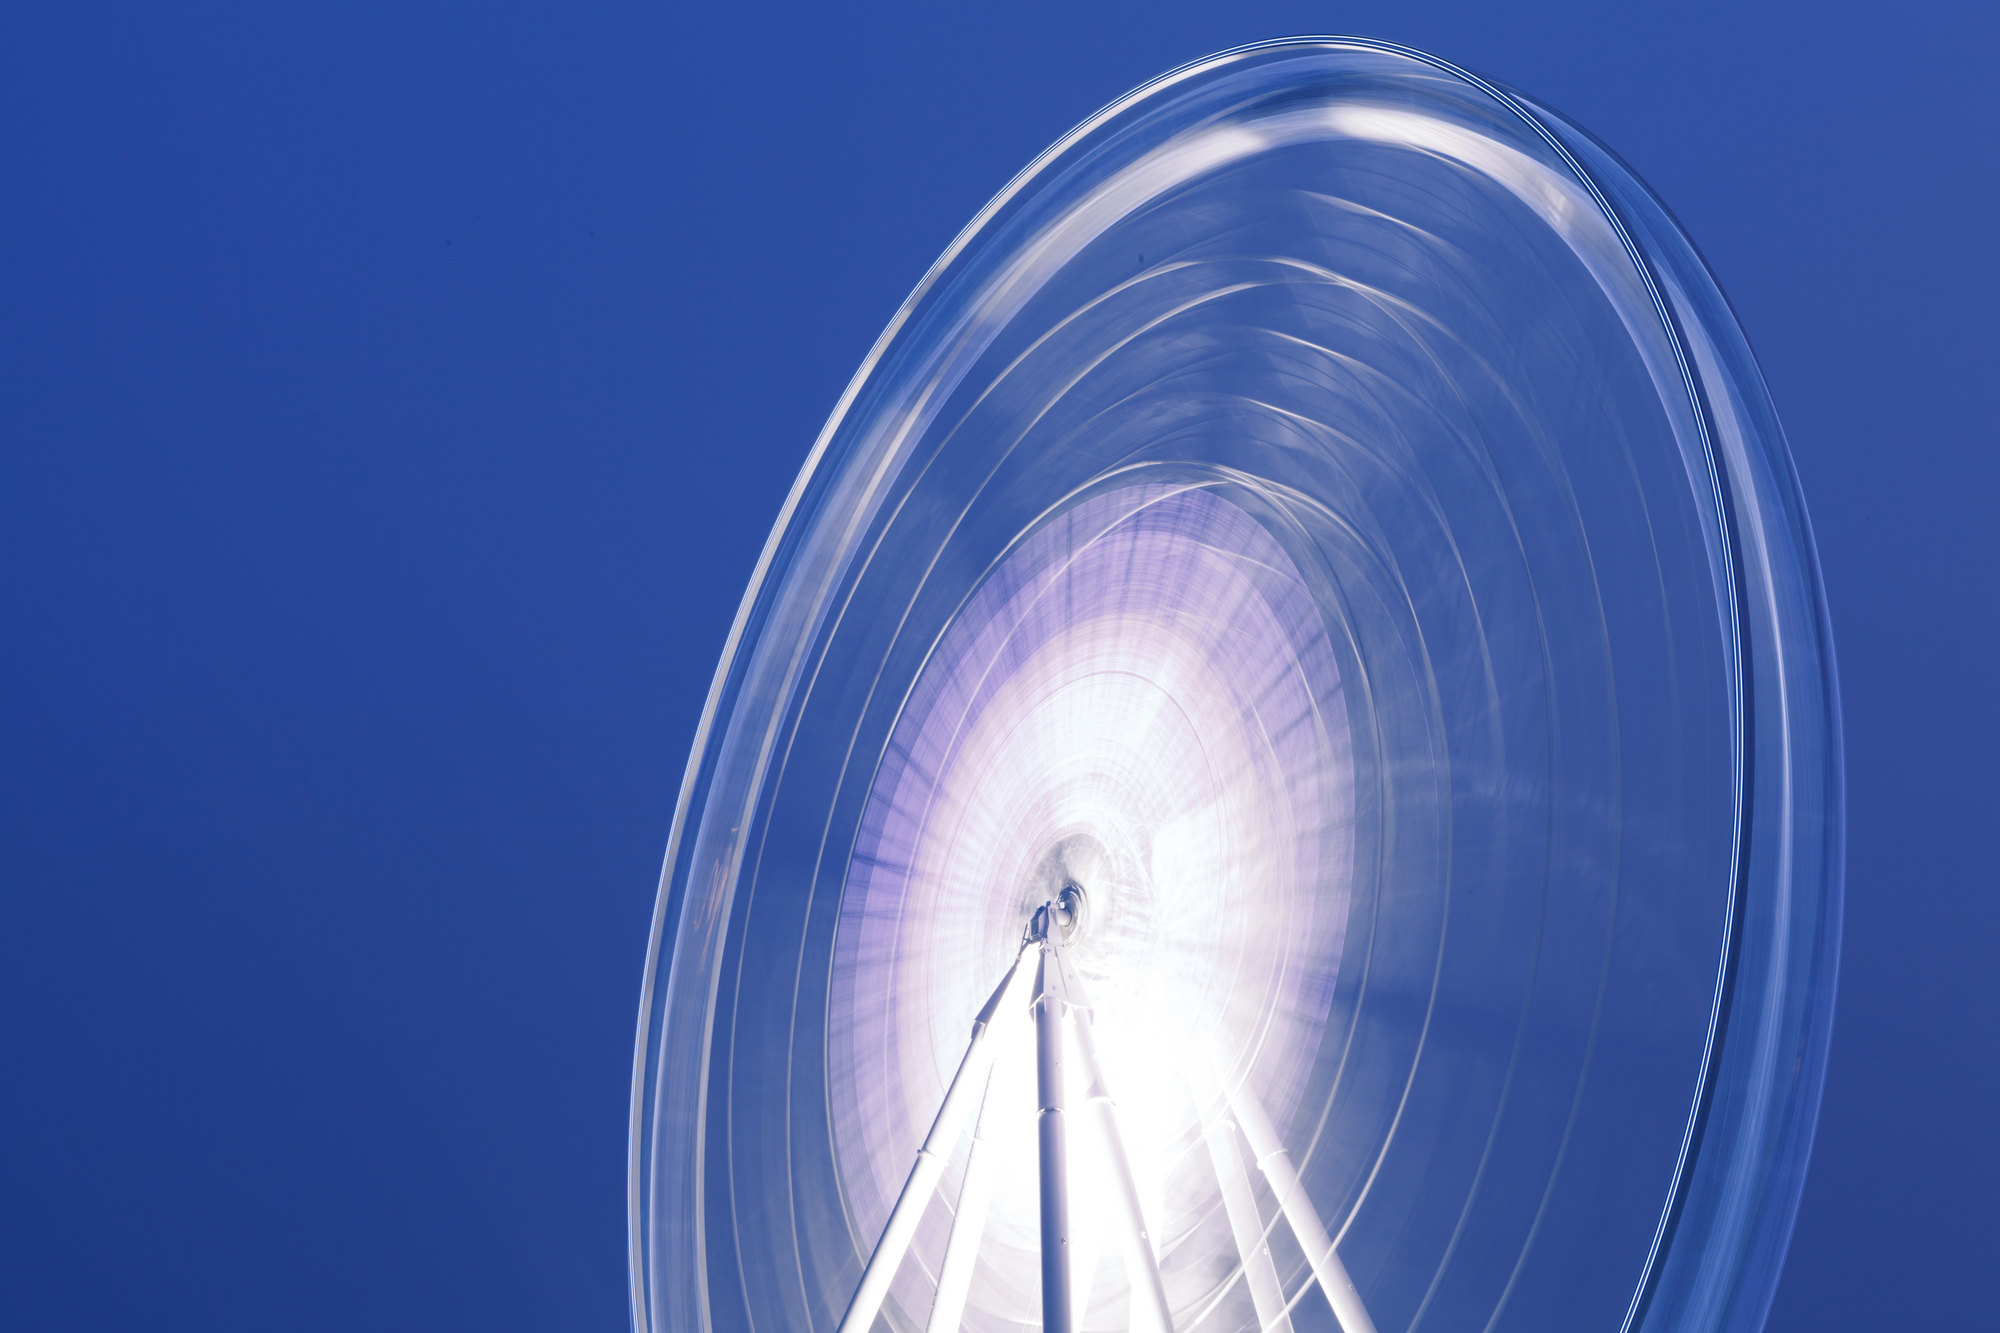
A tripod and a timer are definitely a must-have for photographers shooting in low light conditions. Whether during night time photography or blue hour photography, you need to have them to get sharper shots. With a tripod and a timer, you’ll also get an opportunity to do long exposure photography and bracketing for HDR images which are a nice way to diversify your portfolio and show off your photography skills.
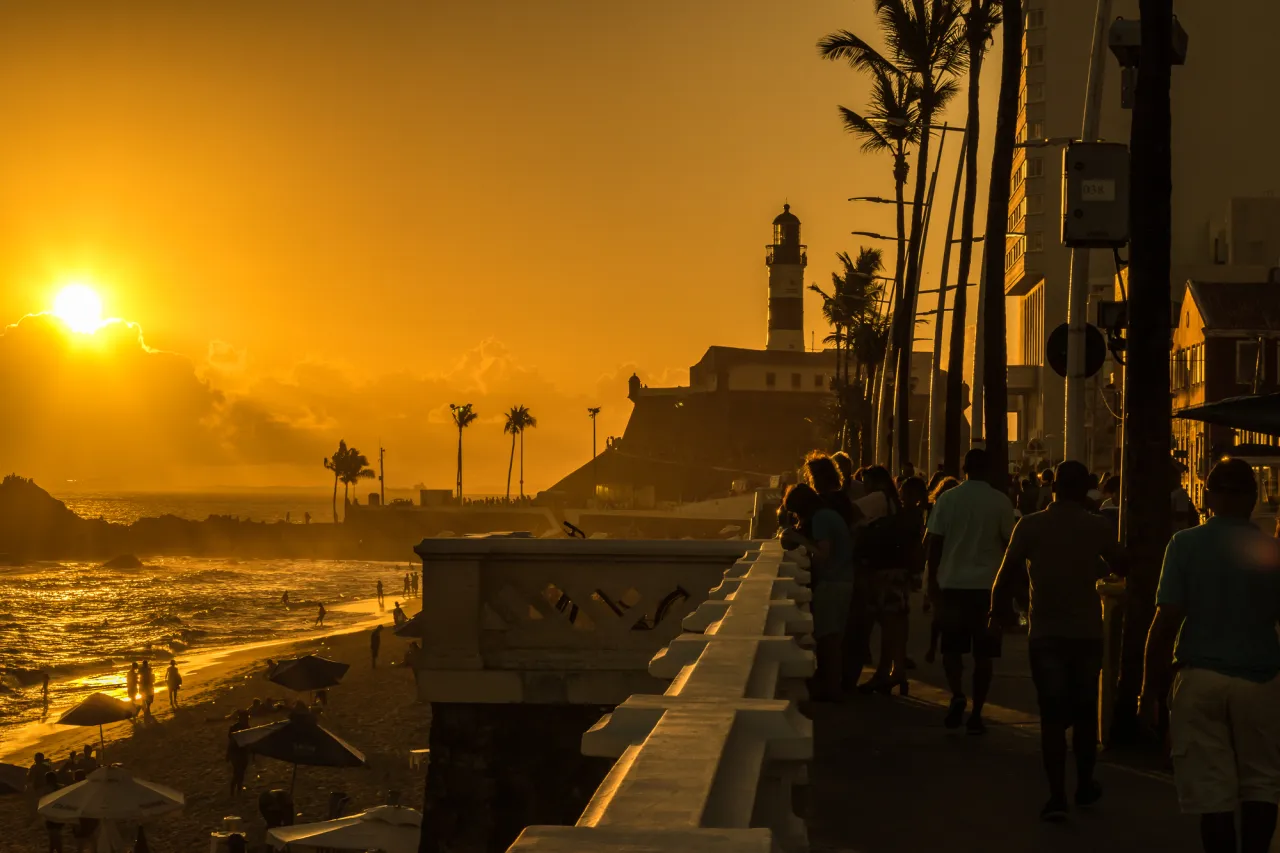
5. Look for lights during the blue hour
As we’ve already said, any photography is great during the blue hour. However, capturing streets and buildings might bring you the best results and the most joy. This is because in a city or a town, you can choose a location that has electric lights. First of all, they will give you more light. They will also help you make your photography look complex and interesting when capturing warm and cool tones together.
The only thing you should watch for is the proximity of electric lights. Located too close to your camera, they might be too bright and cause lens flare that is often undesirable during blue hour photography.
6. Experiment during the post-production
For whatever purposes you’re doing the blue hour photography, you shouldn’t overlook post-production. In addition to basic adjustments like increasing contrast, decreasing noise, or cropping, you can edit your images more artistically. For instance, you can try to convert a couple of images to black and white. The soft blue shades will disappear but your photo will look more mysterious and charming in monochrome colors.
You can also retouch images if you photographed people or you need to remove interfering flaws or imperfections such as dusk or scratches on objects. However, don’t forget about the ethical side of photo retouching and try to make your images look authentic and natural.
In general, the blue hour is a magical time. The light changes every minute and you never know which shade the sky will transition to. It also allows you to master your skills and learn to do photography in manual mode.
What’s even more exciting, you can devote an entire evening to outdoor photography. Why not go out just before the golden hour and capture long shadows? Then you may take a series of pictures during the blue hour and proceed with night time photography and long exposure shots. Make sure you’ve charged your batteries and good luck with your endeavors!