iPhone Photography 101: 12 Tips on Improving Your Photos
With a simple flick of the screen, you have your iPhone camera available to you at all times. It’s convenient when you don’t have a DSLR and simply essential for capturing the beauty of everyday subjects and surroundings.
You’ve probably also asked yourself what you can do to take better pictures with an iPhone. We put together some of the most helpful features, hacks and tricks that you can use to improve your mobile photography.
1. Taking sharper photos
Our first instinct when we reach for our phone to span a picture is to press that shutter button. When looking back to some of those pictures, you likely feel a wave of disappointment because the shot was just not what you expected. To take sharp photos, you have to slow down. Slow down and take the time to focus on your subject.
2. Clean your lens
This might seem like an obvious thing to do, but you’ll be surprised at how many times you compromised your shots because you didn’t clean your lens. We place our phones on tables (you don’t know what’s on there!) so do be sure to clean the lens before you take your shot. Some changes to photographs might not be noticeable to the eye, but the difference between clear and crystal clear. This small difference is much too obvious to the trained eye.
3. Remote shutter control
Another obvious one for those snapping pictures on a daily basis but nevertheless an important feature you should know about. The earphones that come with your iPhone have a remote shutter control features. You can tap the volume buttons of the middle ‘pause’ button to snap a quick picture without doing so on your phone. Your volume controls are shutter buttons!
4. Get closer instead of zooming
The one frustrating thing about iPhone photography is the potential loss of quality when zooming in. If you want a close up, make the effort to get closer to your subject instead of zooming in. You lose quite a bit of quality when you zoom in and pictures quickly become grainy and pixelated. You will find that going that extra mile is worth it and actually helps you improve your composition.
5. Use the grid for better composition
A photographer’s best trick is using the rule of thirds for better compositions. It’s a way to figure out how to frame your shot using the proportions of 9 rectangles. You can pull up this feature on your phone by going to Settings, Photos & Camera menu and tap the ‘Grid’ option to activate it. When you go back to your camera, you’ll see the grid lightly visible on your screen. If you don’t already, learn to use the rule and then break it.
6. Pay attention to lighting
Lighting is just as important to mobile photograph as it is with professional cameras. If there isn’t much lighting, you likely noticed that your photographs lack the high quality you desire and graininess becomes an issue. Remember to keep the light source behind you and don’t get thrown off by shooting at night! You will learn a lot about lighting by shooting at different times of the day. Use flash when shooting at night if the lighting conditions are mediocre.
7. Focus and exposure control
When you’re getting ready to capture your shot, tap anywhere to adjust the focus of the camera. As you do this, you will see a sun icon on the screen, if you drag your finger up or down the screen, you can increase and decrease the exposure of your shot. You can also lock your focus and exposure by tapping and holding your focal point until AE/AF Lock banner appears at the top of the screen.
8. HDR mode
High Dynamic Range photography has been a trendy buzzword with the photography community. In simplified terms, it’s an image that has an increased range of colors and contrast. HDR photographs are the perfect balance between the darkest and lightest area of the picture, which brings out the best of two extremes. To use this option, tap on the HDR button at the top of the screen to enable it and do the same to disable it.You can also opt for auto mode, and let your camera decide when to shoot in HDR.
9. Burst mode
Burst mode is essentially taking a succession of photographs of the same object. This can be a handy tool if you’re shooting something that’s moving like sports. To activate burst mode, simply hold down the shutter button for half a second. Your camera will start quickly capturing one shot after another which you can later sift through to find the best images. You can always delete the ones that you won’t be needing.
10. Get all the angles in one go
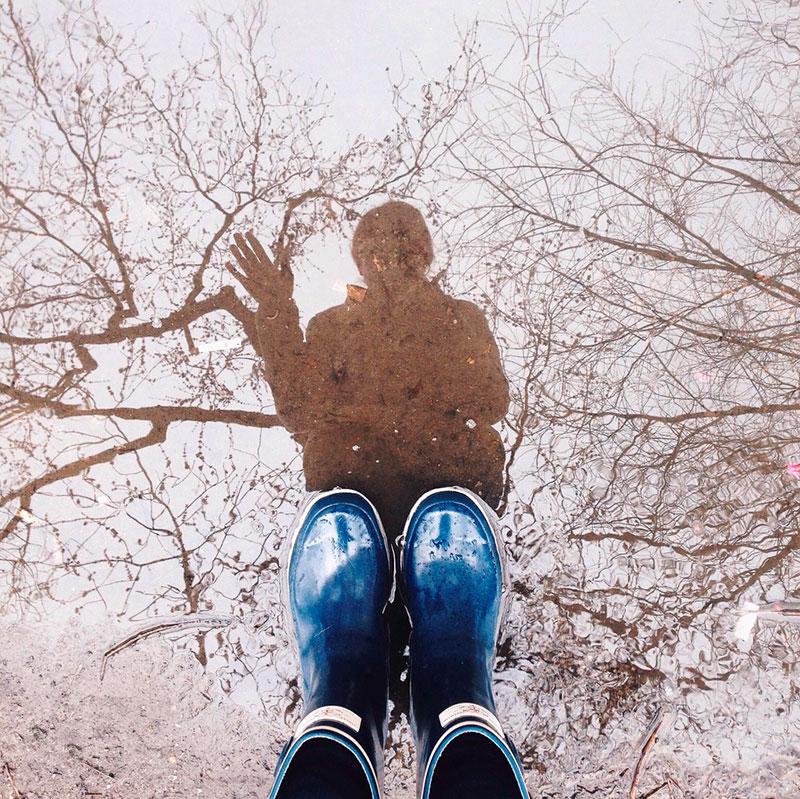
Sometimes a matter of a flunked or a successful photograph is about the angle. For this reason, compose yourself and try to get a variety of shots of the same subject. If you have multiple shots of the same subject, you have more photographs to choose from and chances are you’ll be more creative for it! This forces you to submerse yourself in the photographing process, considering all the possible angles you could take.
11. Leverage simplicity
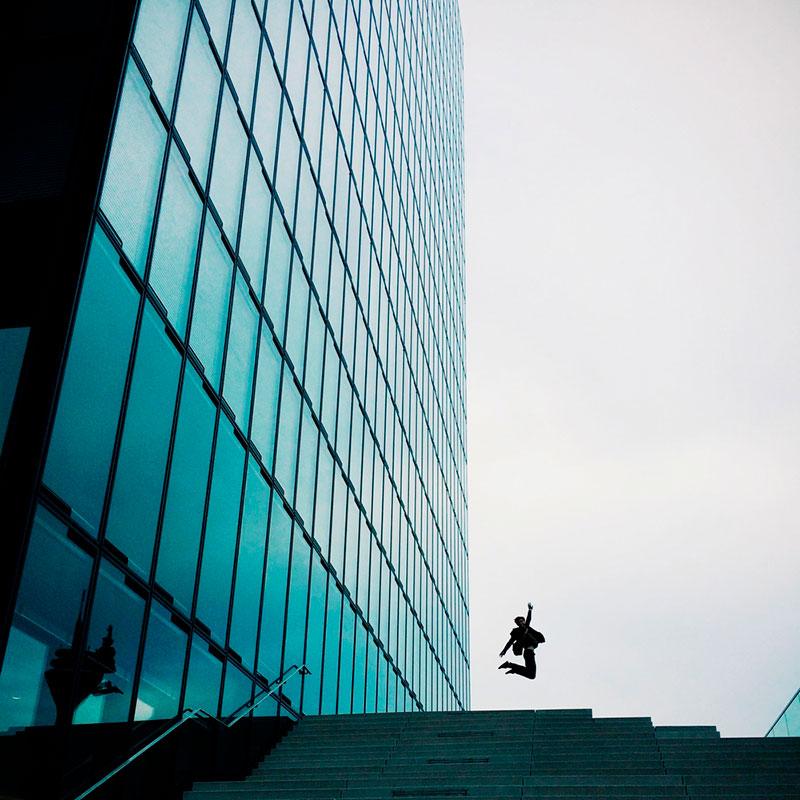
When you have too much going on in a photo, it can distract from your main subject. The reason why this is especially true with iPhone photography (or any mobile photography for that reason) is the final resolution of a photograph. Looking at some of the top photographs from the iPhone Photography Awards, you will notice that all the photographs somehow embody a simplicity in terms of composition. Try to filter unnecessary elements out of your photograph when you’re compositing them.
12. Apps for editing
Towards the end of last year, we did a little review of the top 10 editing apps that you can use to alter your photographs. For every photographer, it’s really important to find that one app that will be your go-to tool for editing photographs. Know that having an editing app is essential if you’d like to elevate your iPhone photographs. It’s also a fun medium to play around with and a creative opportunity to enrich your mobile photographs.
Recap
The main takeaway from this article is that you have to go out there and experiment. Experiment with settings, compositions and lighting. It is only through experimentation and trying some of these tips that you will find techniques that work for you.
If you enjoyed this article and have other tips you’d like to share with your community of photographers, leave your thoughts and comments in the comments section below.
