Design Essentials for Marketers: Creating a Blog Title
Following our previous post on making an Instagram post with Crello, we’ve put together another tutorial that will be useful for marketers. It’s true that sometimes you simply don’t have the available help you need with your visual content, and Crello is a great tool to use when you need to create something quickly on your own.
One of the occasions when designed visuals are needed on a constant bases is in your personal or company blog. Blog posts come out several times a week, sometimes even more often and how to ‘embellish’ them is often an issue. It doesn’t need to be complicated. Here’s how to create a blog title with Crello:
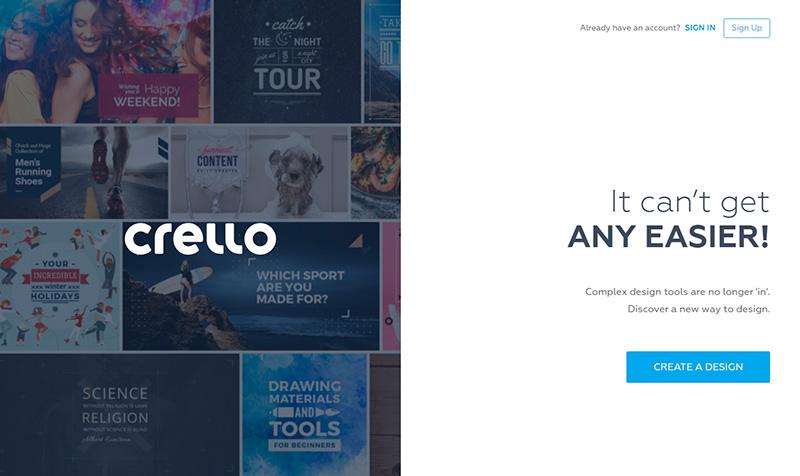
Step 1: Go to www.crello.com
Sign up with social media or create your own account or simply click ‘Create a design’ and you can register at a later stage.
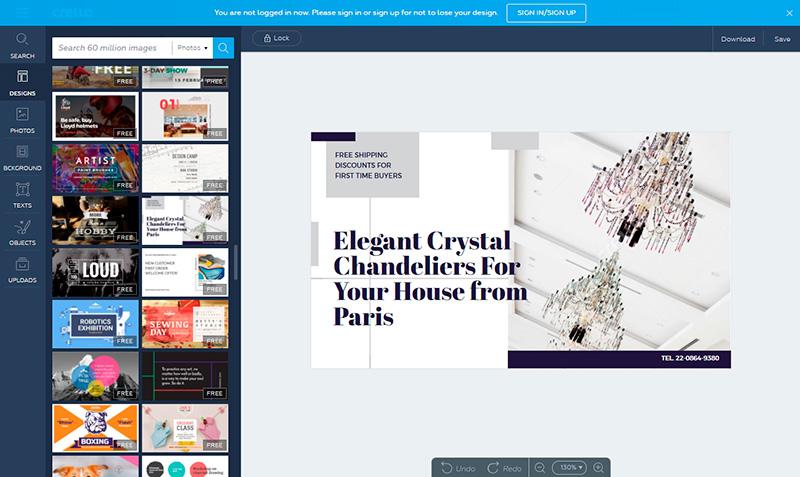
Step 2: Choose a format
You will be directed to the dashboard right away. Click ‘View more formats’.
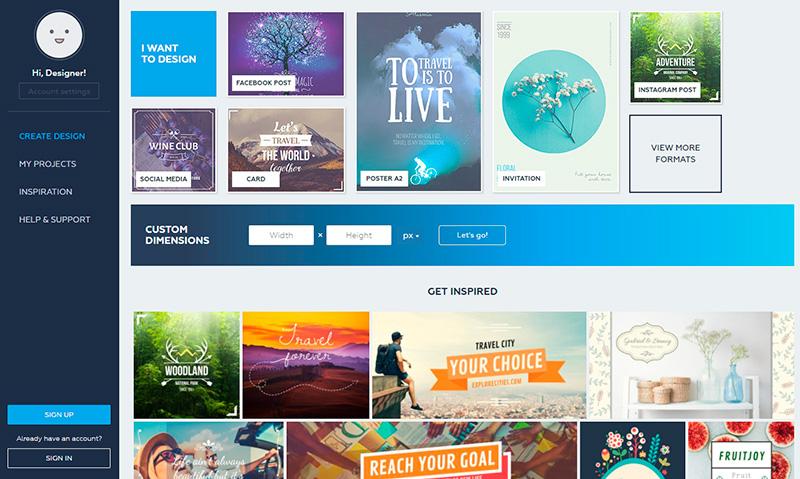
Step 3: Pick the blog title
You will see a variety of different formats. It’s worth your time to familiarize yourself with them in case you need them for future projects. Click ‘Blog title’.

Step 4: Artboard
This is your artboard. You have the tab ‘Designs’ open automatically, it is the column on the left. Cchoose a layout that you think will compliment your blog post. There are dozens of designs to choose from.
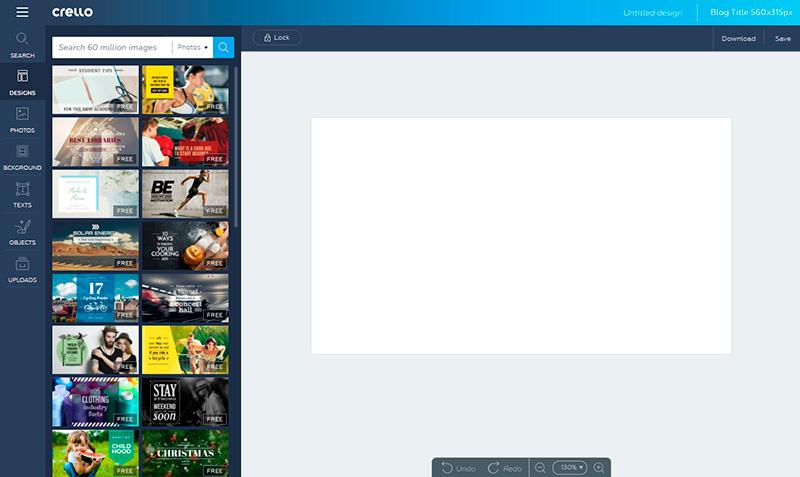
Step 5: First steps
When you click on the template, it will appear on your artboard. All the elements of the design are modifiable. You can start by either modifying the text, or start with the image you’ll be using.
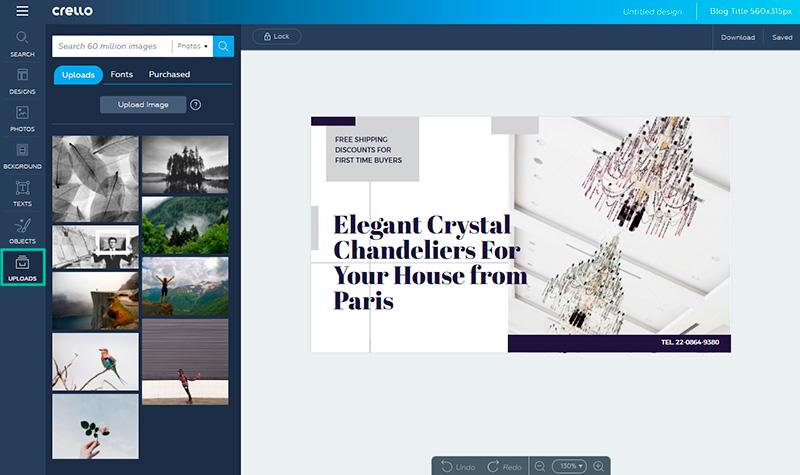
Step 6: Upload your own image
To upload your own image, click on the ‘Uploads’ tab. Next, click ‘Upload Image’ and choose one that is saved on your computer. Alternatively, you can go to the ‘Photos’ tab and search for images there. Images on Crello cost $0.99 each.
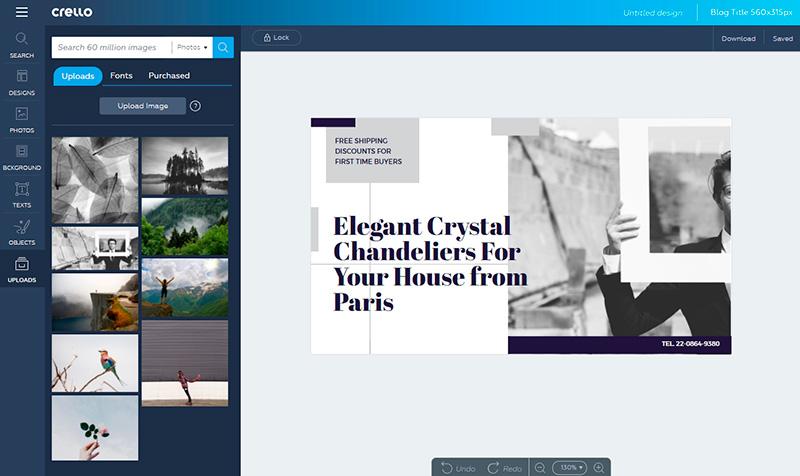
Step 7: Adding the image to your artboard
Click on the uploaded image on the left column and drag it to fit the canvas. If the original image in the template is a set size, when you drag and drop the image, it will take the same shape. You can also double click on the image you uploaded and it will appear full sized and modifiable on your artboard.
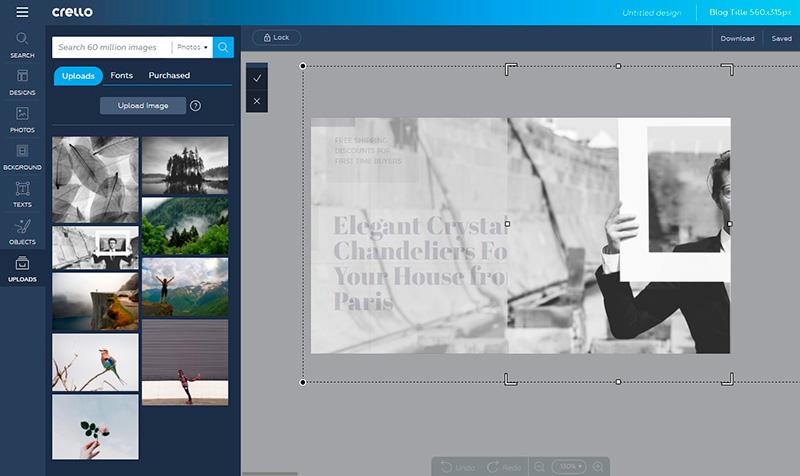
Step 8: Adjusting the image
To adjust the image, click on it. You will see round corner points which you can use to downsize your image. To crop it, double click on the image or click on it once and choose the crop icon on the window on the left. Use the corner guides to crop your image to the desired size.
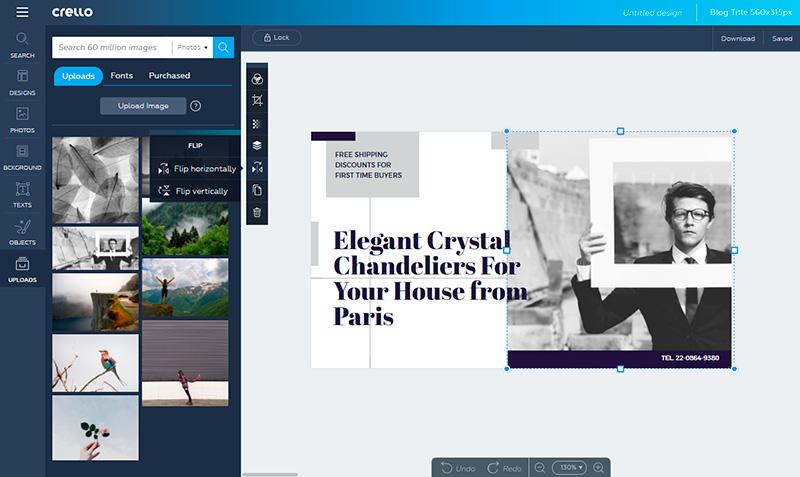
Step 9: Flipping the image
For this composition, it would be best for the image to be flipped horizontally. On the menu on the left, you will see a flip icon. You can flip your image horizontally or vertically.
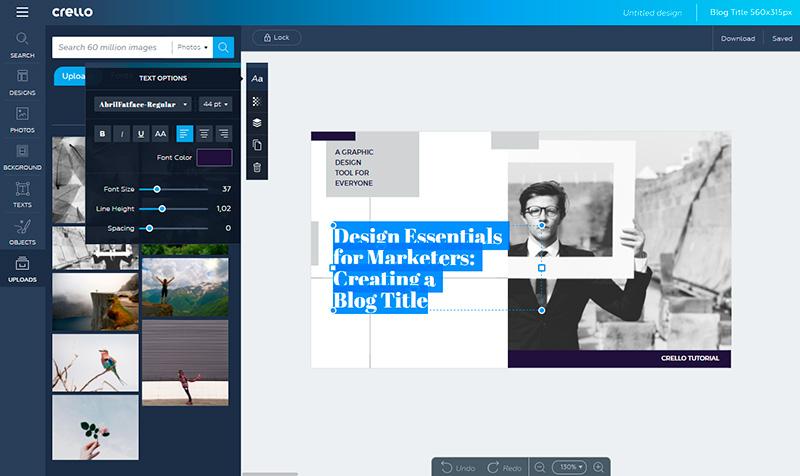
Step 10: Adjust text
You can highlight the text to change the font type using the text options on the left. Also, you can easily adjust the font size with the ‘Font Size’ slider.
Click on the font to adjust it. You can also add your own text using the ‘Texts’ tab if you need to fit more writing on your image.
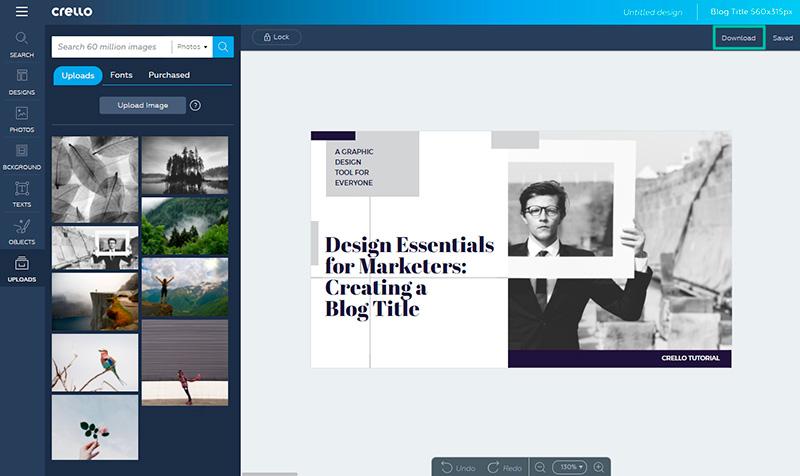
Step 11: Download your final image
On the top righthand corner, you will see a ‘Download button’. Click on it and choose one of the file formats to download your blog title.
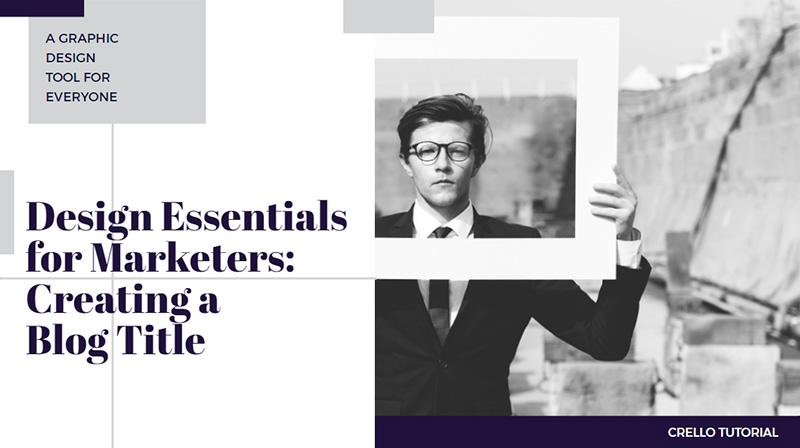
Finished blog title:
Remember, once you sign up, all your visuals will be saved under ‘My Projects’. You can always come back to them to edit later.
Crello was created with you in mind. The functions of the online editor are easy to master in a short period of time and can provide a great alternative to professional design help. Give it a try – you’ll never find yourself short of inspiration.