Design Essentials for Marketers: How to Create an Email Header in 5 Minutes
These days, marketers have to be resourceful. In an increasingly visual world, graphics for websites, blogs and social media are essential for a brand to function on a daily basis. If you don’t have a designer available for some of these tasks, it’s time to take matters in your own hands. Trust us when we say designing doesn’t have to be complicated.
Crello is a free graphic design tool that can help you in all your creative endeavours. We’re previously covered how to make Instagram posts and blog titles. Although these are useful, email headers are perhaps even more important to address.
When your clients are scrolling through their inbox, you have a few seconds to grab their attention with a compelling piece of copy. If you’re lucky enough and they open your email, you have about 5 seconds to convince them you’re not wasting their time. This is where your email header becomes a centerpiece.
Crello gives you dozens of options and easy solutions to creating eye catching email headers in 5 minutes or less. You can try the free templates with your customized text and eventually start creating your own designs from scratch using Crello.
Creating an email header with Crello
Step 1: Go to www.crello.com
To get started, sign up with Crello using Facebook, Google or your email.
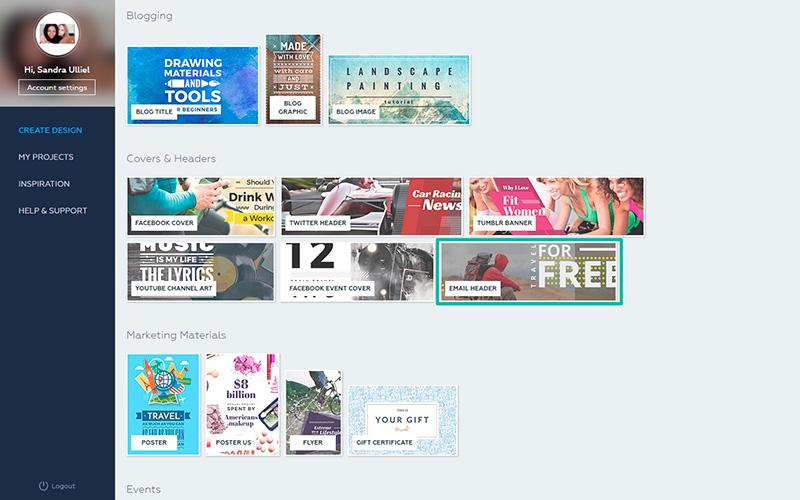
Step 2: Select your format
Choose the ‘Email header’ format on your home screen.
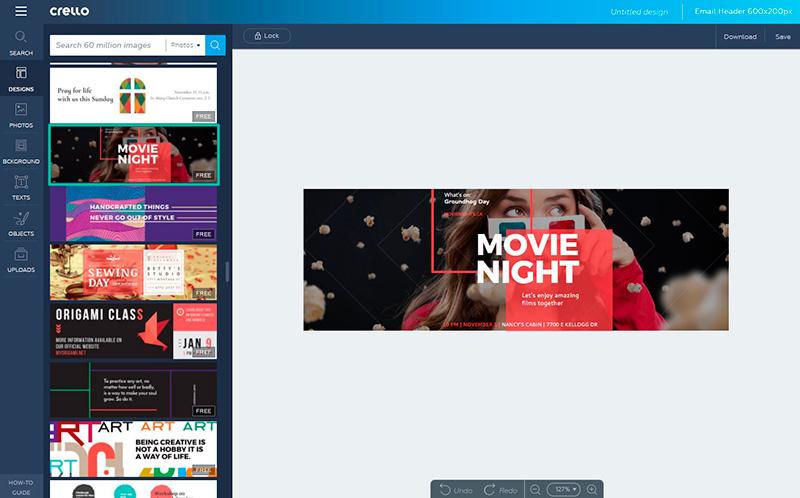
Step 3: Choose a template
In the left hand column, under the ‘Designs’ tab, you will find dozens of different email header templates. Choose one that is going to compliment your cause. If you’re lost, choose according to your brand aesthetics. Remember that all the elements in the template are customizable.
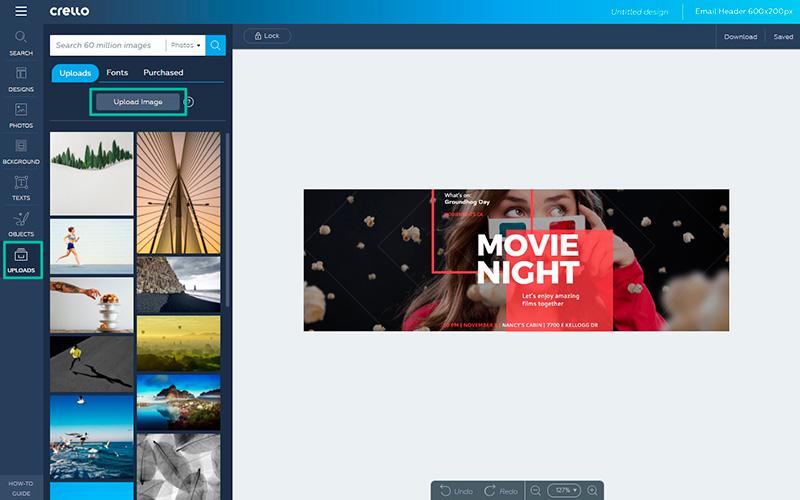
Step 4: Adding your own image as a background
The quickest way to customize the given templates is to include your own image. You can either search for an image from the ‘Photos’ tab or upload your own using the ‘Uploads’ tab.
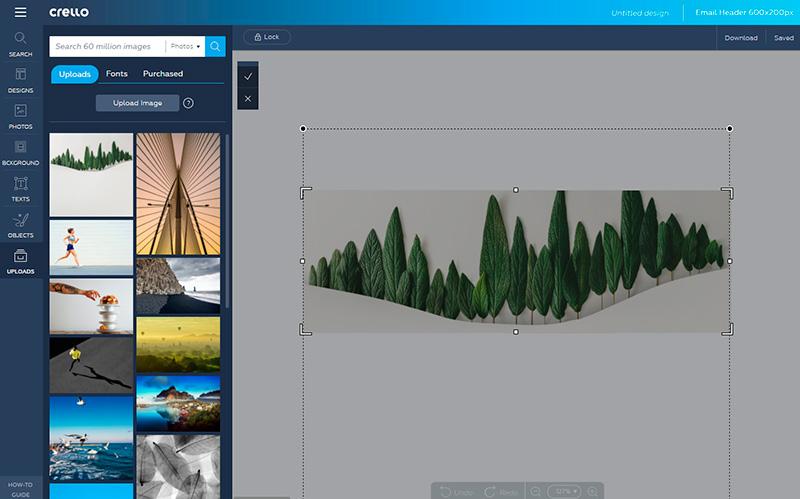
Step 5: Adjust image placement
Drag your uploaded image to the background of your template. To adjust the positioning, double click on it afterwards. You will be able to move the image and adjust the position according to your template.
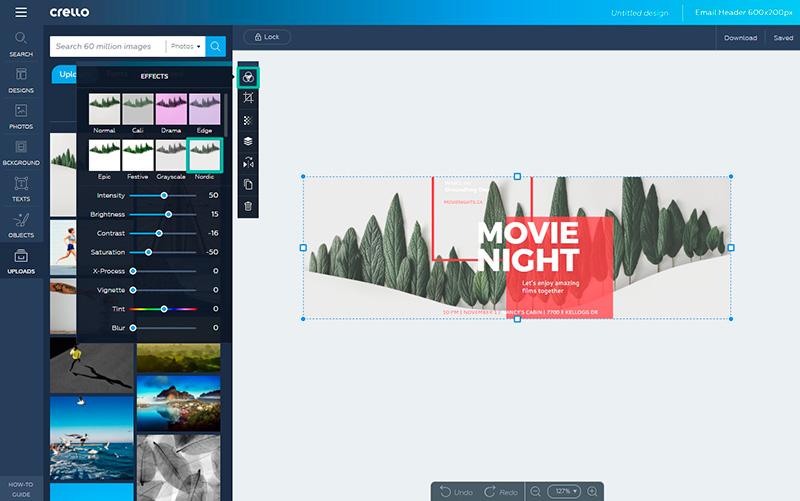
Step 6: Adding filters to your image
To add a filter, click on the image and you will see a popup menu on the left. Click on the filters icon and choose a filter for your image. To get rid of the filter presets, click ‘Normal’ from the filter options.
Step 7: Adding text
Click on the text to add your own. Make the most important information in a large font size and secondary information slightly smaller. You can also add a second font type to differentiate packs of information. Generally, try to keep it brief.
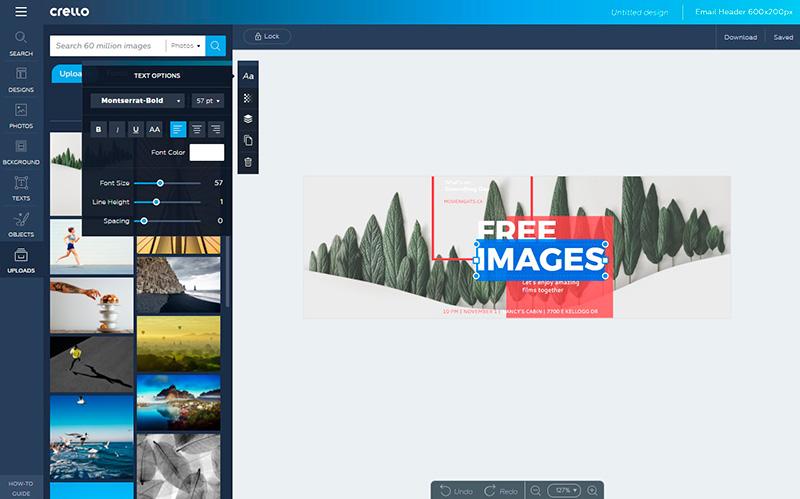
Step 8: Adjusting font size
To adjust the size of the font, select the font and you will see the ‘Text options’ menu on the left. You can use the slider besides ‘Font size’ to adjust the size as needed.

Step 9: Download your graphic
When you’re done adjusting the details, click ‘Download’ and choose a file format that suits your project.
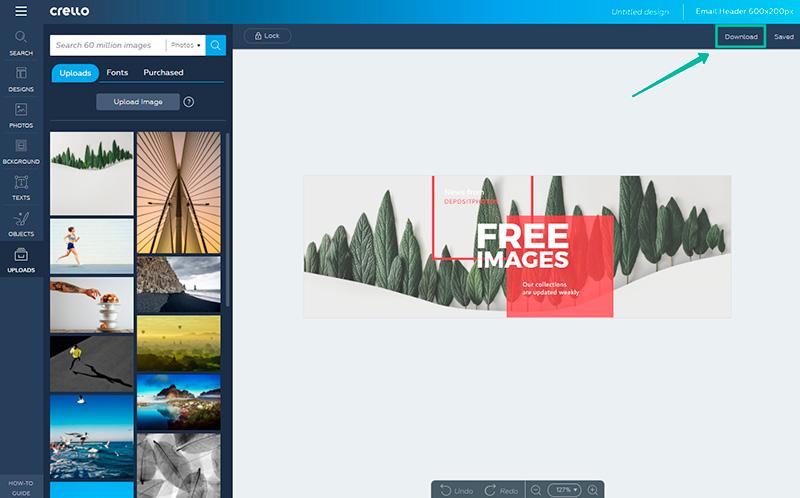
Finished email header: