Night Photography Tips for Sharp and Beautiful Shots
The sad news is that winter is coming and days are not getting any longer. The good news is that colder seasons are an amazing opportunity to practice night photography skills.
The challenge of adjusting to unpredictable light conditions in manual mode at night is tough. Night photography, in general, is a great genre to tackle for professionals of different levels of expertise. You can experiment with camera settings, try new photography ideas and be sure that if you succeed in photographing at night, day time shooting will be a piece of cake for you.
In this article, we’ve rounded up all night photography tips and techniques that will guide you through the possible questions and challenges that might come up.
Choose a location in advance
You may think, this part is the easiest and least important but in reality, it’s an extra step you have to do to avoid losing time during your shoot.
Night photography is very tricky because of the low light conditions. To get a good shot you will have to walk around your chosen location and analyze the kind of lighting you’ll have to work with during your photo shoot. What objects will be in the dark? Is the location crowded at night? Are there any street lights?
Based on this information, you will decide on things like gear and composition to save yourself time and have the chance to plan ahead.

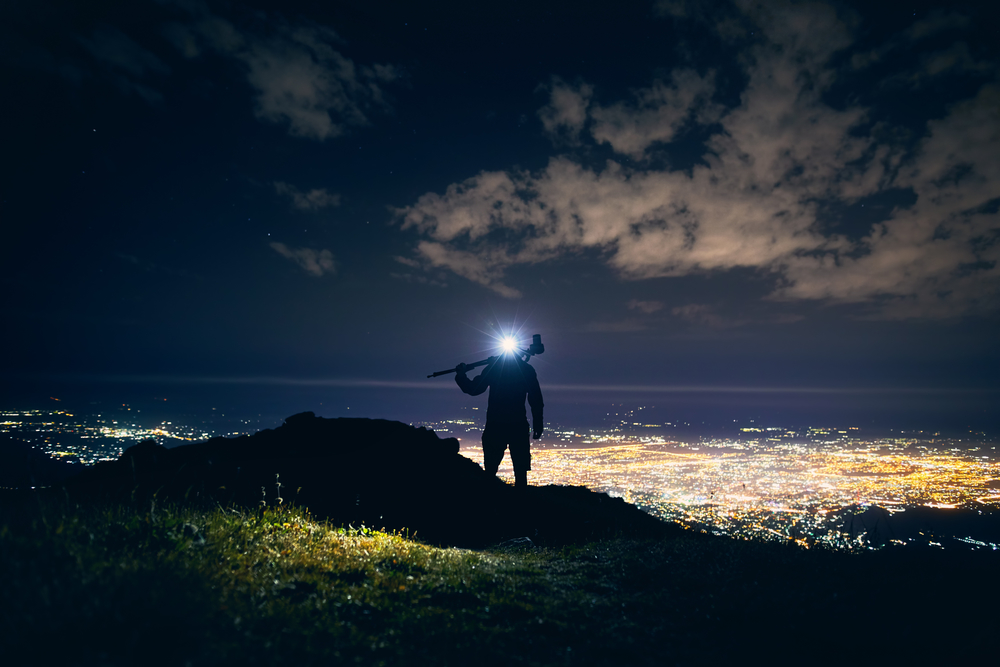
What can you photograph at night?
- Landscapes and seascapes
- City skylines
- Illuminated architecture
- Fountains
- Starry sky
- Roads and highways
- Fireworks and shows
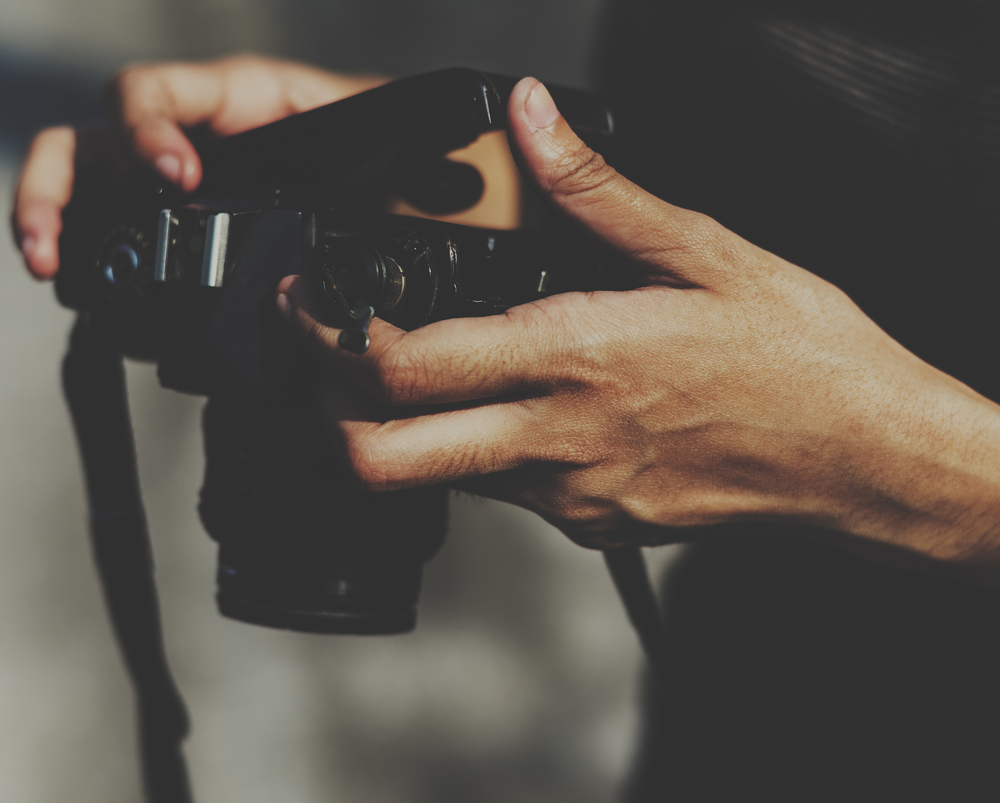
Switch to manual mode
When going on a hunt for night time shots, of course, your aim to get beautiful but also high-quality images of landscapes or your subjects.
However, night photography is a totally different world and the automatic mode that worked well during the day won’t be a useful setting anymore. Your camera will automatically focus on glowing objects or even won’t focus at all. The only solution here is to switch to manual mode and adjust all the settings including ISO, shutter speed, and aperture manually. If you’re just getting acquainted with what manual mode has to offer, check out our infographic and learn how it works.
Get a tripod and a timer
Do not underestimate the importance of a tripod and a timer. Together they can help you with more clean and crisp images.
Shooting without a tripod is fine during the day because the settings are adjusted with an automatic mode. Meanwhile, at night, when you switch to a manual mode, the camera should be still. Any kind of camera movement or a hand touch – even the slightest one – can affect exposure. That’s why y a tripod and a timer is a must for night photography.
If you don’t have any, try to stabilize your camera by putting it on something stable nearby. This will allow you to minimize any movement that may blur your shot when you press the button. Nothing can be better than a tripod which is there to avoid all these issues.
Pro tip: the heavier the tripod is, the better.
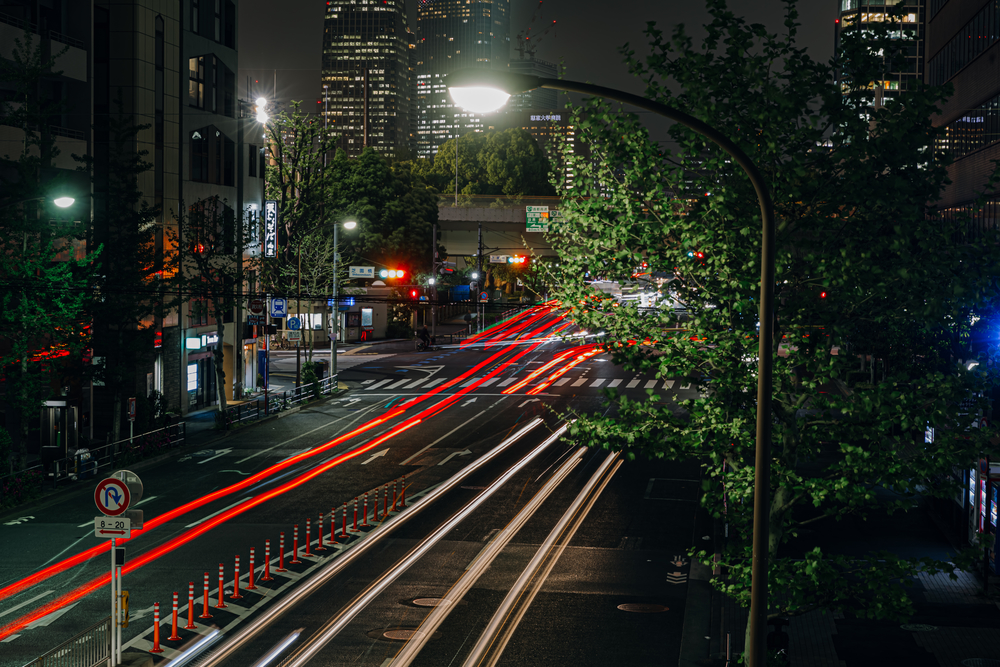
Try long exposure photography
Another tricky thing a photographer faces when taking pictures at night is the right exposure. As you’re shooting in manual mode, you’ll have to adjust the ISO, shutter speed, and aperture manually. The trickiest part of nailing the exposure triangle at night is that they all have to work together to capture just enough light to not underexpose or overexpose your photos.
Experimenting with camera settings for night photography is the hardest part of the genre. If these night photography attempts will be the first in your career, here’s a tip: start with long exposure photography.
Remember that it will take time to find the best settings for different light conditions. Shooting a landscape is drastically different from shooting street photos at night. Although it’s difficult to advise on ideal settings, here are some general guides for night photography:
ISO
It may seem logical that you shoot with higher ISO, but you’ll have to compromise on image quality. Although you may want to increase the ISO to capture more light, it’s actually not the best idea because of the way exposure must be adjusted particularly with night photography
Try to experiment with camera settings and shoot on the lowest possible ISO, considering the light and weather. If you find a perfect value for a particular composition, you’ll also be able to achieve impressive results and perfect them during post-production.
Aperture
A widely spread technique for night time photography is to open your aperture wide and let as much light in as possible. There’s no need for a large depth of field, so keeping the F-Stop lower is the best practice with low light conditions.
Shutter speed
Once you’ve decided on ISO and aperture settings, you can worry about the shutter speed. It’s less important if your camera is stable, in which case the shutter can be open for as long as you’d like. For night photography, it can be up to 30 seconds.
Bridges and roads look especially fascinating when shot with long exposure settings. But you also should keep in mind that a nice picture won’t be possible without a sturdy tripod.
Shoot RAW
One of the best night photography tips to consider is shooting RAW. Switch to this setting at the very beginning will make your job easier during the post-production stage. Darkness is far not the best condition for photography and you’ll definitely have to post process the images for this reason.
If you shoot RAW, you will get an uncompressed file that allows you to edit the contrast of the photograph, reduce the amount of noise and do any other necessary tweaks with an images the way you won’t be able to do so with JPEG.
Post-production with night photography
Although post-production of photos is a controversial issue, for night time photography it is a must. Everything you couldn’t fix with your camera can be enhanced during this stage.
Start with basic editing tools. Crop your image slightly to fix the composition. Then adjust saturation, edit brightness and contrast. You can also alter exposure if it’s not ideal, as well as add sharpness to your image.
Filters is a whole other field for experiments. With them, you can give your photographs a particular ambience. If you plan to include these works in your stock photography or creative portfolio or even Instagram feed, you can apply the same filters to all the images in order stylistics to be consistent.
Night photography is tricky and can be quite frustrating, but every photographer should be up for some experiments. Mysterious and bright images shot in low light look fascinating and force you to even show the things people can’t see with the naked eye. Once you learn to work with the toughest light conditions, night photography can become another medium of self-expression.