Photoshop Tutorial: How to Remove Objects From Images
In our previous post, we covered one of the essential skills for photographers – how to remove a color cast. Today we’re looking at another skill that will come in handy if you have unwanted objects in your photographs. Removing objects is a lot easier than it seems. Here’s how to do it in 9 easy steps.
Step 1: Open your image in Adobe Photoshop.

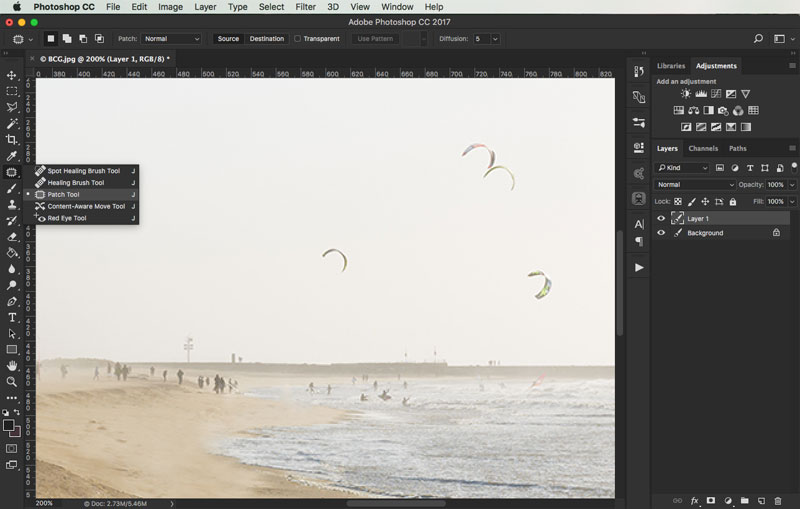
Step 2: Select the patch tool in the toolbox on the left.
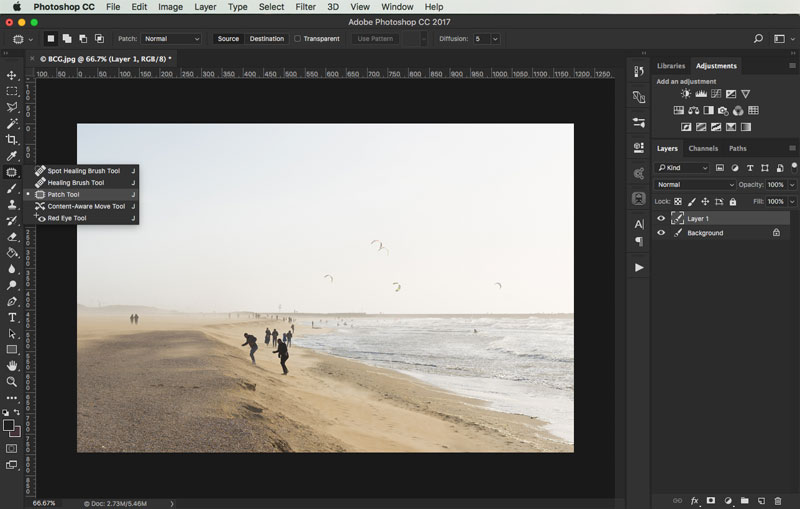
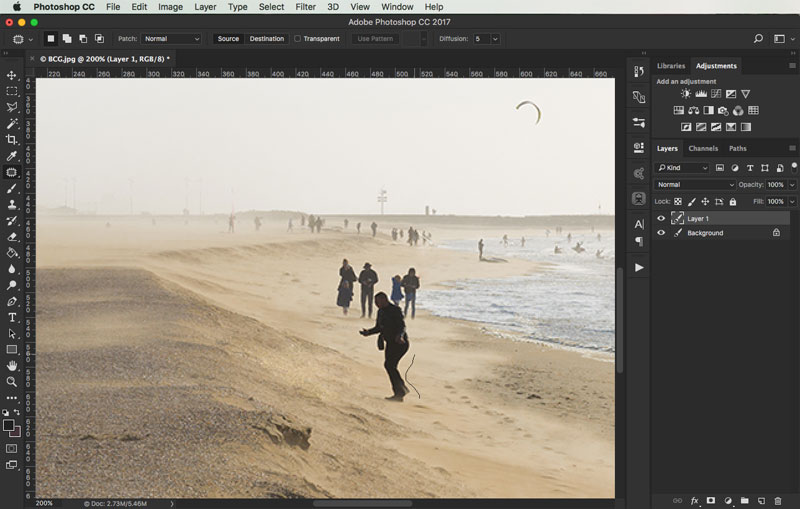
Step 3: Use the patch tool to trace over small parts of the image and drag the selected area to a place on the photograph with a similar background. For instance, to get rid of the man in the foreground, drag the patch tool selected area to the sand. Repeat this procedure for all unwanted subjects or objects.
Step 4: To perfect the color differences, use the clone stamp tool. To use the tool, hover over an area on the photograph and hold ALT to make a similar stamp. Use the stamp to go over areas that don’t fit the color scheme or have dramatic color contrast.
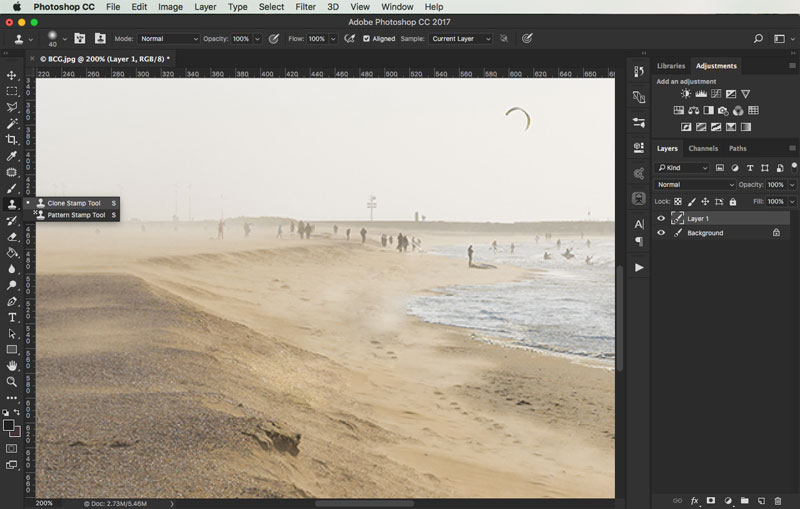
Step 5: If you see patches in the photograph, continue using the clone stamp tool to get rid of color imperfections.
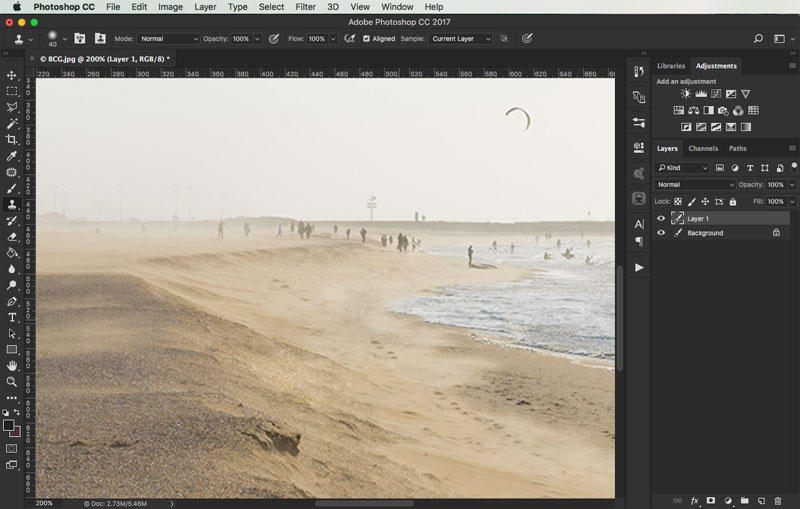
Step 6: Once you zoom out of the image, the details won’t be as visible. For a better color transition and blending, zoom in to your photographs to work on detailed areas.

Step 7: Go back to smaller details that need to be erased and select the patch tool to repeat the steps.
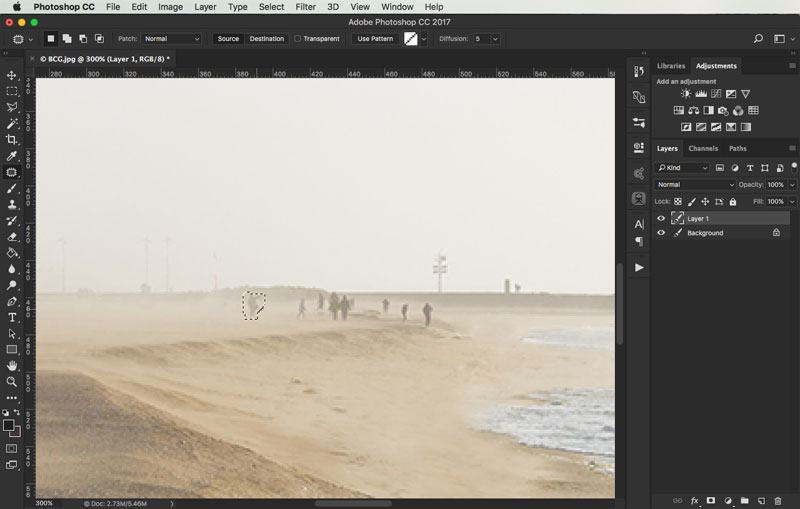
Step 8: It’s easier to get rid of faint colored subjects or objects. Try to use the patch tool on small areas, as seen in this screenshot.
Step 9: Zoom out to make sure you have erased all the details that you don’t want in the image. Getting rid of objects in your photograph requires these two tools: patch tool and clone stamp tool. The amount of time spent erasing objects will depend on how detailed your images are.
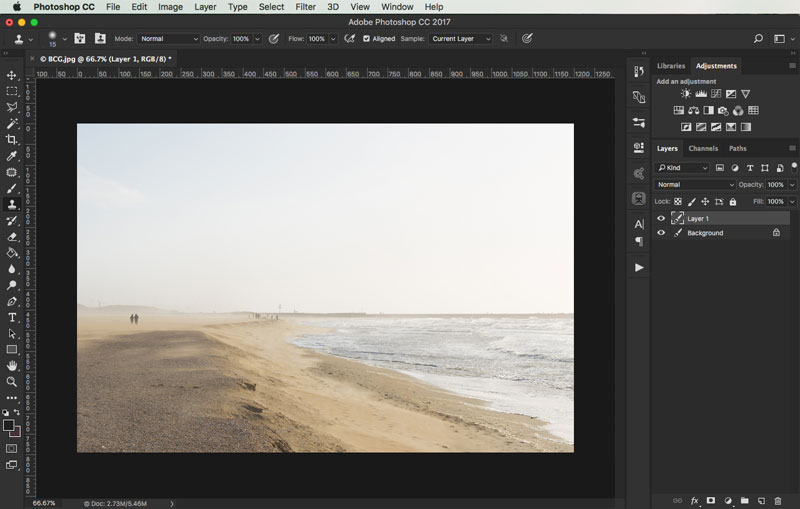
Before and after: