10 Easy Ways To Enhance Images
With Instagram and Pinterest being a significant part of our daily routine, the skill to enhance images has become crucial not only for professional photographers but also for amateurs. Filters, brightness and contrast – these terms are already known by every Instagram user. We’d like to introduce you to a few other ways to enhance images.
Not many have explored other tools and options on mobile and computer apps: crop, vignette, saturation and many others. With their help, you can enhance your image, from adding minor changes to completely transforming it.
Looking forward to mastering your photography skills? In this article, we share with you 10 easy ways to enhance images.
How to enhance images like a Pro
Crop
The crop is, perhaps, the easiest and the most effective tool to enhance an image. It can remove outer areas and distracting elements, improve framing and composition, make an emphasis on the object, zoom, or change the aspect ratio and orientation.
However, to simply crop down an image is not enough. You should remember some basic rules:
- Leave some air. Try not to crop your images too close to objects.
- Follow the rule of thirds. It is a principle of composition, which claims that the image should be divided into nine equal parts. The part of the image you want to highlight should be located along these lines or at their intersection.
- Remove unnecessary details. You can delete distracting elements, trash or too much room using the crop tool.
Tip: always purchase an image in a large size, so you could crop it to the smallest detail without losing quality.
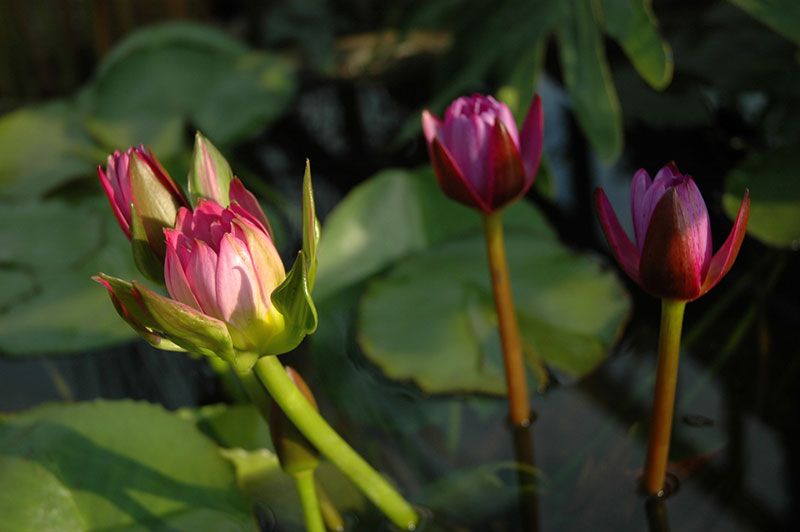
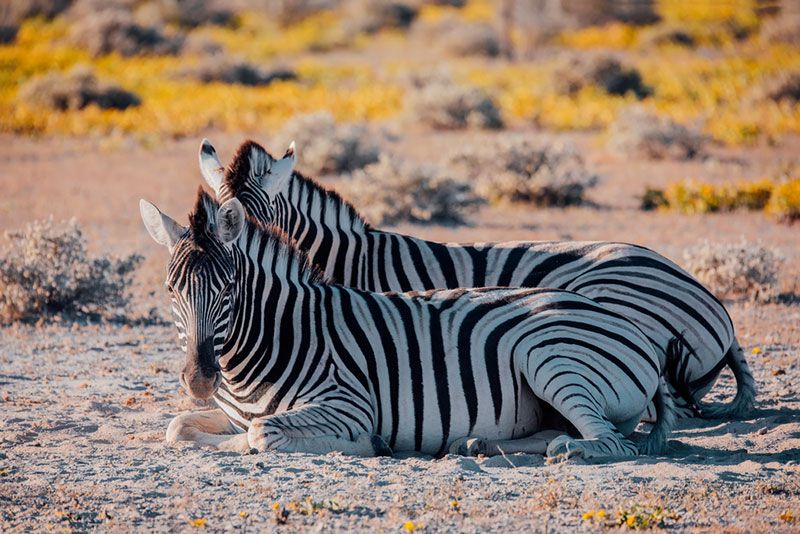
Original:
Cropped:
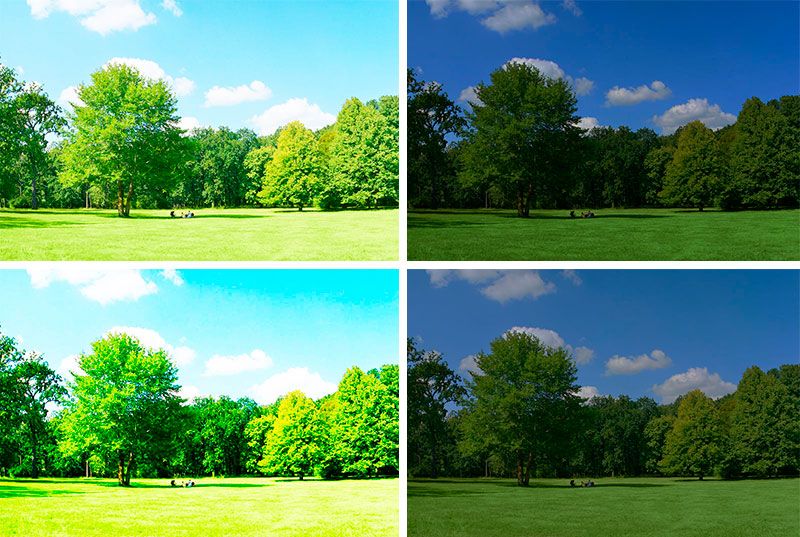
Adjust saturation
With saturation, you can quickly enhance the color intensity of an image. The relevant amount of saturation is a subjective notion but one thing you should watch out for is oversaturation. To avoid unnecessary noise and grain that both appear as a result of an oversaturation, switch to RGB mode. Thus, you’ll be able to enhance those colors that are not bright enough. If you saturate red, green and blue at once, an image will acquire an unnatural look.
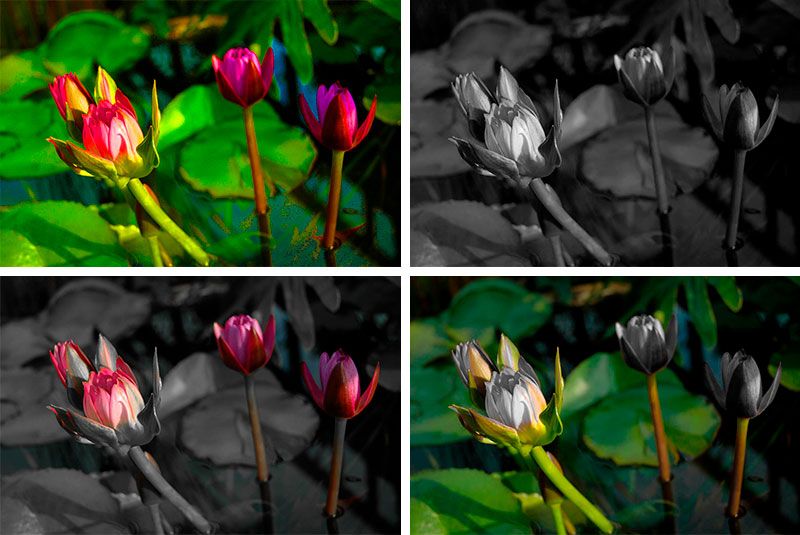
Below, you’ll find the examples, where:
- top left is the image with the highest saturation (+100)
- top right is the image with the lowest saturation (-100)
- bottom left is the image with desaturated green
- bottom right is the image with desaturated red.
Tip: the higher the saturation, the more vivid the colors are. Be careful to take the unnatural route, when oversaturation creates an artificial lighting situation.
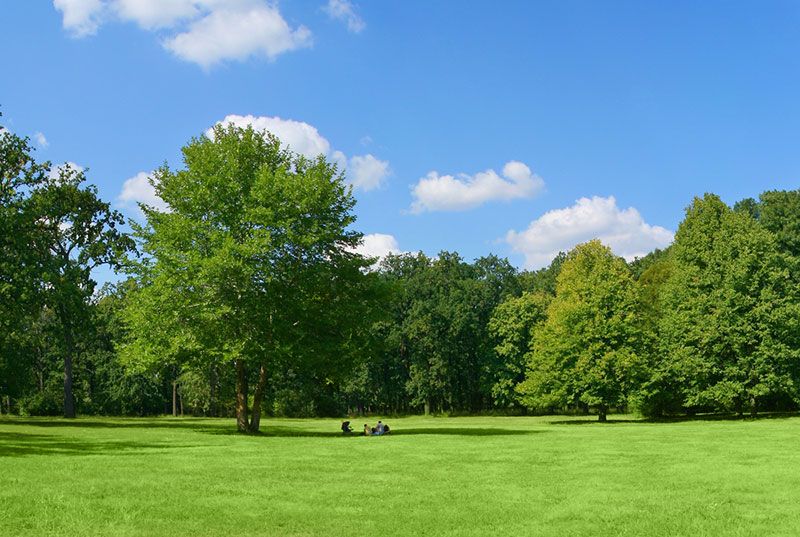
Original:
Saturated:
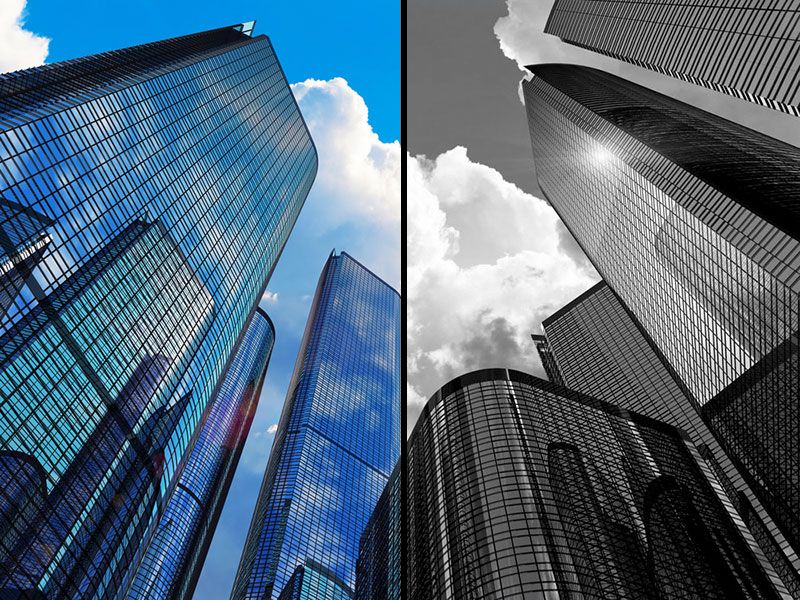
Convert to black and white
The most dramatic change you can bring to an image is to convert it to black and white. But, primarily, you have to check contrasting elements, as not every image looks good with this enhancement. For instance, portraits better show the emotions on a black and white image, while landscapes and architecture appear more dramatic and ambient.
If you’ve converted an image to black and white and it does not look as good as you have expected, try to play with brightness and contrast.
Edit brightness and contrast
When you’re an amateur photographer or just starting your path, it is quite difficult to get the right brightness and contrast of the shot. But you can enhance it during the editing process. Brightness allows you to change the lightness of a shot and works well together with contrast. Whether you’re increasing or decreasing the contrast, an image will look clearer or more faded.
Below, you’ll find the examples, where:
- top left is the image with high brightness (+100)
- top right is the image with the lowest brightness (-100)
- bottom left is the image with high brightness (+100) and contrast (+100)
- bottom right is the image with the lowest brightness (-100) and the lowest contrast (-50).
Original:
Edited:
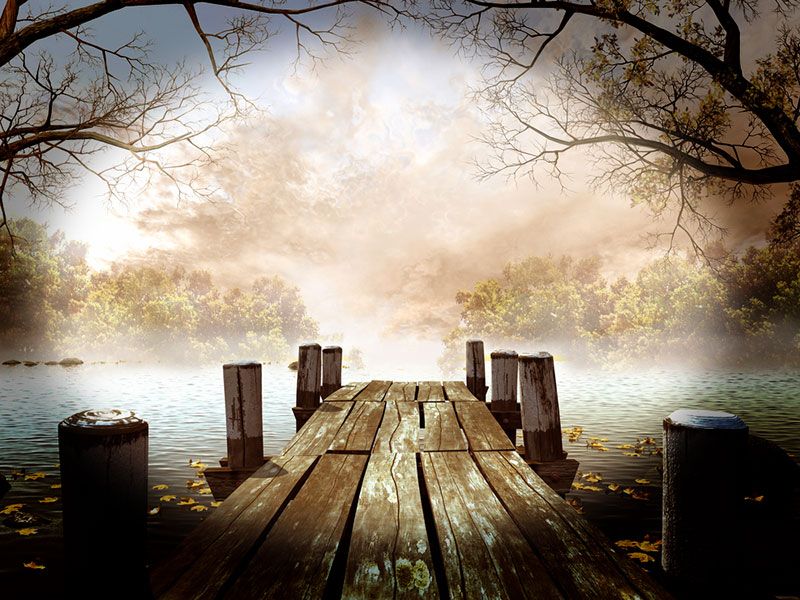
Create a vignette
Professional photographers often refer to a variety of vignettes (mechanical vignette, optical, natural and other) but, actually, all you need to know is that this tool reduces saturation towards the edges of an image, allowing to highlight an object. Macro photography is where vignette looks especially good but it also can serve a creative way to add some drama to a photo you’ve already converted to black and white.
Tip: vignette is rarely used by professionals. Try not to overuse it not to seem like an amateur exaggerating on some photo effects.
Original:

Enhanced:
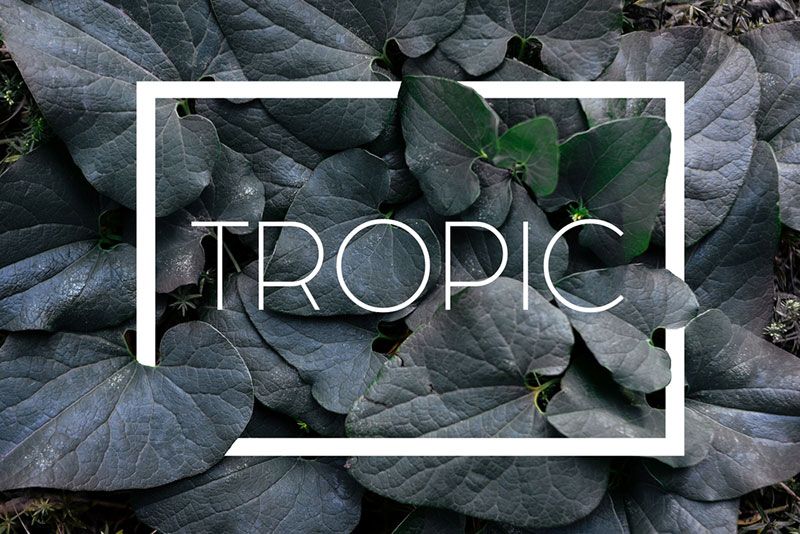
Add text and frames
Another way to enhance an image is to add some text. Ideally, a shot should speak for itself but if you feel like to decorate an image or simply provide your audience with additional information, adding text is a fancy way to do that. It can be a word, a phrase or even a paragraph of text but until it overloads an image with information.
Except for words which can help you tell a story of your shot, you can add a frame. Which one to choose – a thin or a bold one – is up to your taste. But remember that it should resolve an issue (ease the image perception, highlight an object, personalize or customize) rather than decorate it.
Use a filter
Last but not least thing you can do is enhance an image with a filter. Whether you plan to edit images for your social media accounts or an upcoming photography project, make a preset and try to achieve consistency of the grid. Thus, you’ll create a particular ambience, stand out with a signature editing style, and appeal to an audience with your unique shots.
Tip: in order to save the quality of a shot, do not put filters at their maximum potential. This gives images an ‘overworked’ look and quickly loses appeal.
Original:
Enhanced:
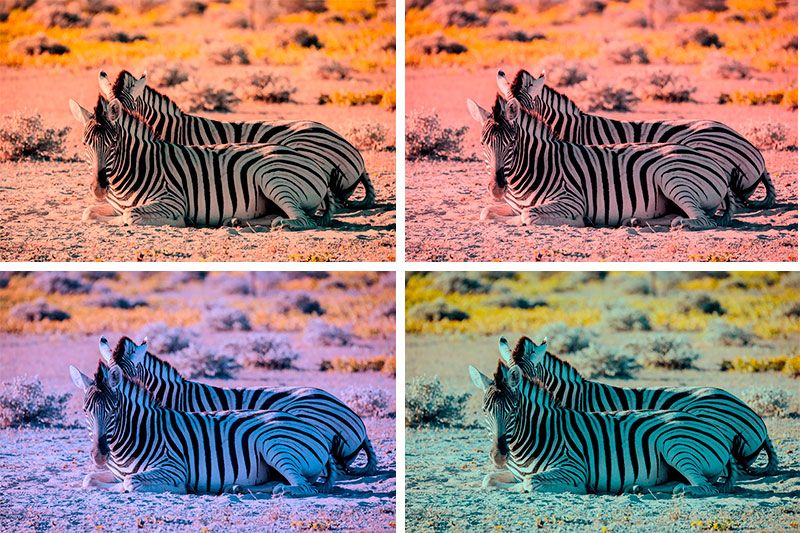
Image editing seems like an easy task but it actually requires a photographer to be focused and accurate. Try to objectively define which enhancements your photos need and avoid applying all the available tools and options at once. For more useful information on the topic, check out our piece on stock photography customization and other thematic articles.


