Improve Your Indoor Photography With These Easy Tips And Tricks
Indoor photography can be tricky especially during the pandemic. Having spent months at home, it’s hard to find quick ways to get creative and stay productive within the four walls. Also, you might not have enough daylight for sharp and high-quality shots in your flat. There are more limitations that you face doing indoor photography but this does not mean you shouldn’t push yourself to try.
You can improve your indoor shots with tips and tricks that we share in this article. They are easy to implement and very helpful if you feel like your indoor photography needs a level up.
1. White balance is everything when you shoot indoors
Have you ever noticed that some indoor shots (often taken by amateur photographers) look yellowish or bluish? The images might have good composition and translate a creative vision but a failure to regulate white balance makes them look unprofessional and of low quality.
Controlling the white balance is especially challenging when space does not have windows or doors that lead directly to the street. Although the majority of DSLRs and mirrorless cameras have automatic control of it, it won’t perform well in low light conditions. In these cases, a photographer has nothing left but to switch on all the available artificial lighting and manually adjust your camera settings.
To get the right color temperature on your indoor shots, figure out the type of lighting (incandescent or fluorescent) in the room, and adjust the white balance accordingly.
2. Make use of windows and doors around you
If a room or a studio you’re shooting in are naturally lit, you’re lucky. You won’t have to worry about adjusting your camera settings for low light conditions and will be able to focus on how creative and original your indoor photoshoot is.
However, you may not always be so lucky with your location and sometimes, you’ll have to work in spaces that don’t have much light. You’ll have to seek a solution and actually, there’s a safe bet. Just look for windows or doors that lead to the street and try to make the most of the daylight that comes from them.
Pay attention to the type of light that floods the location. During the day, the light changes several times and it won’t necessarily work in your favor. For example, the sun at midday can endow space with harsh shadows and make your photos look cheap. But if you schedule your indoor photoshoot for early morning or just before the sunset, you’ll get a chance to take some images during the golden hour. At this time, the lighting is soft and the photos you capture acquire a magical golden glow. Just imagine what fascinating indoor photography ideas you can realize during these hours!
3. Play with light to get creative shots
If you’re shooting at home but not outdoors, photography might be boring or challenging like it was during the worldwide lockdowns. However, many continued to create despite limitations and managed to take an entire series of impressive images. Some photographers reimagined their routine, others did still life photography and took conceptual shots using improvised means or props they found at home.
Another idea for a creative indoor photoshoot is a play with light. You can take pictures during twilight or the blue hour and tell stories about the mysterious shadows that fall on the surfaces. They will add depths to your photographs but also make some images look truly authentic.
This approach will allow you to experiment with indoor photography but also it will open up you some opportunities. For instance, the Depositphotos team recently launched a photo contest “Authenticity 2.0” that aims to explore authenticity through the eyes of photographers. The deadline for submission is August 31 so you still have some time to take some authentic photographs and participate in the contest.
To find out more about the contest rules and requirements, read this guide.
4. Use reflectors for indoor photoshoots
As your indoor location might not have enough light, you should compensate it with different tools and tricks to get high-quality and aesthetic images as a result. A reflector is among such tools. It is relatively inexpensive (compared to other gear) but it can help you drastically improve your indoor photography, especially if your shooting portraits.
With a reflector you can adjust the light, making it softer or harsher. You can also make the light more intense or create additional highlights to showcase the volume or shape of the object.
In addition, a reflector can be used for product or food photography. Depending on the reflector surface (white, black, golden, or silver) you can change the color tone on your series to cooler or warmer ones, as well as deepen the shadows for darker shots.
5. Follow composition rules for perfect indoor shots
To look professional and outstanding, indoor photography requires creativity and inspiration. While being enthusiastic about realizing your unique vision, you shouldn’t forget about basic composition rules. They will get you tools and room to experiment as you do your job.
Even if you’re just starting out in photography, you’ve definitely heard about the rule of thirds, the Golden Ratio, and other composition rules that help you improve your photography. Keep them in mind when preparing for a photoshoot. Devote time to creating a shot list in advance so during the shooting you could enjoy the process instead of stressing out because of props arrangement or other issues.
6. Make the most of props and details at your location
Although indoor photography is challenging most of the time, it has positive aspects as well. Whether at home, in the office, or at the studio, you get access to props at the location that you can use for your photoshoot.
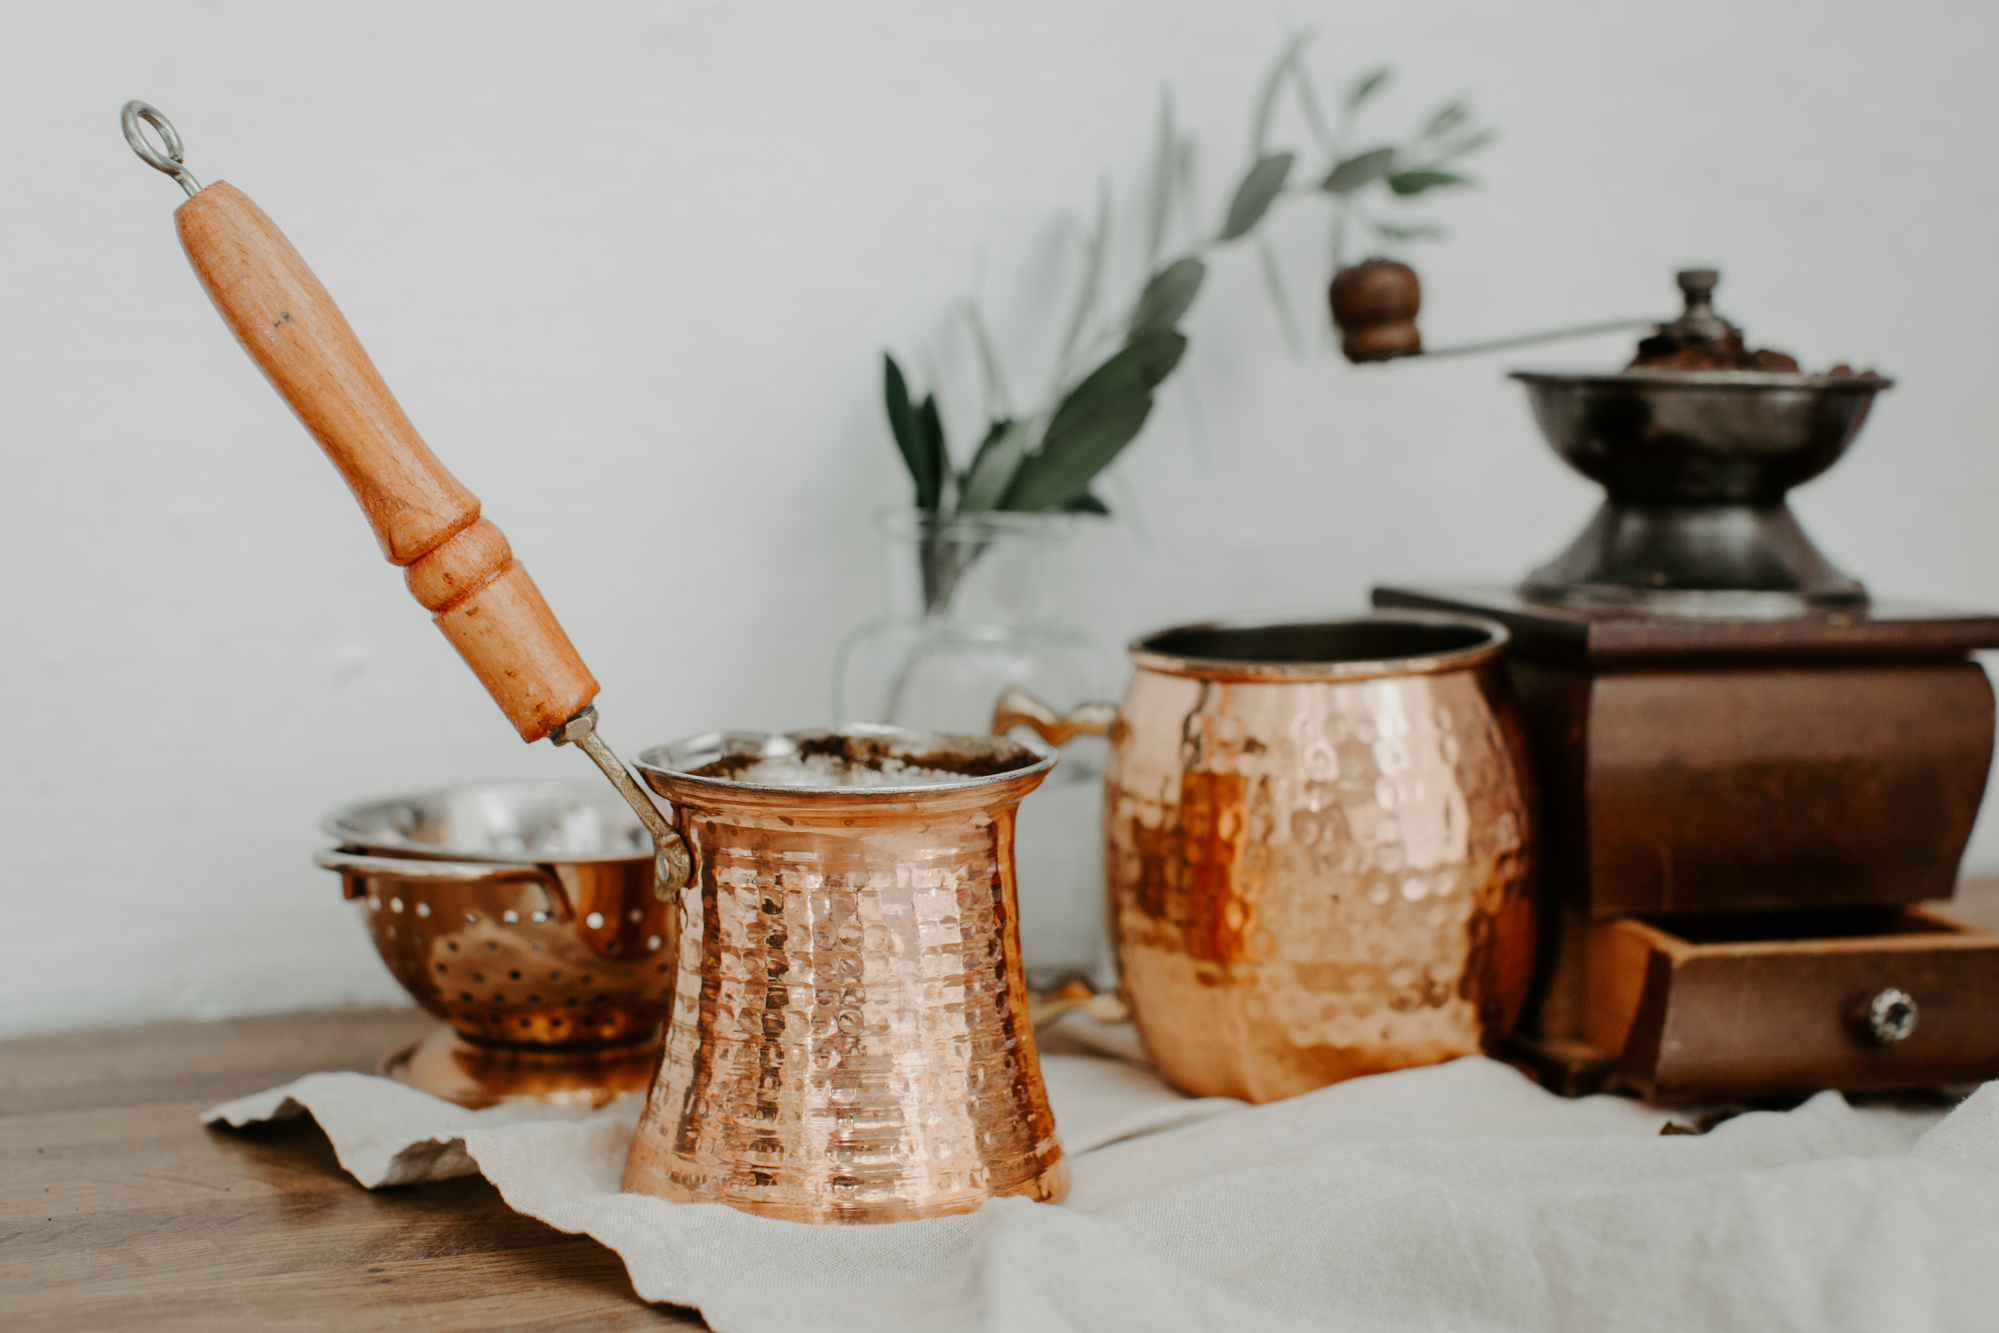
Have you ever used kitchen items to create an interesting composition? Towels, aprons, cutlery, crockery, and boards allow you to build layers and add textures to your photography, making it more complex.
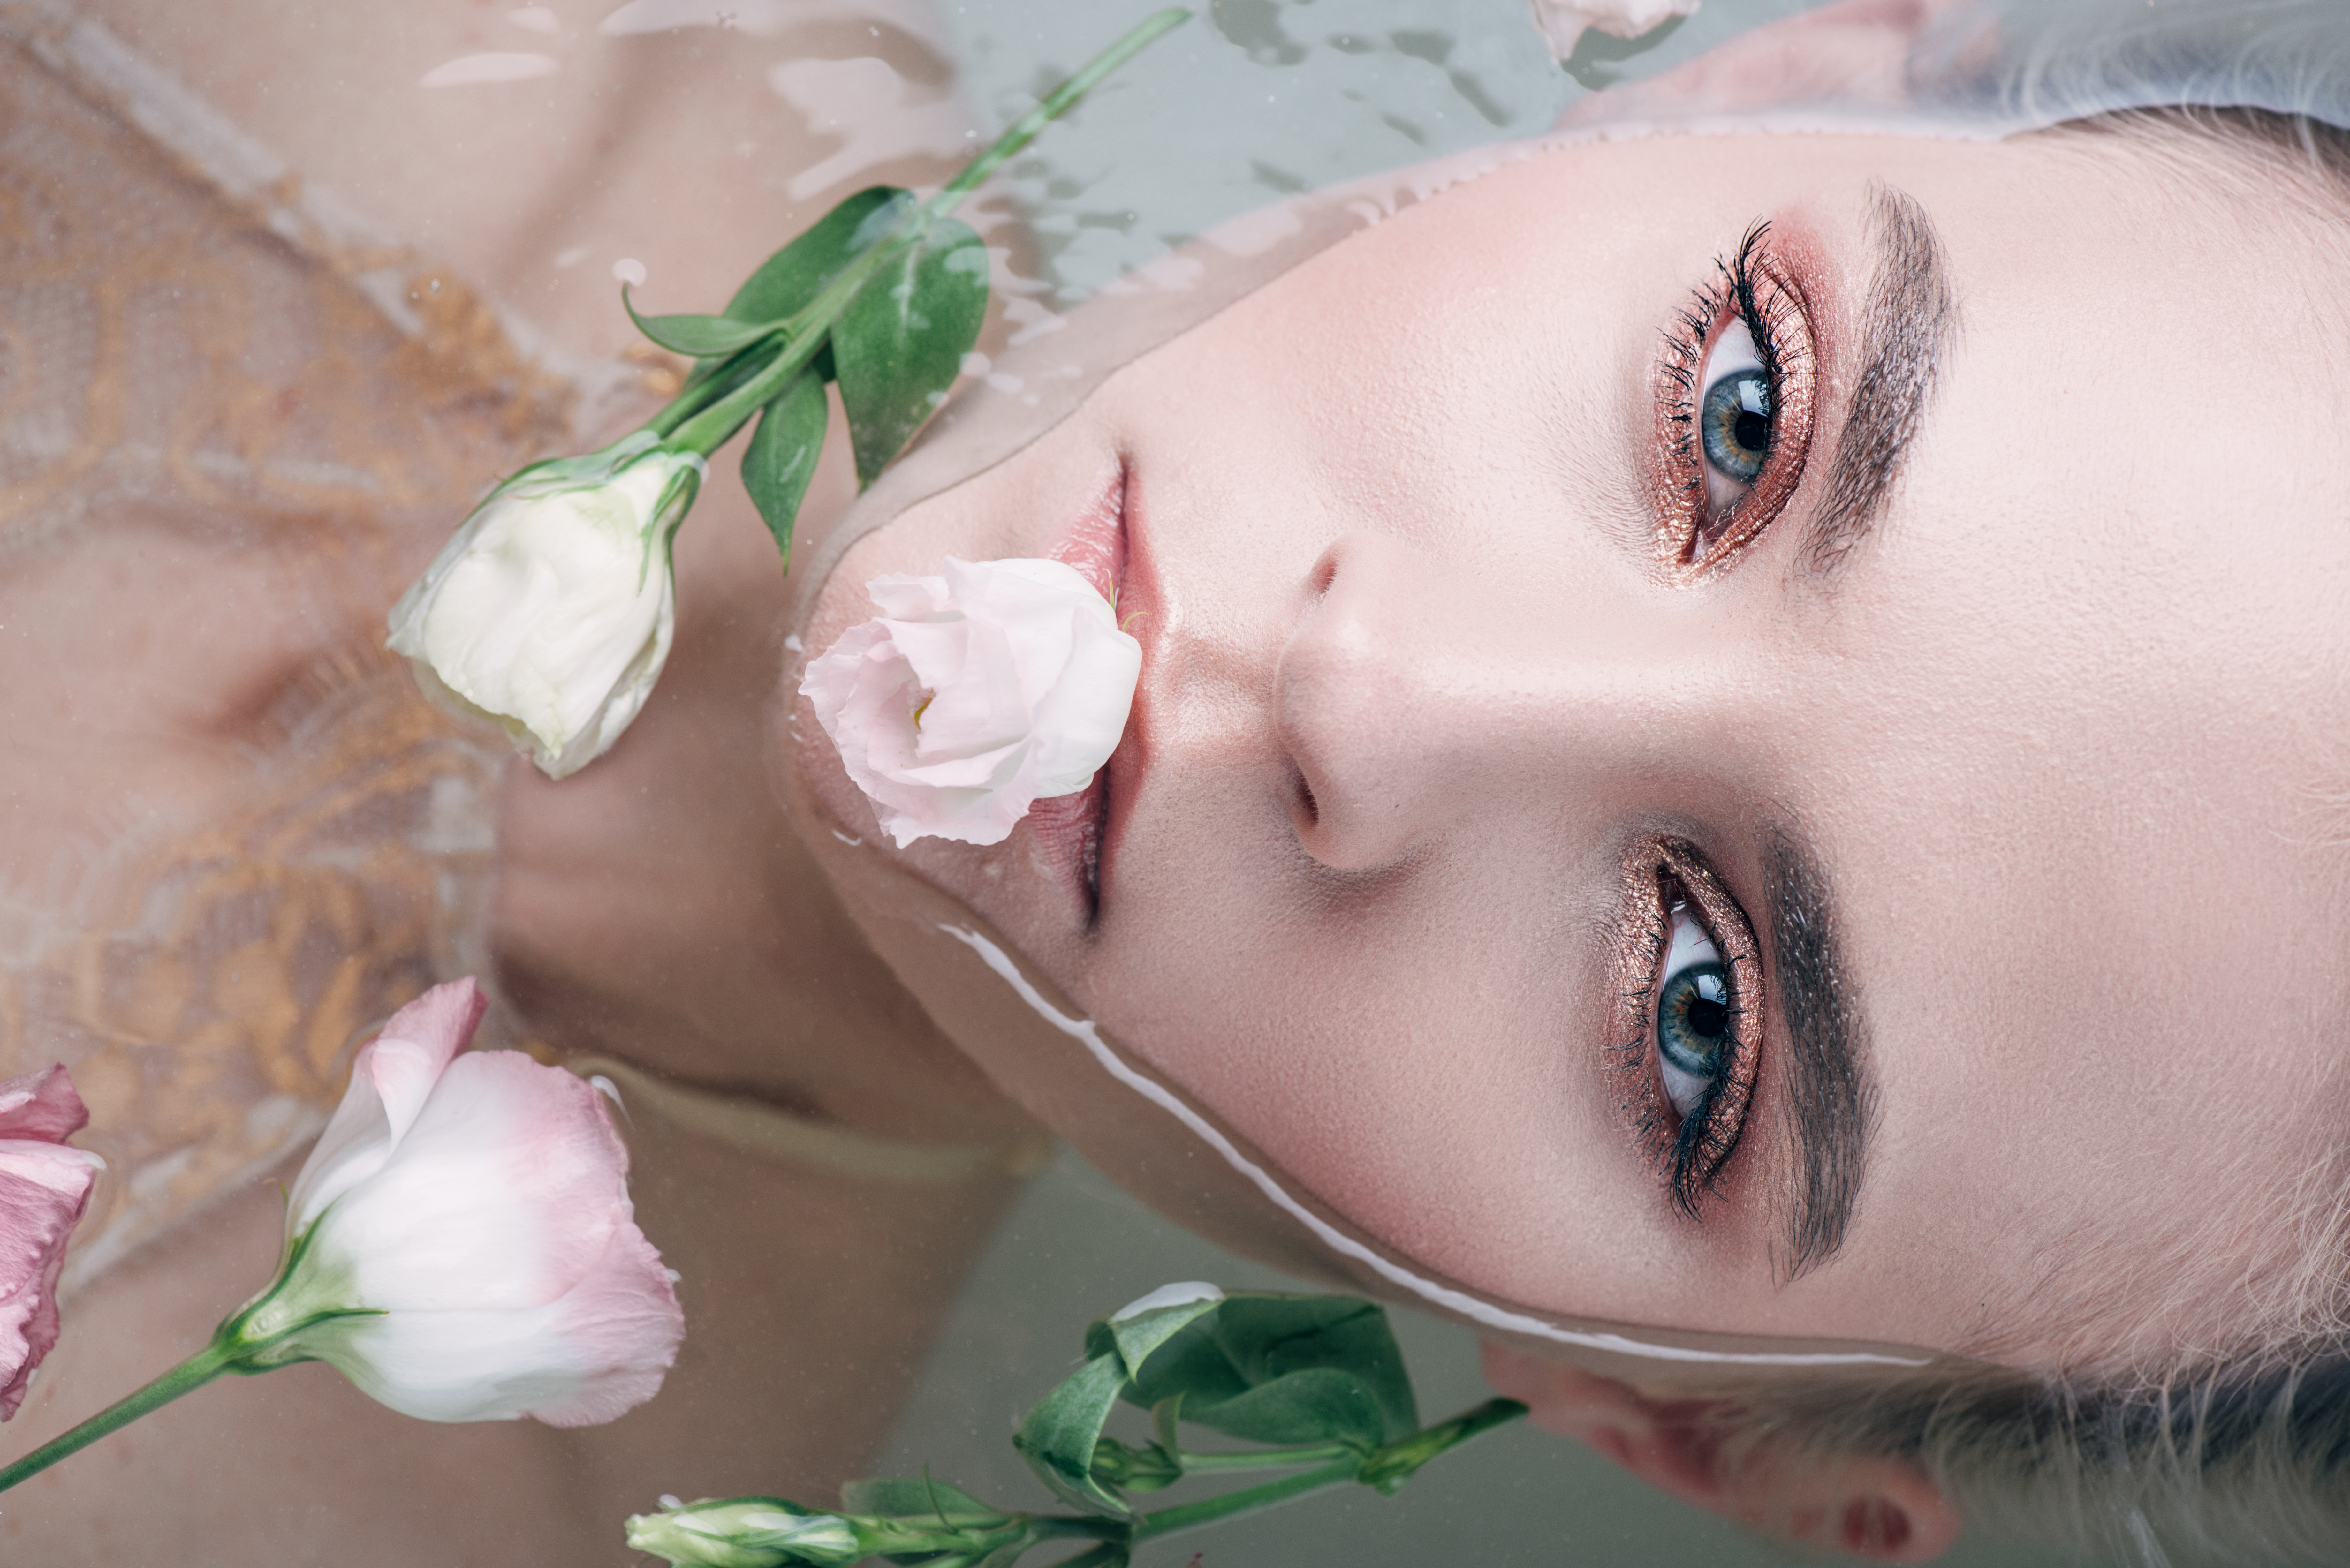
If you have a picture-perfect or old school-looking bathroom, you can try to create Instagramable images as most bloggers do. Fill your bath with foam, arrange candles and flowers on the sides, and take indoor photos that would get thousands of likes and shares on social media.
In fact, if you look around your room, you’ll see dozens of opportunities for interesting indoor shots. Just take your time to think over all the possible ideas and then, make the most of the props and space that you have at your disposal.
To sum up
Whether you plan to master your skills, enrich your portfolio, or realize your client’s brief, these easy indoor photography tips and tricks can help you improve your images. At first, try to follow composition rules and carefully adjust your camera settings. But once you learn these things and they become more natural to you, you’re ready to break the rules and bring your indoor photography to a completely new level.
