Photo Sizes and 7 Other Factors That Influence Image Quality
When you need to decide between uploading an image in bad quality or uploading nothing, choose the latter. People get irritated by distorted, blurred and over-compressed photos. What’s even more frustrating, is trying to figure out why HQ images work with one format and not another.
For instance, an image that looks sharp and bright on your smartphone may look poor on your computer desktop. This is due to the fact that there are many factors that affect image quality, from scaling and misusing common photo sizes for projects, to color accuracy and compression.
The Depositphotos library alone includes four photo sizes, leaving some unsure about when to use which. Read our guide to wave off any confusion and get rid of the frustration you’re experiencing when managing images for different projects, screens, and formats.
8 factors that affect image quality
1. Image scaling
Speaking about factors that affect image quality, the primary thing to decide on is where these photos will be used. Depending on the source – web or mobile – you’ll adjust the aspect ratio and photo size.

Aspect ratio
An aspect ratio is the proportion of the image width and height, which is put in a format of two numbers like 16:9 or 4:3. Different mediums require different aspect ratios. What this means is that if you want an image to have a good quality, you’ll need to use the right aspect ratio.
Common aspect ratios
- 1:1 is an image with 1:1 aspect ratio that will have equal width and height. It is square and is a perfect fit for an Instagram post.
- 4:3 is the aspect ratio usually used for computer monitors, tablets, and TV’s. However, for high-definition devices, the aspect ratio should be 16:9.
- 16:9 aspect ratio has now almost replaced the standard 4:3 and is mostly used for high-definition TV’s and monitors.
Common photos sizes for web
Common photo sizes are usually stated in pixels (1920×1080) and have different values than aspect ratios.
Although some content management systems like WordPress allow for image compression during an upload, if you want to have a good image quality for web, you should stick to common photo sizes.
- 1920×1080 is a full HD resolution that is used for TV broadcasting, smartphones, and Internet platforms like YouTube and Netflix. It is a widescreen image with 16:9 aspect ratio.
- 1280×720 is an HD-ready resolution that fits desktop wallpapers, laptops, tablets, and smartphones. It’s aspect ratio is also 16:9.
- 1080×1080 is a common photo size, which is square and has 1:1 aspect ratio. You can use it for your social media posts, for example.
Having decided on where you’ll use images, you also need to consider other factors that influence image quality.
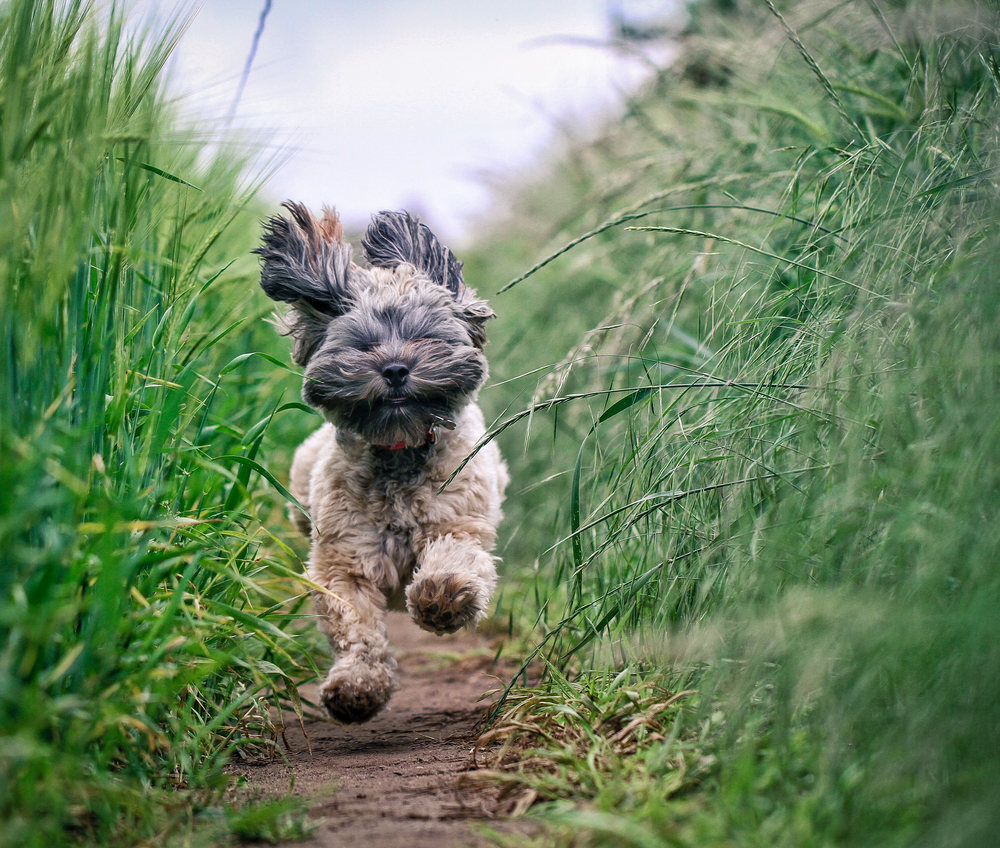
2. Sharpness
Although every photographer knows that sharpness is an important factor that influences image quality, not many realize that the notion is quite subjective.
Sharpness is a combination of resolution and acutance, where the first one is the size in pixels and the latter is a contrast of a photo. Meanwhile, the resolution depends on lens characteristics, acutance is different for every person. Some people may not like an over-detailed image that is the result of increased sharpness. Others may think that the clearer the details are, the better.
In general, a sharpened image seems to be of a higher quality. It is less blurry and with more contrast.
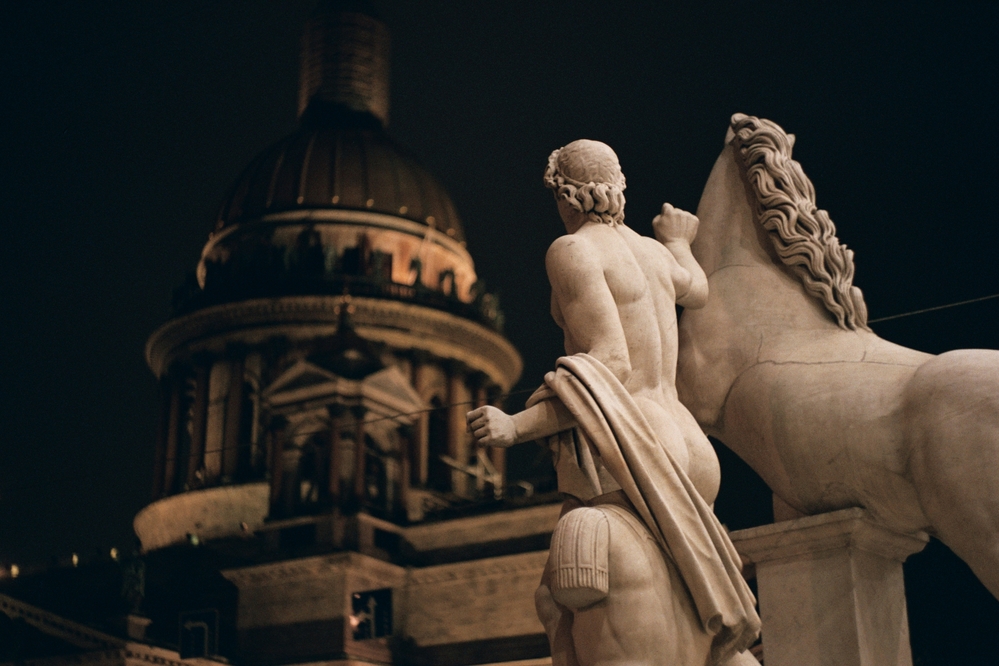
3. Digital noise
More often, digital noise has a negative connotation for photographers, as it is a defect that consists of pixels of random color and brightness.
Noise often becomes an issue when taking photos at night. In low light conditions, it may seem like increasing the ISO and capturing more light is the best solution but in reality, it’s different. Depending on weather and light situations, a perfect ISO should be determined by the method of trial and error. If you want to have better image quality with less noise, you should be ready to experiment with settings to find the golden middle during your shoot.
If you did not manage to take a picture with minimum noise, you can enhance the image quality at the post-production stage.
4. Distortion
Unless you’re working on a creative photography project or doing research, distortion is a disadvantage.
Distortion is a deviation that makes straight lines bend. It usually happens when different parts of captured objects are at different distances from the spot you’re shooting at. For instance, when taking close-ups of buildings, slight distortion is inevitable. Basically, the easiest way to avoid distortion is to move further away from the object or subject.
5. Compressing images
If you need to prepare images for the web, one of the options is compression. It implies grouping or removing certain parts of a photo with the purpose of reducing its size. There are two types of compression:
- lossy compression
- lossless compression.
For photographers, it is important to understand the nuances of both, in order to get an image of the best possible quality.
Lossy compression
Most DSLRs give you the choice between RAW and JPEG formats. If you’re a professional photographer and have advanced editing skills, you will definitely choose RAW. At the post-production stage, an uncompressed image will be easier to enhance but will also weigh more. JPEG, in turn, is the in-camera compressed format. It is less heavy than RAW because some of the image bits get deleted.
Lossless compression
As you can see from the name of the compression type, it is all about reducing the size of a picture without losing quality. If you convert an image to PNG, TIFF or BMP, the original and the compressed file will look the same, because these formats compress the image size through reconstruction and without sacrificing the quality.
Another well-known example of lossless image compression is archiving the files and transferring them in a ZIP file. However, this option is irrelevant for web.
In short, if you’re preparing images for the web and have to choose between JPEG and PNG, go for the second one. PNG files will definitely be of better quality.

6. Dynamic Range
Dynamic range, also known as exposure rage, is a crucial factor that defines the overall image quality. It is a ratio of light intensities determined by your camera characteristics and the features of photographed objects.
Your camera should have the ability to recognize and transmit the tones between black and white. To put it simply, the higher the dynamic range of a camera, the more details and colors you’ll be able to capture. If the dynamic range of the photographed object is higher than that of the camera, all images you take will be overexposed.
7. Color Accuracy
Even if you’re a novice photographer, you can undoubtedly say that color accuracy is extremely important. Of course, a camera can’t capture an identical image our eyes see but it is quite close.
You can achieve the best result by shooting in RAW and post-processing the images later. Whether you choose Photoshop or Lightroom, you’ll be able to edit an image without losing its original properties. With JPEG, it will be harder to preserve the natural shades and highlights as some data will be randomly deleted during the in-camera compression.
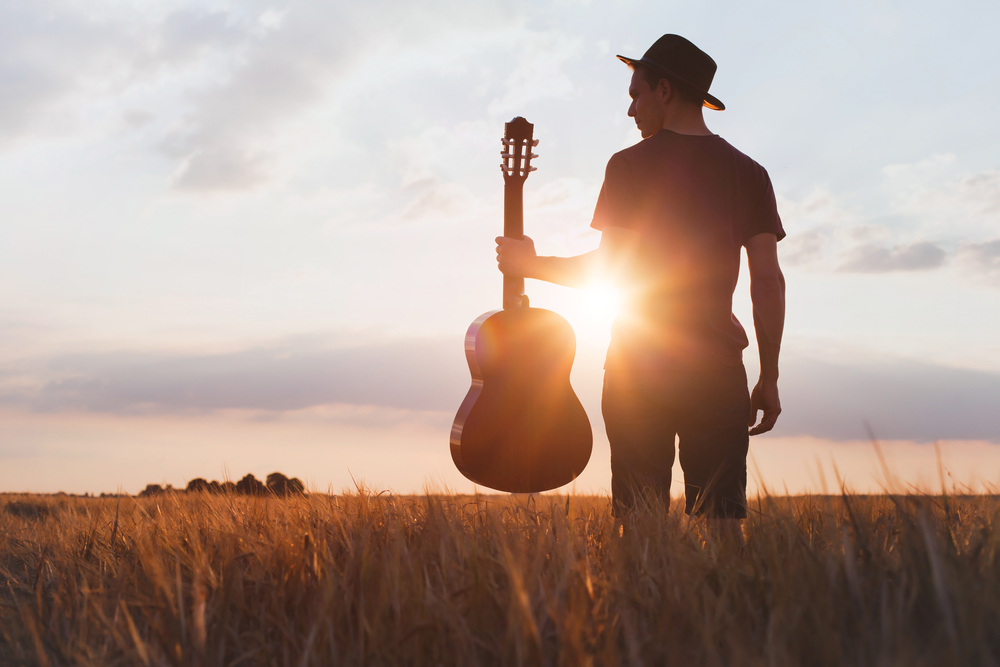
8. Lens flare
Another undesirable phenomenon for photographers is lens flare. It often occurs when the light source is too bright. For example, if you try to take a picture of a seascape during midday, instead of a detailed image you’ll get either an overexposed image or a dark one because of the bright light. In addition, the sun will look like a huge blur.
For this reason, photographers suggest taking pictures during the golden hours – the hour after sunrise or before sunset – when sunlight is not so bright and instead of a blur on your image, you’ll get a neat lens flare.
Keep our guide to factors that influence image quality at hand and once you encounter an issue, you’ll be able to skim the list and find out what could possibly be wrong with an image that lacks the quality you were hoping for.