VSCO Tutorial: How to Save an Average Photograph
We often talk about how important editing is for iphoneography. Editing apps can easily make an average photograph shine in your library. That’s right, you can revive your average photographs and give them a second shot at a spot on social media or your personal collection.
VSCO is incredible for several reasons. It’s a very intuitive app that makes navigation very easy. VSCO is split into 2 editing options – filters and manual adjustments. In today’s VSCO tutorial, we’ll be looking at every setting in the manual adjustments menu so you can learn to quickly edit your photographs within the app.
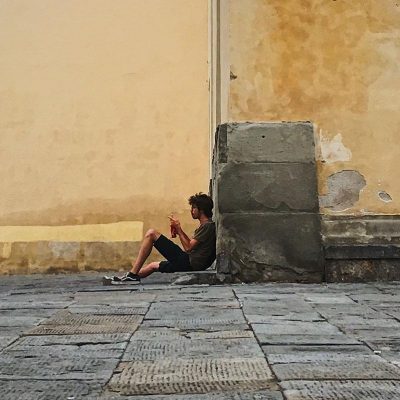
For this VSCO tutorial, I found a very average photograph from my own library, one that likely would have ended up in the trash:
There is about everything wrong with this photograph. The exposure, the composition, the colors, clarity and lack of details. It really is one for the trash but because VSCO works magic, even this shot can be revived.
VSCO manual adjustment tools
There are 19 options for manual adjustments. It is not necessary to use every single adjustable setting to fix your photographs. In fact, most of the time you will find that you use 8-10 settings at most. To understand how these settings work, we’ll try all of them with the example of an ‘average’ photo.
Getting started
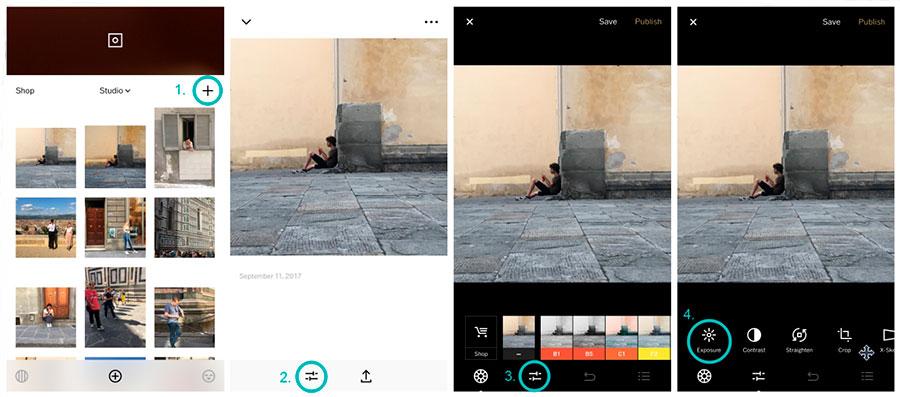
Open VSCO, upload your photograph using the + icon and select an image from your gallery. Next, you will see an adjustments icon at the bottom of the screen. Click on it. You will see a menu with preset filters and again, click on the icon at the bottom of the screen. You will see the panel of manual adjustments.
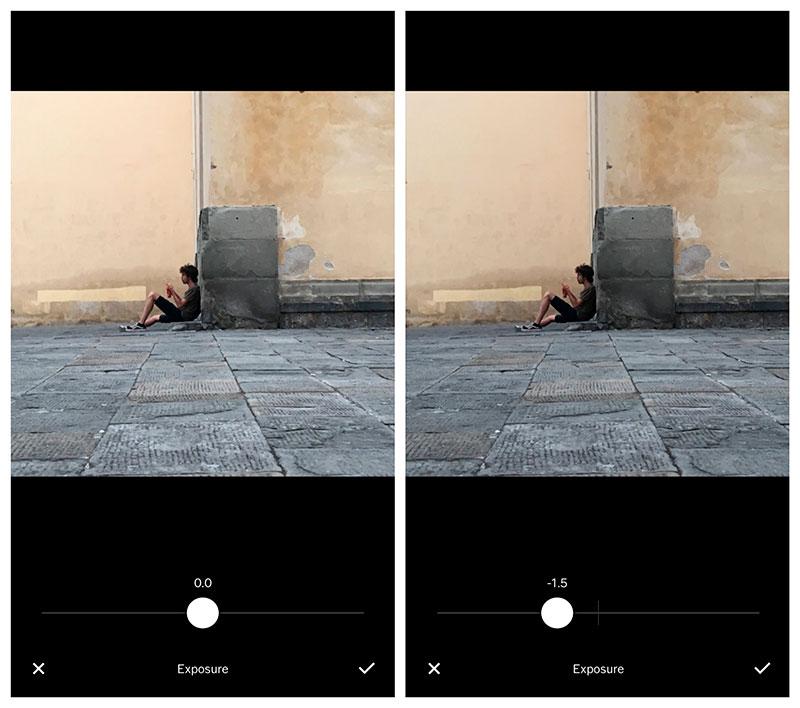
1. Exposure
Exposure is one of the most useful tools in the manual adjustments menu. It’s what can instantly improve your photograph by adjusting the lighting. For this photograph, a slight adjustment in exposure before all the other changes is necessary. To find the perfect exposure, watch out for your highlights and shadows.
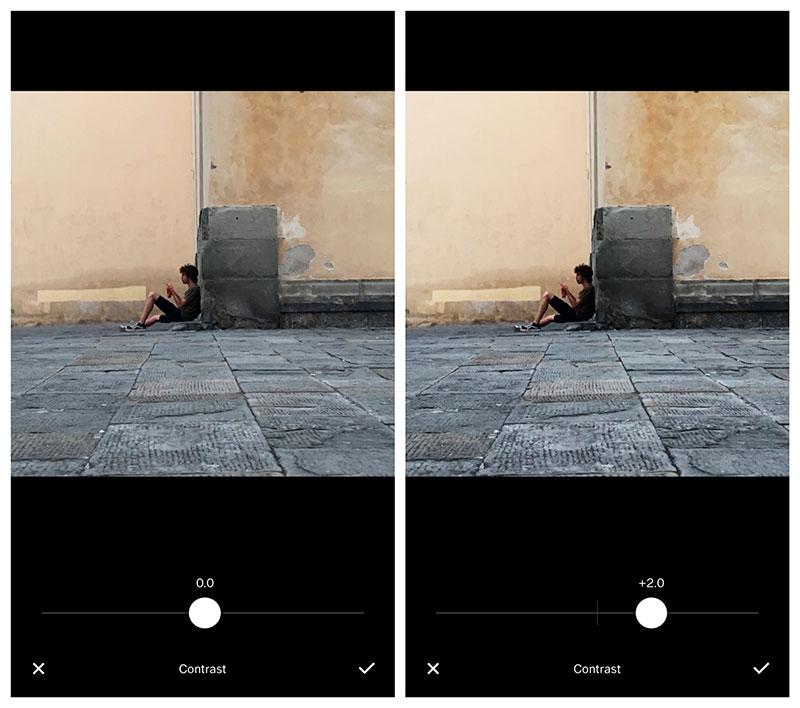
2. Contrast
To make sure your photograph has the right amount of contrast, keep your eye on the lightest and darkest parts of the image. The contrast settings makes highlights brighter and shadows darker. Reducing the contrast takes away both highlights and shadows. The example shows how even the smallest adjustment makes a big difference.
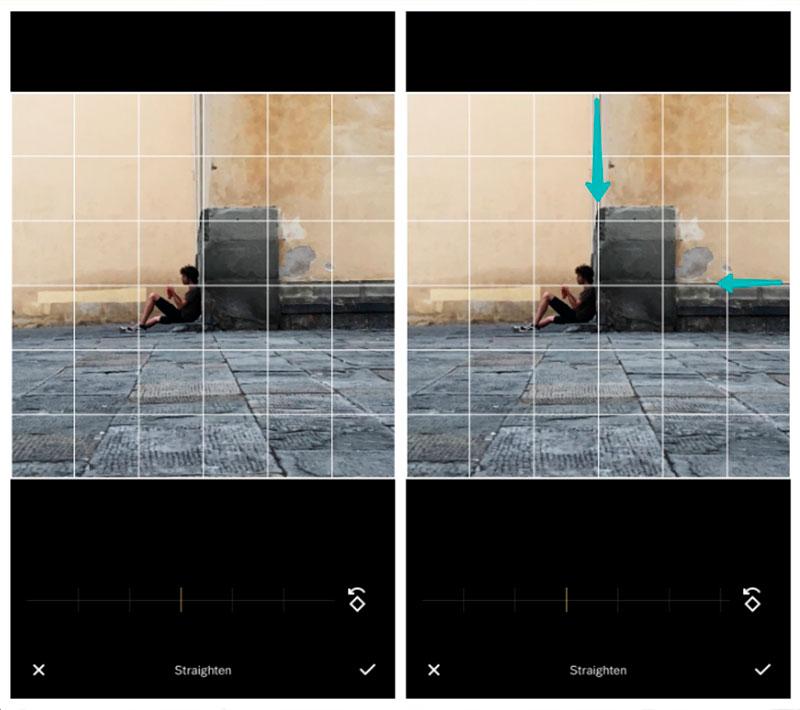
3. Straighten
This photograph could really use some straightening. Although not immediately visible, it is quite crooked. This setting allows you to straighten using a grid. Move the slider and align the grid with some of the lines in your photograph.
4. Crop
You have the option of cropping your photograph in a convenient range of ratios. For the sake of this composition, the ratio 1:1 was chosen. Move the framing of the photograph to crop your image.

5. X-Skew
X-Skew used to be called ‘Horizontal Perspective’, it corrects the alignment of your photograph. You can use the scale at the bottom to drag the image left to make it pivot to the left and do the same for the opposite direction. For this example, the image doesn’t need to be shifted in this direction.

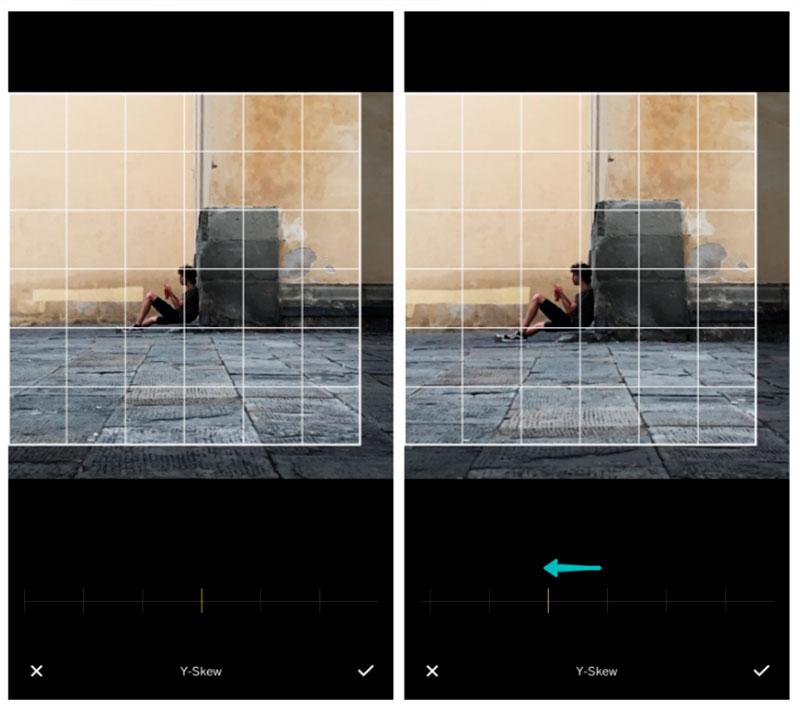
6. Y-Skew
Y-skew is the shift of vertical perspective and alignment. You can use the scale at the bottom to shift perspective. For this shot, which could have been improved by a different angle, a slight change makes it look like it was taken from a lower angle.
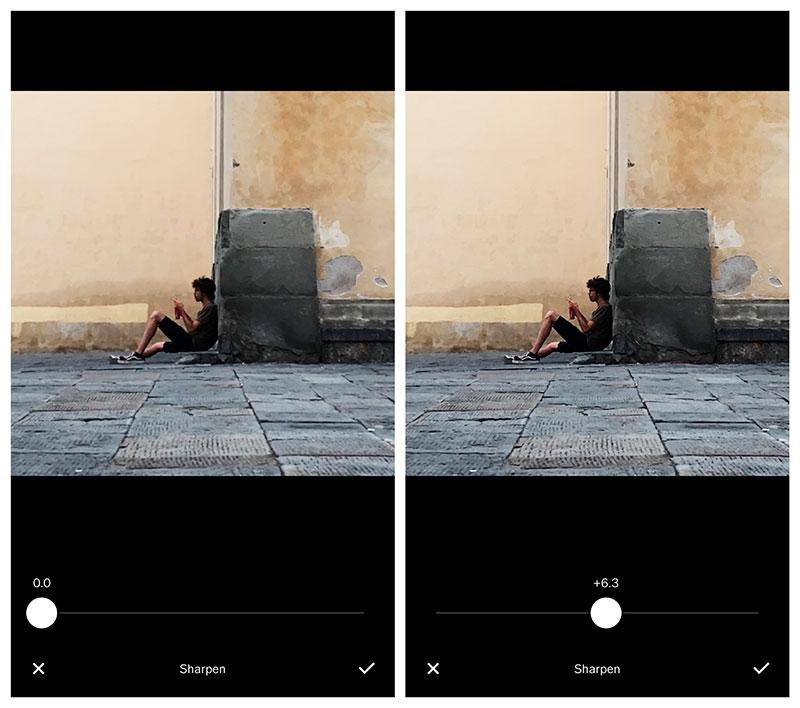
7. Sharpen
The sharpen tool will make the details appear sharper, more defined. The slider, when moved to the far right, will produce very refined edges for the details in the photograph which can mess with the colors of the photograph. For this photograph, a +6.3 setting was enough to bring out the details lost from the lack of focus in the shot.
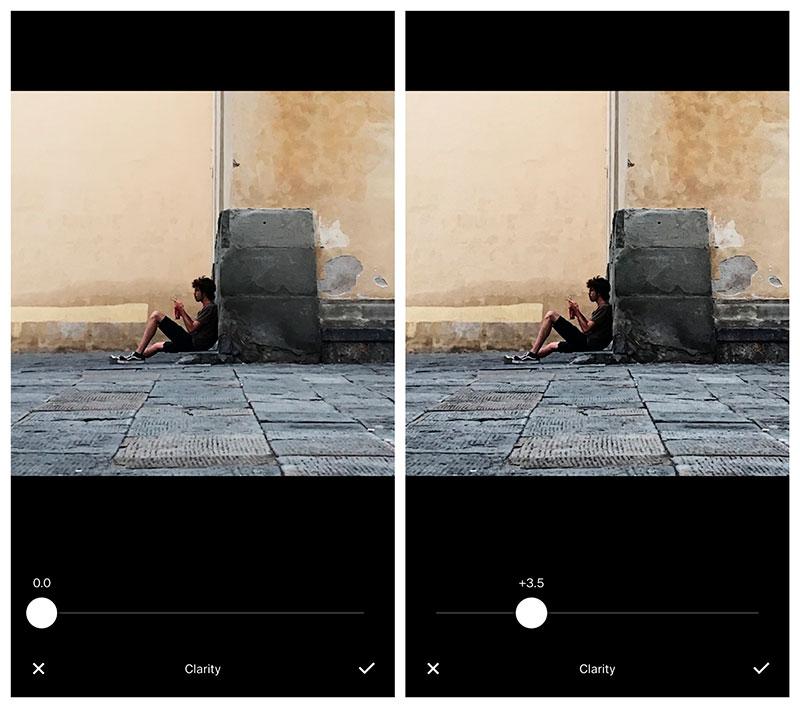
8. Clarity
The tool that improves clarity enhances details in your photograph by making the contrast a little more evident. Your image will quickly become more enhanced with this tool. Adjusting the clarity all the way to the end will make your photographs have too many details highlighted so do use this one sparingly as well. +3.5 was enough to add some really evient detailing to this shot.
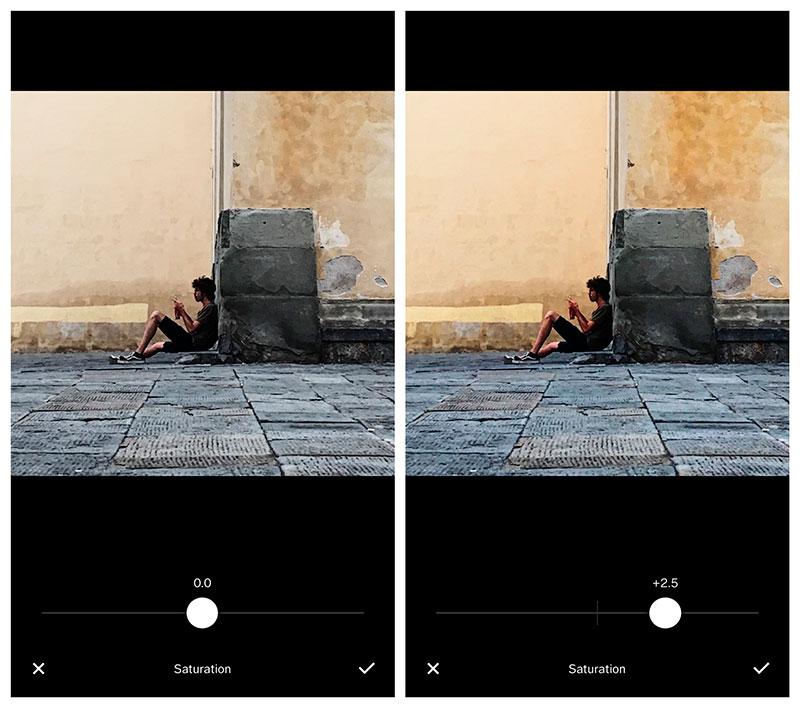
9. Saturation
If the coloration of your photographs is a little dim, like in our example, you can use saturation to add more vibrancy to the shot. In our example, the color of the yellow walls is a little washed out, so some contrast is necessary.
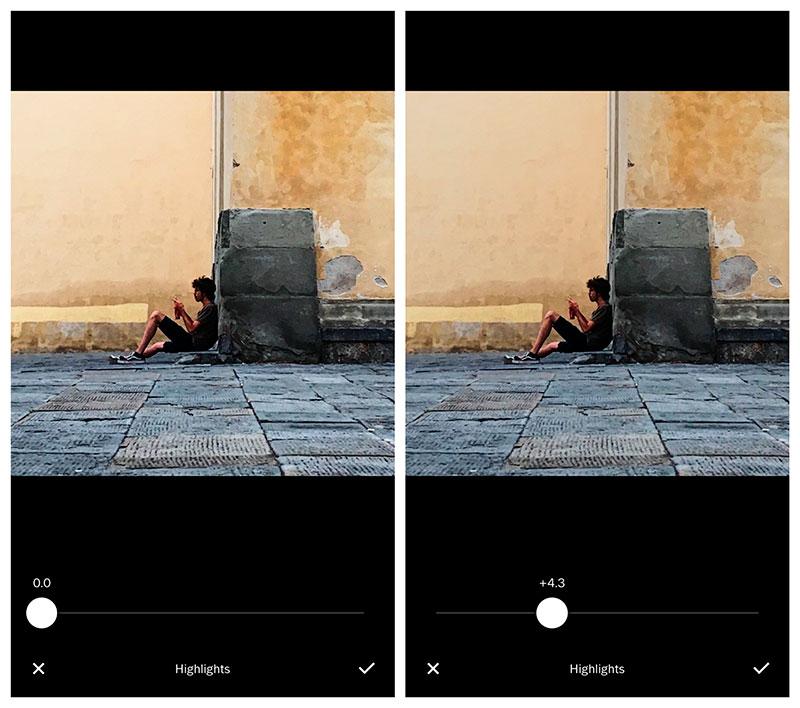
10. Highlights
The highlights adjustments allows you to add slightly more detail by brightening areas of the image that are light or dimming them if needed. This is great for over-exposed shots or if you have areas that are too bright. In the example, the left side of the wall seems a little over-exposed and to even it out, a few adjustments were needed.
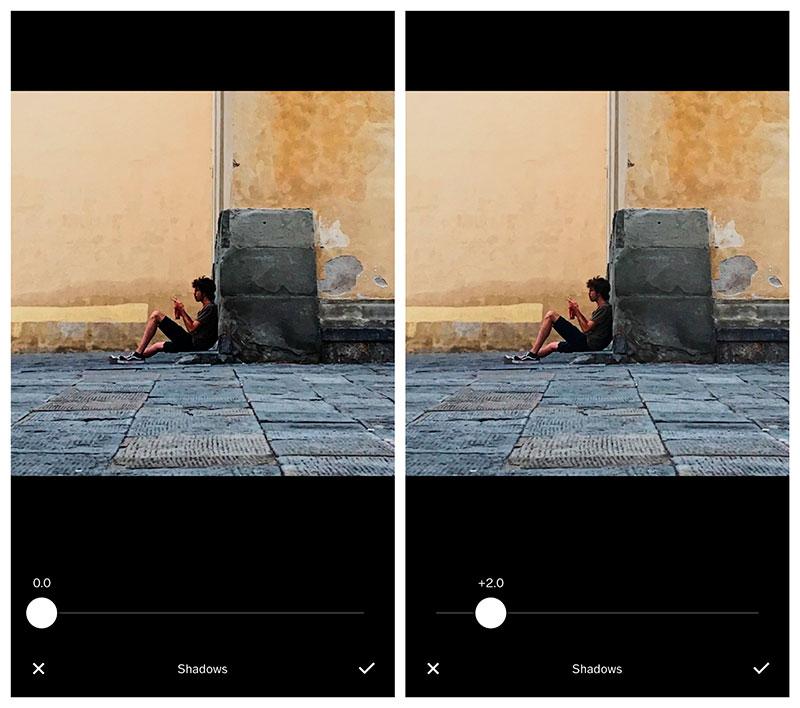
11. Shadows
You can brighten the shadows in your photograph using this scale. The darker areas of the picture will turn lighter but be careful not to make your image look flat from lack of depth.
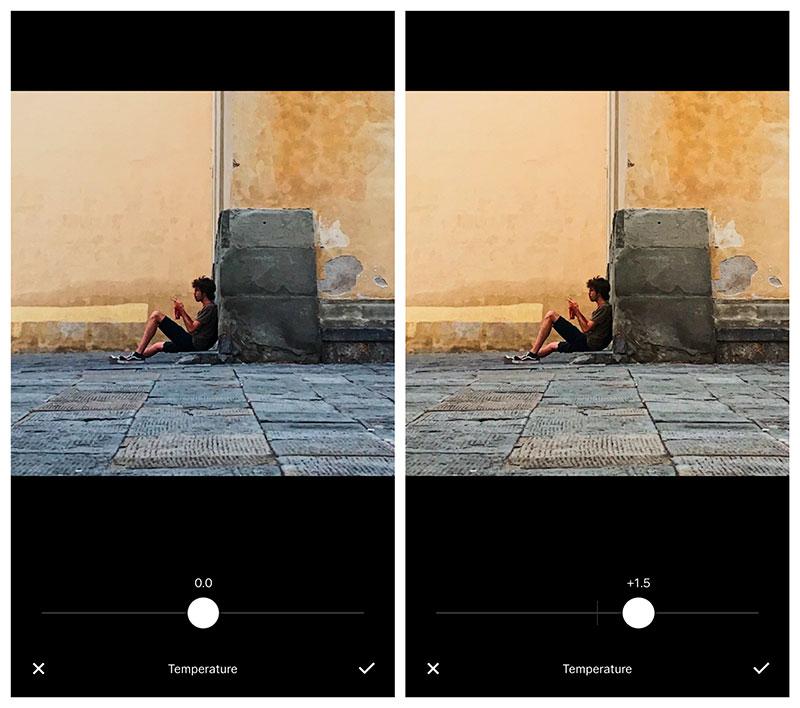
12. Temperature
This tool lets you ‘warm up’ your photographs with tints of yellow, and ‘cool down’ your shot with a tint of blue. This photograph needs exactly that – a warmer hue to bring out the color of the walls. You can see how even the slightest change on the scale gave noticeable results. Note how to floors also acquired a slightly yellow tint.
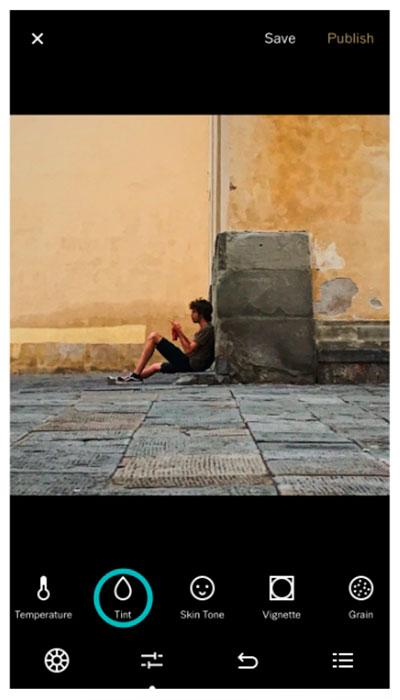
13. Tint
Tinting your photograph gives it a filter effect. You can add a range of colors on top of your photograph. If you have odd color contrasts in your image, you can use this tool to fix it. It’s not necessary for the photograph we’re using.
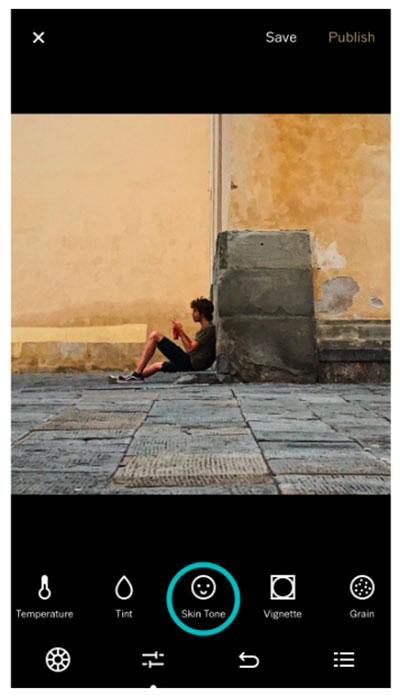
14. Skin Tone
This adjustment is mostly used for portraits. You can change the skin tone in a very subtle way. The subject in our example is too far away, so we won’t be needing this tool.
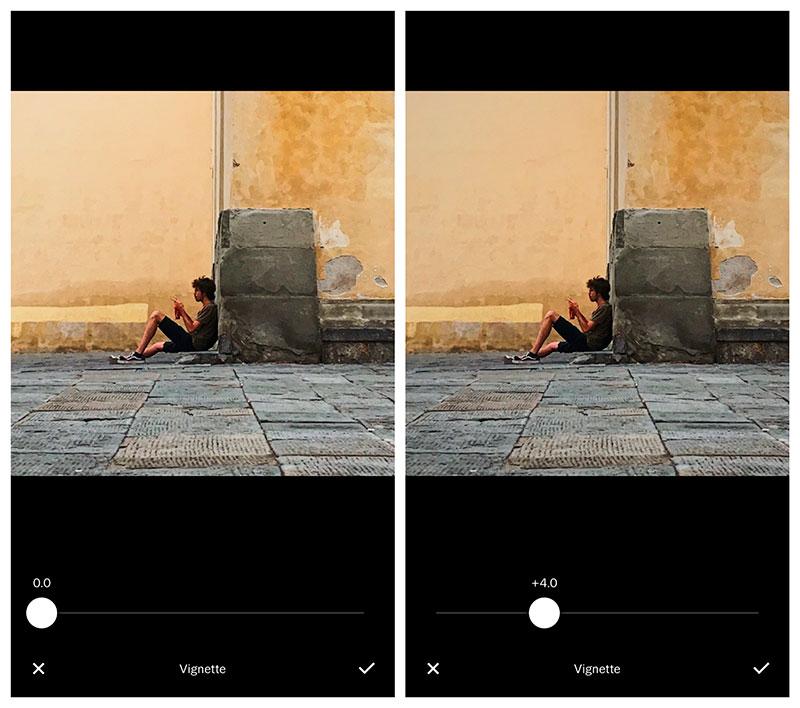
15. Vignette
Vignette is a very subtle effect which adds a dark shadow around the edges of your photograph. This can have a dramatic effect on a photo, focusing the viewer’s attention on the center of the shot. You can see how it’s barely noticible in the screenshots:
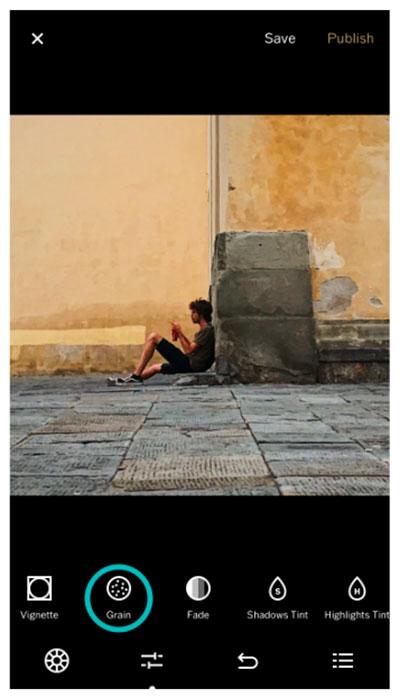
16. Grain
Rarely used, but nevertheless useful, is a tool that can help you add some grain to your photograph. It’s a touch of imperfections which can work for some of your projects where you’re aiming to have a more ‘weathered’ look. It’s not necessary for the example we’re using.
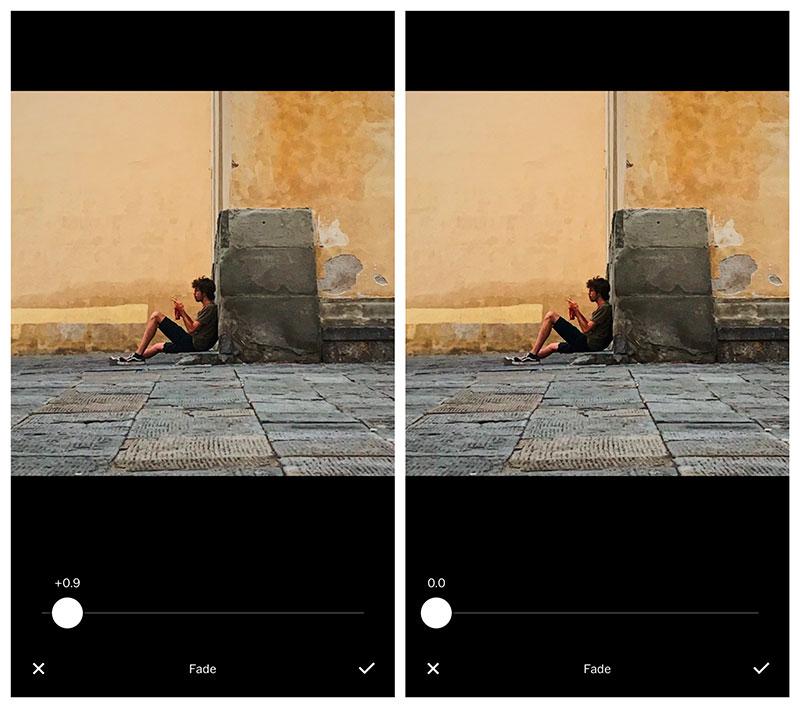
17. Fade
Fade tends to give a very vintage look to photographs by decreasing the shadows contrast. For the example, we changed the setting just a bit to tone the image.
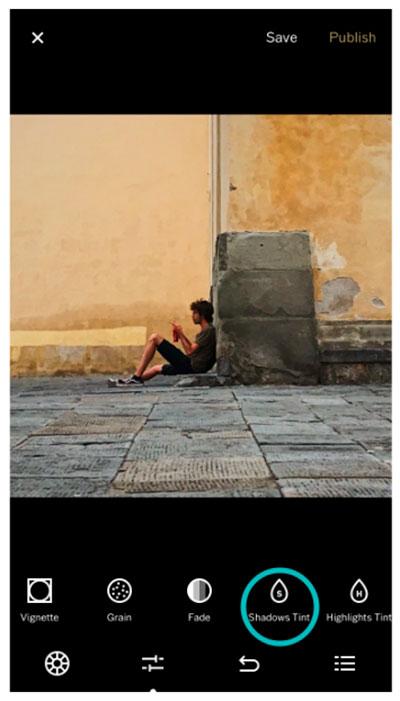
18. Shadows Tint
The shadows tint adds a color to the dark parts of your image (the shadows). You can tap on the different colors and adjust the intensity. This can add quite an artistic touch to photographs that are black and white. However, for our example it’s not necessary.
19. Highlights Tint
Highlights do the same by adding color to the lighter areas of your photograph (the highlights). You can adjust the intensity of color and again, experiment with black and white photography.

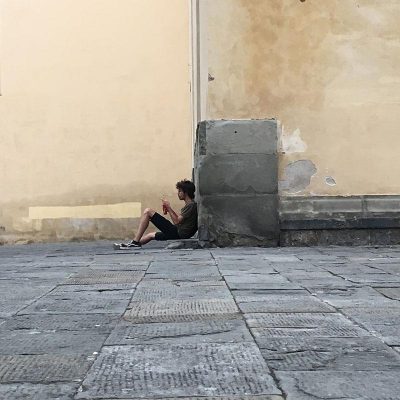
The final photograph is a noticeable difference from what we had to work with. This tutorial goes to show that even the slightest tweaks with VSCO can help you bring your photographs to life so think twice before throwing out your work!