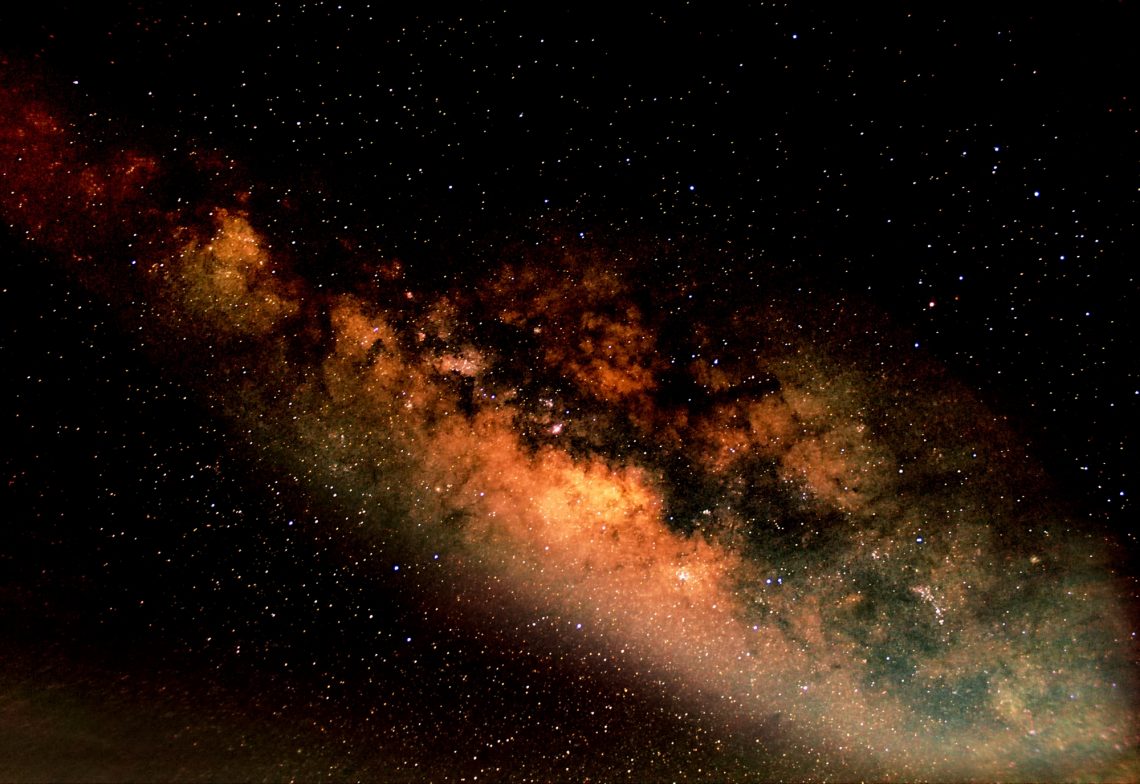
Capturing the Stars: A Beginner’s Guide to Astrophotography
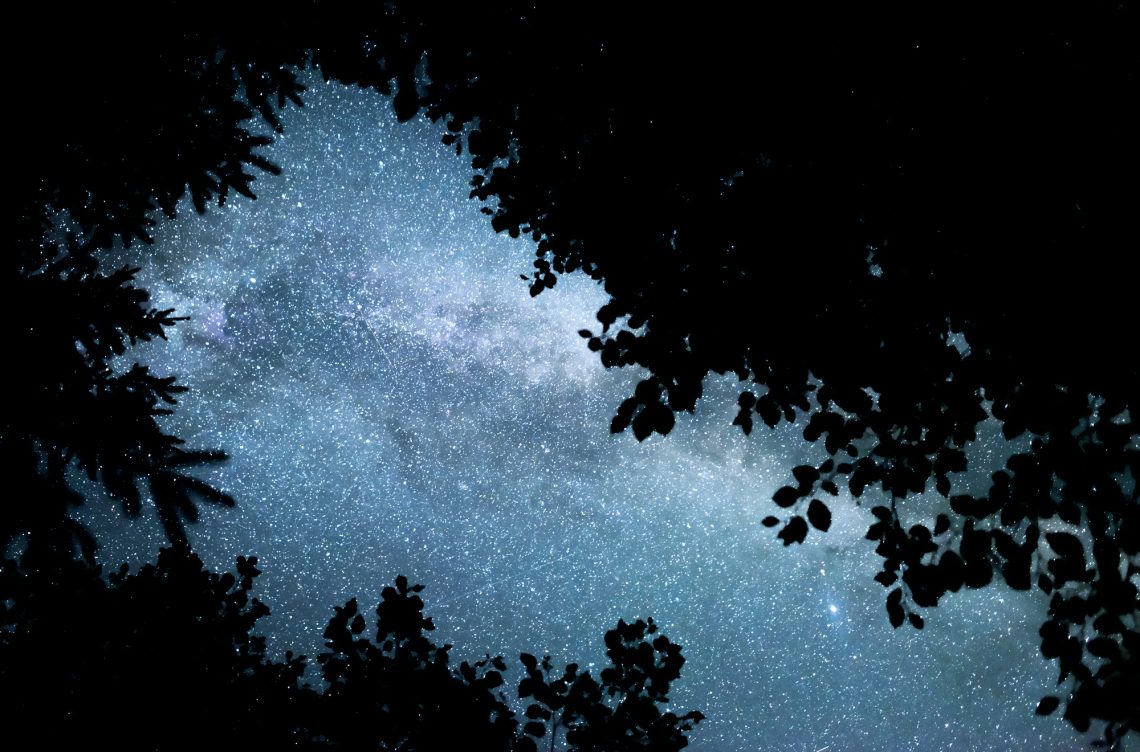
There are billions of stars in the night sky, yet we know only a fraction of them. Some objects can be seen with the naked eye and some require special equipment — either way, astrophotography quite literally offers a galaxy of possibilities.
In the world of big cities, where almost everything is electrified, many people have never seen the Milky Way or the Ursa Major constellation — that’s one of the reasons why night sky photos are so popular. Whether you are looking for a new hobby or want the challenge of a new genre, astrophotography might be a perfect match for you.
At first, taking night sky photos may seem intimidating, but you don’t need to spend a fortune on equipment and photography workshops to give it a try. We have prepared an essential guide to astrophotography, covering the basics of the field. Let’s dive in!
What is astrophotography?
Simply put, astrophotography captures different celestial objects in the night sky. Its subjects include the moon, stars, planets, and even galaxies, and it can range from simple landscape pictures of the night sky to detailed close-up images of astronomical objects. The equipment you use — the latest iPhone or an astronomical telescope — determines what objects you can capture.
Types of astrophotography
- Solar system astrophotography captures planets, natural satellites, the sun, and other objects in our solar system.
- Deep-sky astrophotography involves shooting distant celestial structures beyond our galaxy. It usually requires a telescope to extend the range of accessible objects.
- Wide-field astrophotography refers to taking photos of a starfield with a wide-angle lens on a digital camera.
- Time-lapse astrophotography combines several wide-field pictures of the night sky to make a moving image or video.
- Nightscape astrophotography captures landscape images with stars above. Mainly, it doesn’t require any high-tech equipment.
What equipment do you need for astrophotography?
The list of equipment you need is determined by the type of astrophotography you want to practice. To capture a detailed image of another galaxy, you’ll obviously need a bunch of specific gear. But if you’re just entering the field, don’t feel pressure to buy expensive equipment. As a newcomer, start simple!
Here is some essential equipment you need:
1. Camera
Both digital and film cameras can create a beautiful night sky shot. The only difference is that with a digital camera, you’ll see the result as you take a picture, which might be helpful if you are unsure about your settings. A smartphone camera can also take night sky photos, although their abilities are limited compared to full frame or crop sensor cameras.
2. Lens
A wide-angle lens is an ideal option for night sky photos. It is best suited for the low-light environments and long-exposure shots usually used in astrophotography. A wide-angle lens allows a photographer to fit more background or landscape into the frame. The lower the aperture on your lens, the more light will go through the camera, which is perfect for astrophotography.
3. Tripod
No matter what lens or camera you use, astrophotography requires filming with a long exposure. If a camera moves during a shot, your photo will be blurred. You’ll need a tripod to stabilize your camera and minimize its shake. It can help you to point your camera at the right angle and create a perfect composition.
4. Remote Shutter
To keep your camera completely still, you may want to consider buying a remote shutter. It allows you to trigger the shutter button without shaking the camera, so you don’t create vibrations. You can also prevent camera movement by using a built-in timer, so any vibrations from pressing the shutter button will die down before the shutter operates.
Top astrophotography tips:
1. Select a location
One of the main problems for any astrophotographer is light pollution. You’ll need to find a dark spot from which to capture a detailed image of a night sky. The more distance you have from the artificial lights of cities or suburbs, the better your chance of capturing a stunning shot. Drive away to a rural area or try to avoid urban areas with a lot of streetlights.
2. Track the moon phase
Moonlight can either help you or create additional problems, depending on the object you photograph. A full moon will add light to your images, which may be helpful to brighten up your photos but can also become unwanted light pollution. A new moon won’t give you any additional light, but it may allow other celestial objects to become more visible.
3. Check the weather
For perfect night pictures, you’ll need a clear sky. Even the slightest clouds can change the lighting conditions and ruin your view so your camera won’t be able to capture good night photos. That’s why you need to check the forecast before going out to shoot.
4. Use a sky map
Although you may not notice the sky’s movement, its appearance constantly changes due to the Earth’s rotation. There are almost no celestial objects that remain visible for the whole year. That’s why if you have a particular object in mind, you should plan your shoot ahead by using a sky map or a star tracker app, which will help you visualize the look of the night sky from your location at a particular time and date, so you can locate the astronomical object you want to capture.
5. Choose aperture priority
A lower f-number means a wider aperture. Ideally, you should start from f/2.8 or lower. Your lens may not be capable of it, but choose the lowest aperture possible no matter what lens you have. This will help you to capture more light, which is crucial for shooting at night. You can change your picture completely by shifting only a few f-stops.
6. Switch to manual focus
It’s usually hard for a camera to autofocus in the dark since almost all celestial objects are generally too small or dull. If there are no bright points to focus on, you should switch to manual focus. Take your time to adjust your lens for a detailed shot.
Top 5 astrophotographers to follow:
Looking at others’ work is important for finding inspiration and improving your skills. Here are several photographers we highly recommend following if you’re interested in astrophotography:
Manuel Dietrich
View this post on Instagram
Sean Parker
View this post on Instagram
Wayne Pinkston
View this post on Instagram
Connor Matherne
View this post on Instagram
Victor Lima
View this post on Instagram
To wrap it up:
Although astrophotography may seem challenging, a chance to capture the beauty of the universe is definitely worth the effort. With the right equipment, a little planning, and some knowledge, you’ll be able to make impressive photos in no time. The best way to start your astrophotography journey is to practice. If you decide to have a go, use this guide to prepare yourself for a night shoot.
Other articles you might be interested in:
Explaining Architectural Photography: Definitions, Examples, and Tips
How to Capture the Decisive Moment in Photography: Key Principles and Tips
Exploring Interior Photography: Essential Tips and Photographers to Follow