How to Start a Photography Blog in 5 Steps
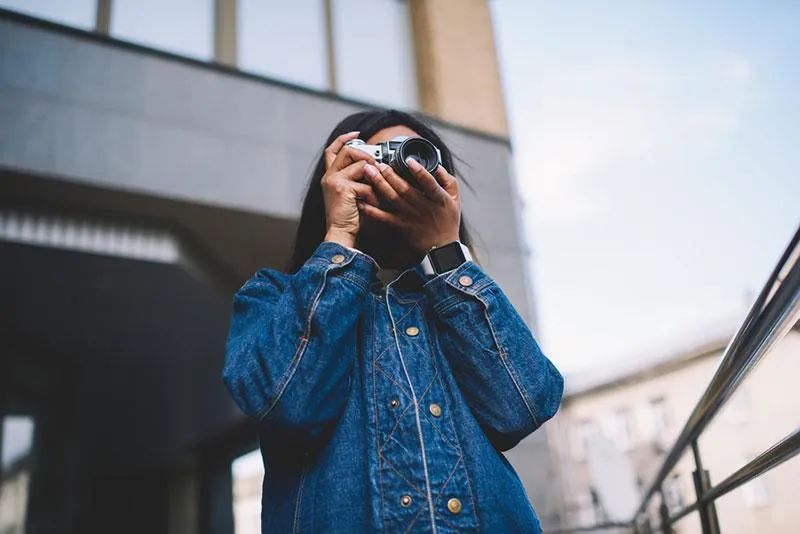
As a photographer, even an amateur one, you already have one half of what it takes to start a photography blog. Your photos — the content you’ll be sharing with people — are what draws an audience in. So if you score a new business opportunity, a fandom, or both as a consequence of having the blog, the content will play a crucial role in it.
However, photos and the skills you need to make them aren’t everything you need for a photography blog. Yes, understanding what influences the quality of your photos helps for creating the best visual content possible. Still, the process of creating a photography blog has a few steps that have nothing to do with content. You’ll need a website for your blog, and it won’t appear out of thin air. You’ll need to create it.
If you make the right choices, however, creating a website doesn’t have to be too hard. You can set it all up in as little as five simple steps. They are, in order:
- Pick a good domain name.
- Find a host that meets your needs.
- Use the easiest method to install the blog.
- Choose a good theme for your photo blog.
- Install the theme and customize it.
So let’s walk through these steps and help you go from having no website to having a beautiful one that’s ready to be filled with your awesome photos. Ready to begin? Off we go!

Photography Blog in 5 Steps
1. Choose the Domain Name
When you look at a URL, everything that’s located between the subdomain — the “www” part — and the top-level domain — the “.com”, “.net”, or “.org” part — is the domain name. It’s a combination of words that, among other more technical purposes, serves to make URLs unique and memorable.
Domain names are also important for branding and even SEO, another topic photographers who blog should learn about. So you really need to think through the photography blog’s domain name. Also, keep in mind that some of the domain names you fancy might already be taken. Domain registrars, web hosts, and even regular websites will let you check domain name availability.
Here’s what you should consider while thinking about a great domain name for a photography blog:
- Shorter is usually better. It’s easier to remember, spell, share, or even type on mobile.
- Keep it as simple as possible. Avoid hyphens, numbers, and wordplay.
- Make it brandable. At the very least, ensure the name choice makes some sense.
- Pick a “.com” top-level domain. Having it at the end of a URL is still the most popular choice.
A final word of advice before we move on to the next step: have a couple of domain name ideas ready. If it’s not too expensive, you might want to buy them all and save them for future use. People also buy domain names to resell them later, just so you know.
2. Pick a Good Host
Did you think that choosing a domain name for your photography blog is tricky? Wait until you begin learning about hosting. It’s not the exact thing that will make your website, but it is the thing that might break it — bad hosting is known to do it, actually.

Invest some time into learning what you need from a web host. The main choice you’ll be making is the type of hosting you’re signing up for. Usually, this means choosing between:
- Shared hosting, where you share one physical server with other websites. The cheapest option is also the most limiting in terms of speed, storage, and security.
- Virtual private server (VPS) hosting, which is the type of hosting where one physical server hosts multiple virtual servers and provides better performance than shared hosting.
- Dedicated server hosting, where you get a server all for yourself and pay more than $100 for it — an expensive option, and one that requires you to know stuff about systems management.
- Cloud hosting, a type of hosting that resembles VPS hosting the most and offers great scalability if your blog takes off and becomes a huge success.
With a little digging, you’ll find that there are a couple of hosts that have cornered the market. There are also plenty of people who are vocal about their experiences with these hosts, so you’re bound to find a lot of pros and cons for each. If you don’t trust the advice of user reviews, you can also find service comparisons and professional reviews online.
3. Install WordPress
Now here’s a step we can reduce to one sentence with a smart choice of hosts. Here it is: choose a host that specializes in WordPress hosting and offers one-click installation. Cloudways, Kinsta and Bluehost are solid choices. That’s all you need to facilitate easy and expedient installation of a website.
WordPress is responsible for underpinning a third of the web. If it’s good for companies such as Disney, Facebook, and Condé Nast, it shouldn’t be too bad for your blog, right? The content management system started off as a platform for creating blogs after all. It has it in its DNA, or code, to this day.
The best thing about WordPress is just how easy you can expand the basic functionalities you get after you’ve installed the website. There’s a huge market for WordPress plugins, but you can also make lots of changes simply by choosing the best in the pool of photography WordPress themes.
4. Find the Right Theme for Your Website
WordPress themes are a bundle of templates and stylesheets that dictate what your website looks like. Think of it as a skin you put over WordPress to change its appearance, even though themes can add functionalities, too.
The good news is that the leading online marketplace for themes, ThemeForest, alone offers thousands of themes. One of them is sure to catch your eye. The bad news is that it can take a lot of time to find the one, and relying on the bestsellers might not always be the winning strategy.
So let’s save you some time. Here a couple of themes that are flexible enough to serve as a theme for a photography blog:
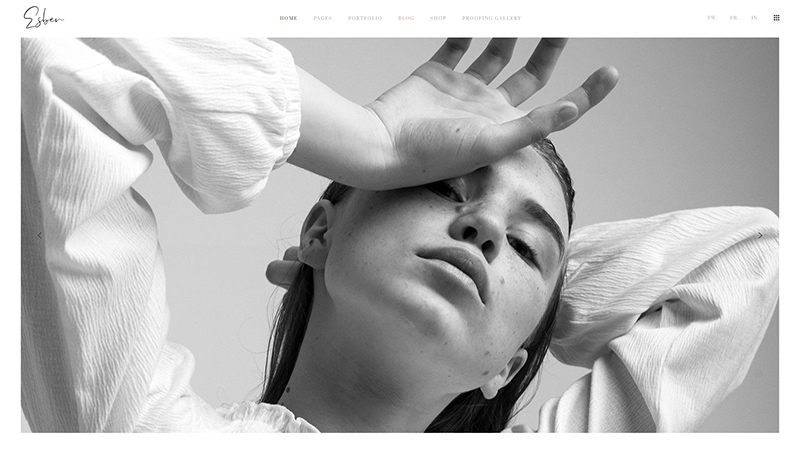
- Esben — built for fashion photographers, this theme comes with lots of gallery layouts and a pastel palette.
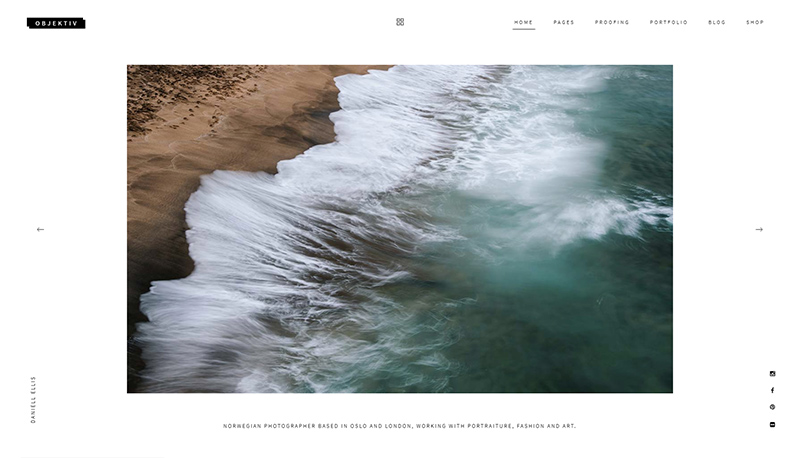
- Objektiv — with the choice of light and dark skin, this theme can be perfect for a photography blog that really lets the photos do the talking.
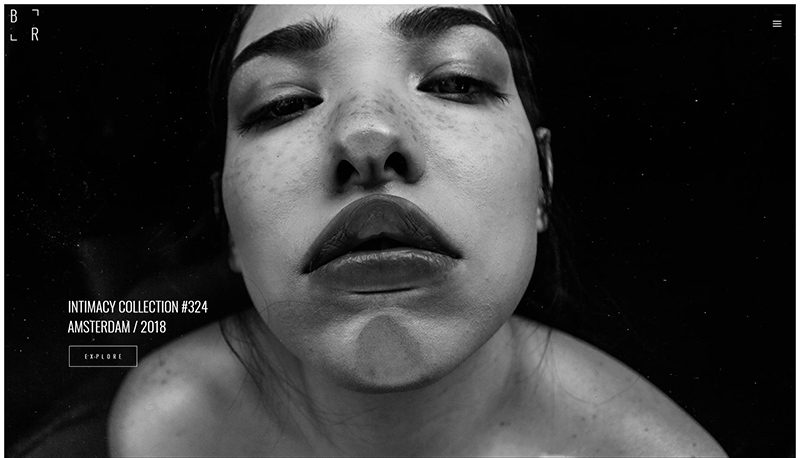
- Bridge — this is a bestselling creative theme you might use if you want to really fine-tune your blog’s appearance, as it has an incredible number of options.
- Divi — more than just a theme, it comes with a page builder you can use to really make the blog your own.
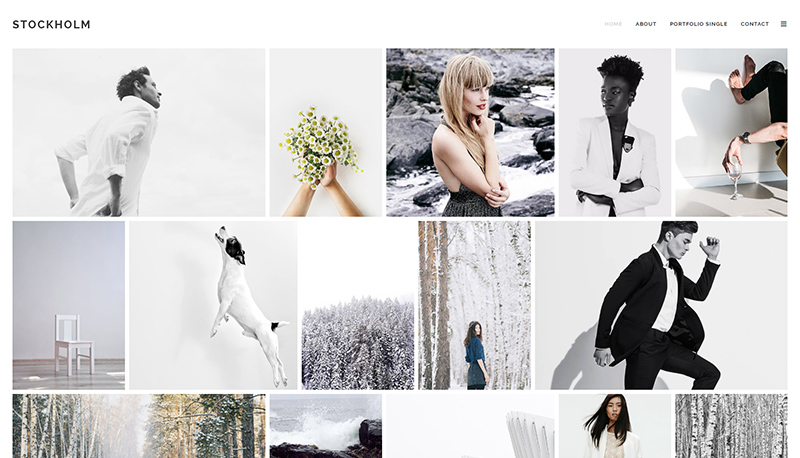
- Stockholm — a theme compatible with the most in-demand plugins and applicable to any purpose, including a photography blog.
These themes should give you some sense of what WordPress themes are and what you can do with them. They are a great starting point for a search for the best theme for your photography blog. Just don’t be surprised if, after hours of searching, you come back and pick one of them.
5. Install the Theme
Installing a WordPress theme onto your website is a breeze, too. At least the way we’ll cover here is, but don’t worry — you can use it to install free themes as well as the premium ones.
After you’ve logged into your website, you’ll find the “appearance” option in the dashboard menu. Hover over it and click on “themes” when the menu opens. The themes that appear are the free ones, and you can preview and install them from this window.
If you want to install a premium theme you’ve bought and downloaded, click on the “upload theme” button and navigate to the .zip file with the theme you’ve downloaded. Either way, after installing the theme, you’ll be able to activate it — something you have to do for the theme to take effect. When the theme is active, you can customize it and start adding content to it.
Let’s Wrap It Up!
A blog can be a great asset for content creators of all types. If there’s something you can create, post online, and get people to view it, you have yourself a tool for making money, furthering your career, or engaging with interesting people. Or, you can use the blog to do all these things at once.
But you need to make the blog first. If you follow this guide, you’ll be able to set up a photography blog in the most convenient and expedient way possible. The rest is up to your photography and marketing skills, and you’ll get plenty of chances to put them to use. So good luck!