How to Add an HDR Effect to Your Photographs
HDR photography has been around for years. In a short span of time, it has earned a reputation that rests on viewers loving it or hating it. Some HDR photography is taken a notch too far with oversaturated colors and unrealistic enhancement of details.
When manipulated correctly, HDR photographs can acquire beautiful, magical qualities that can’t be captured with a camera. We’re looking to bring back HDR photography and show you how to create your own HDR images that are appealing and tasteful.
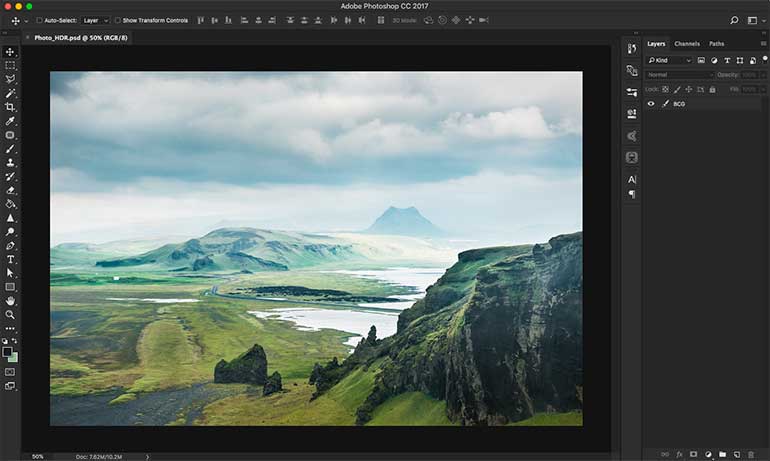
Step 1: Open your chosen image in Photoshop
Choose an image that could use a little more contrast and benefit from enhanced details.
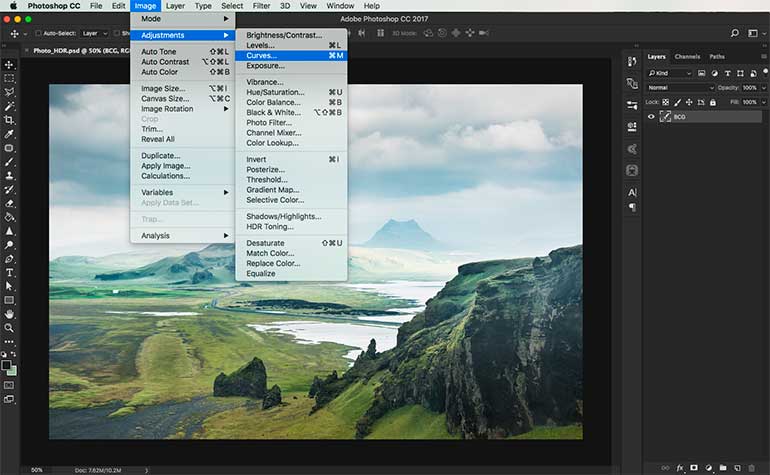
Step 2: Adjusting colors
Go to ‘Image’, ‘Adjustments’ and ‘Curves’.
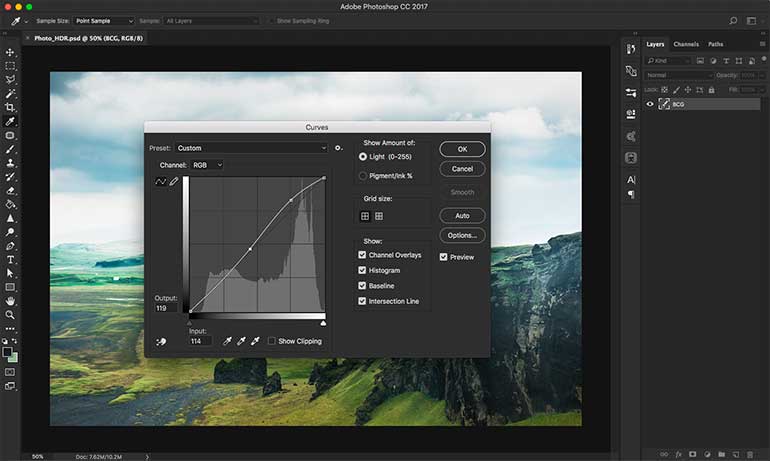
Step 3: Adjusting color curves
Select a point in the curve and play with the adjustments for more contrast.
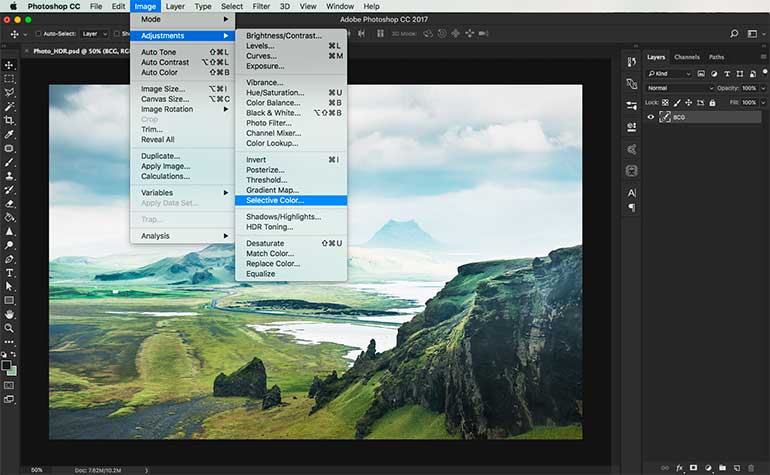
Step 4: Adjusting individual colors
Go to ‘Adjustments’, ‘Selective Color’ to adjust separate color channels.
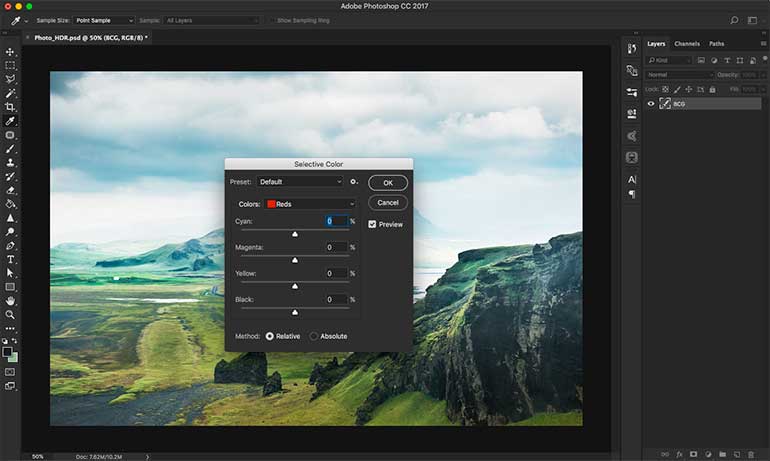
Step 5: Selective color adjustment – Reds
If your image doesn’t have red hues, move on to the next colors.
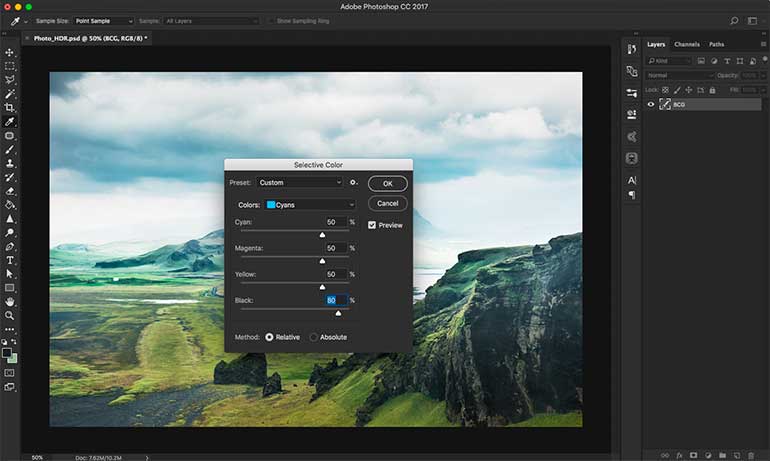
Step 6: Selective color adjustment – Cyans
Our image has quite a few cyan hues. In adjusting the different channels, you’re enhancing the separate colors of your image.
Step 7: Selective color adjustment – Greens
Green is one of the dominant colors of the image so adjust the numbers accordingly.

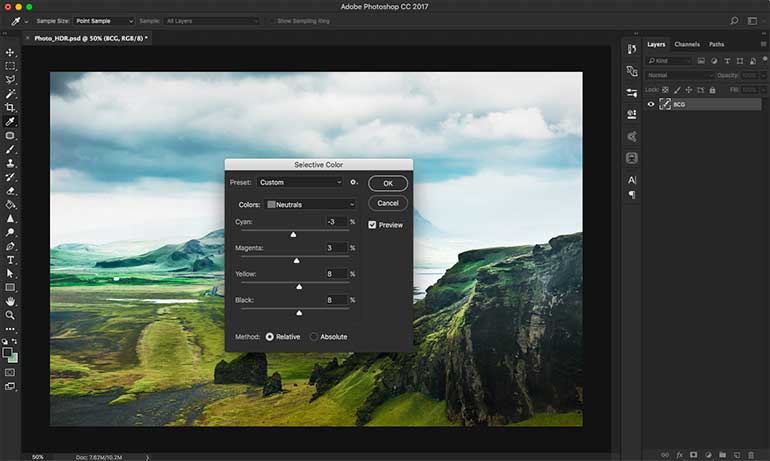
Step 8: Selective color adjustment – Neutrals
Adjusting neutral colors will provide a good balance to your image. These hues are not as obvious and require very little adjustments.
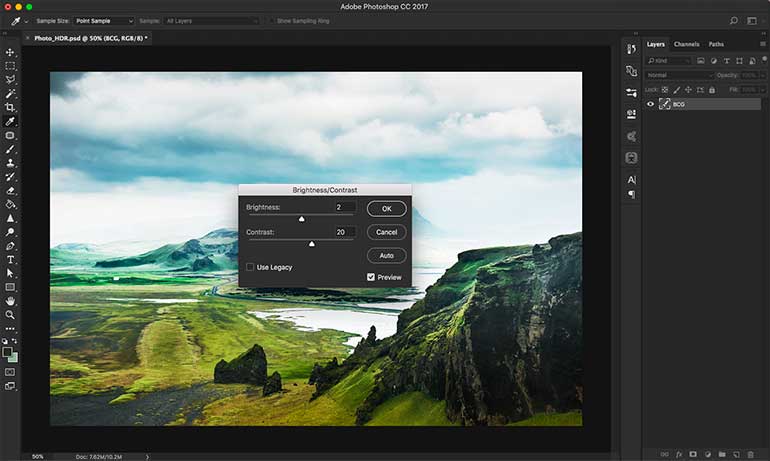
Step 9: Adjusting brightness and contrast
To bring out the colors even more, play around with brightness and contrast to get the desired effect.
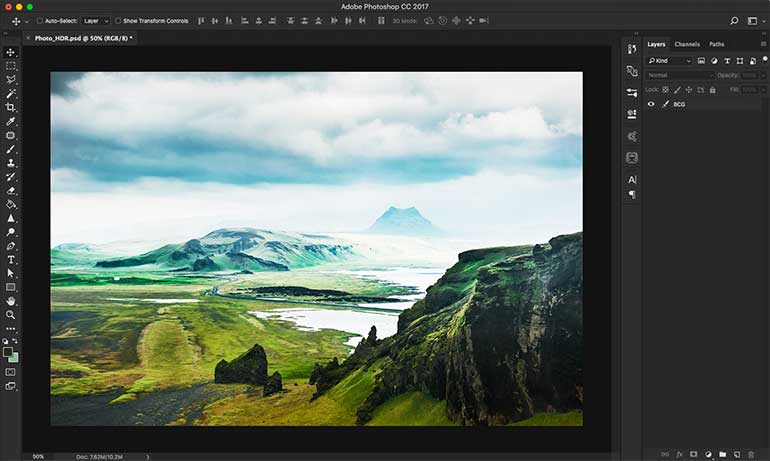
Step 10: Final touches
After all the adjustments are set, compare your original image to your finished product and see if any other changes are necessary. Your HDR image should have enhanced colors and details in a subtle way.
Before and after:
Here is another example of an image with the HDR effect. The steps to achieving this effect are similar with the exception of adjusting new color hues.
If you’d like to achieve a more natural effect with your photographs, the best thing you could do is adjust these basic settings that we’ve discussed and develop a feel for the colors, textures and details. Good luck and come back for more tutorials next week!