Good Old Film Photography: 6 Tips for Beginners
Until recently, film photography had one indisputable advantage over its digital counterpart: the technology made it possible to achieve much higher image quality. In 2020, it is almost impossible to distinguish an analog photo from an image taken with a good digital camera: the resolution of digital images today can exceed 45.4 megapixels!
So why have sales of analog cameras and films continued to grow over the past five years? We not only found the answer to this question to it with you in this article, but also collected tips for those who wanted to jump into the analog photography trend right away.
What is film photography?
Film photography and analog photography are synonymous. However, analog photography has a broader meaning. Both terms are used to describe imaging technology based on reactions within light-sensitive chemical compounds. Analog photos can be taken using films, paper (instant analog photos), or hard photographic plates.
Without analog photography, digital photography would never exist and film photography is almost a century older than its successor. That’s why it is often referred to as ‘traditional’.
Despite the fact that digital sensors are no longer inferior to film in terms of image quality, there are still several great features of analog photography that distinguish it from digital:
- Film photography can be used as evidence, as film-printed images cannot be edited.
- The developed film can ‘live’ forever if stored properly.
- Films allow you to obtain a wide dynamic range if you choose films with high sensitivity.
- Film photography is expensive and analog images can be easily ruined both at the shooting stage and during film development — which motivates photographers to master their skills and value each frame.
We would like to emphasize the last point. Professional film cameras are rarely automated, which means the photographer has tremendous creative freedom. With an analog camera in hand, you can quickly understand how different camera settings influence the final result and then apply this knowledge to digital photography.
Film camera types used nowadays:
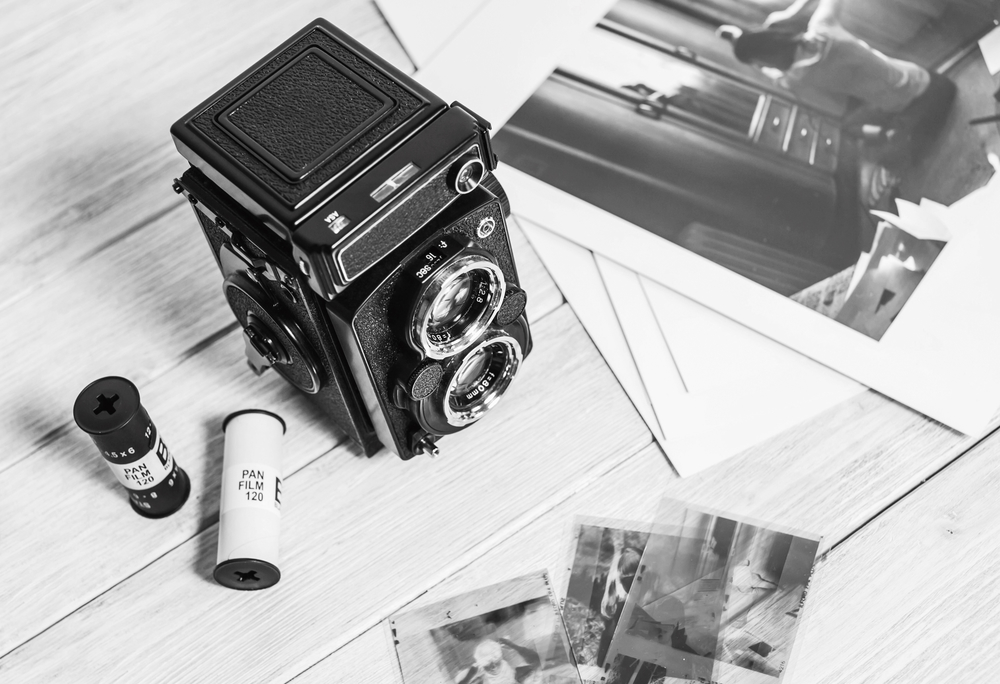
single-lens reflex (SLR) cameras, twin-lens reflex (TLR) cameras, rangefinder cameras (calculates distance through triangulation for accurate focusing), point-and-shoot cameras, instant camera, stereo cameras (to create images with 3D effect), panoramic cameras, large format cameras (to shoot 102×127 mm or bigger formats)
Popular types of photographic films:
color negative film, color negative film, black and white film, infrared film (more sensitive to light spectrum than a human eye)
The most common film size is 135 (or 35 mm). You can also opt for medium format (120) or large format which is at least 9×12 cm.
What should you start with? Film photography tips for beginners
You might already be using a digital camera. Unfortunately, the built-in cameras of our smartphones, as well as semi-pro digital cameras, give us a vague understanding of how photography works. All of them are focused on getting the most out of what they ‘see’. So they simply set the right exposure and focus and let us enjoy the best possible picture.
In the case of an analog camera, the quality of the photo is much up to you. And the good news is, once you learn how to get good shots with a film camera, it will be easy for you to create masterpieces with a digital camera! So let’s get started.
#1 Use 35mm for an easy start
135 (or 35mm) film is the most popular type of film. If you start with it, you have a great choice of cameras to work with. This means that you can choose the type of camera that seems to be the most interesting for you and buy such a camera at a good price. You are not likely to have any problem buying and developing film. And another big advantage: film for medium and large formats allow you to take less than 16 pictures, and with 35mm you can take up to 36!
Best 35mm cameras of all times: LeicaM-A, Pentax K1000, Canon AE-1, Nikon F2, Leica M6 TTL, and Olympus OM-1.
#2 Learn the exposure triangle rule and go further
Experienced photographers believe that if you blindly follow this rule, you kill your creativity. However, we believe that before breaking the golden rules of photography, you need to master them. The exposure triangle rule is a basic rule of analog photography that allows you to avoid dozens of wasted films.
The first film cameras were manual. The three parameters that the photographer sets there are ISO, aperture (f/stops), and shutter speed. And the settings of these three parameters are interrelated. To properly set up your analog camera, you need to sum up your scene illumination, the potential of your film, and your task. If you want a lighter frame, you need a higher ISO, slower shutter speed, and wider aperture.
Consider the Sunny f16 rule: set an aperture of f/16 on sunny days and set shutter speed the same as your ISO (for example, 1/100 sec with ISO 100 and 1/50 sec with ISO 50).
Read this article if you are ready for ‘Breaking Photography Rules Like a Pro’.
#3 Learn how to use focus by trial and error
Analog cameras often have autofocus, but they are significantly slower than digital cameras in terms of it. For this reason, moving objects are often out of focus in images, or the shutter moves too late and the subject gets out of your frame.
Manual focus requires training, courage, and a good eye. Therefore, working with an analog camera is a good chance to boost your professional skills. Start with static objects such as buildings, plants, and people sitting or standing. Then switch to moving objects to challenge yourself.
Take notes while shooting! Write down camera settings and other tricks you apply to a particular photo.
#4 Learn to shoot in black and white and avoid using flash
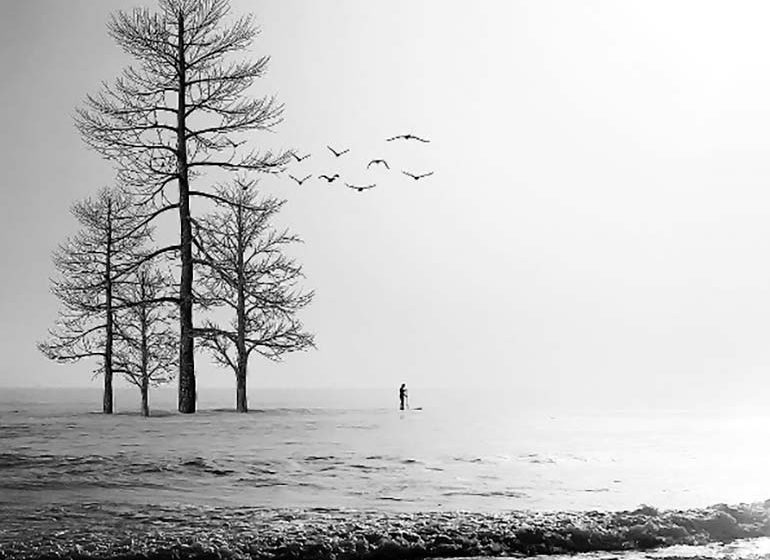
Of course, you can shoot with color film and make your images black and white at the post-production stage. But if your goal is to learn how to work with light and shadow, as well as shapes, we recommend that you get into classic black and white photography from the beginning.
Black and white photography can seem more challenging than color photography. The reason is that we are not used to seeing the world in black and white and it is difficult for us to imagine how a certain scene would look without colors and their shades.
Working with monochrome film, we have to pay attention to aspects such as contrast, shapes, forms, textures, and composition of the frame. In other words, black and white photography develops our artistic vision. See this collection to get inspired by some black and white photography ideas.
We also do not recommend that you use flash, especially working with a black and white film. The flash effect is difficult to predict if you’re just starting with analog photography. Therefore, it is better to use it to capture spontaneous scenes and candid feelings (a good example — instant analog photography).
#5 Rely on frames, leading lines, and the Golden Ratio rule
The balance of your composition is what makes it appealing to the audience. To get great analog photos right from the start, use the time-tested composition rules you know from digital photography:
Golden Ratio and balanced compositions
Keep track of the balance in your frame. Your composition will always look brilliant if the main subject is centered or placed at the intersections of the 3:3 grid lines. We describe other compositional rules in this article (‘Back to Basics: 10 Composition Rules in Photography’).
Natural frames
Create frames around the main subjects in your photo using anything you can find. For example, you can capture a seascape from a window, a forest clearing through a tree crown, or take a picture of your friends through a keyhole.
Leading lines
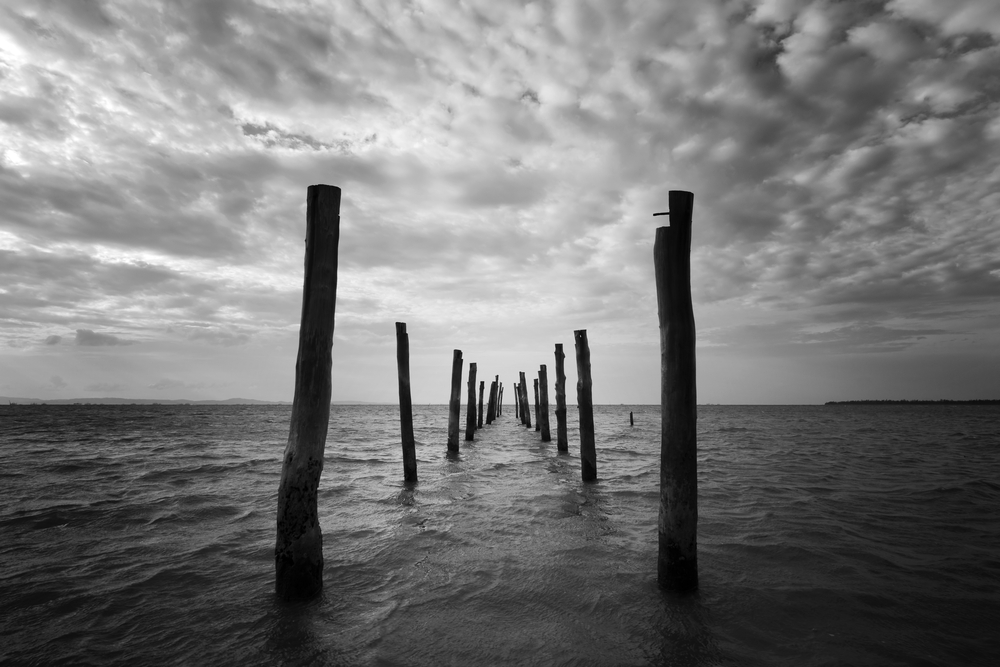
What about adding some geometry to your shot? You can use well-shaped surrounding objects to make your image look gorgeous. For example, accentuate the depth of the scene with a road-going horizon, or let a light ray cut your frame in half.
#6 Try out tricks that are impossible with digital cameras
Film photography technology is fundamentally different from how a digital camera works. For this reason, you can only achieve some of the visual effects with an analog camera at hand. Here are some of them:
Push and pull photography
This trick helps you achieve interesting halftones and depths and works amazing with black and white film. The idea of it is that you ignore the ISO of your film and underexpose the frame. Then, you compensate for this by overdevelopment. You can also take overexposed pictures and then underdevelop them.
Expired film photography
You can buy expired films at a very low price. The intrigue is that you don’t know what your photos will look like until you develop your used film. Depending on how old the film was and how it was stored, your images may contain futuristic colors or unpredictable (and therefore interesting) visual defects.
Double exposure
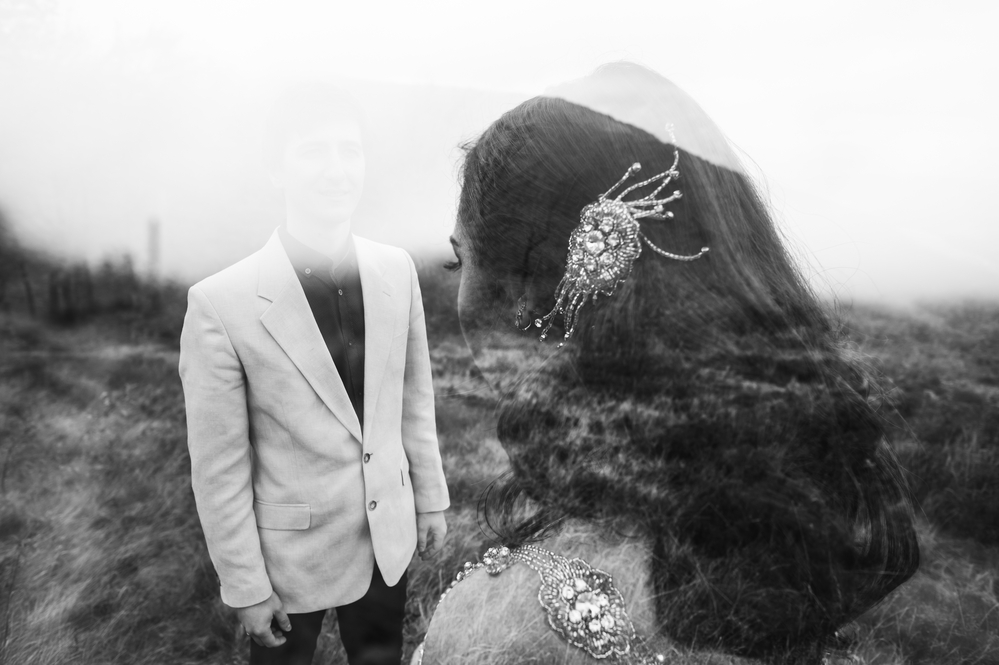
To get an image with double (or multiple) exposure, you literally need to combine multiple frames into one. Modern cameras and photography apps let you achieve the same effect. However, it is only analog photography that allows you to apply multiple exposure in many creative ways. For example, you may not move the film and shoot one frame on top of another. Another idea: you can shoot bright objects against a dark background at a slow shutter speed.
Wrapping up
Analog photography is a brilliant way to sharpen your professional skills and discover new creative techniques. Unlike most digital cameras, film cameras are half- or fully manual, giving you the opportunity to learn through trial and error and come up with unexpected professional discoveries.
Another advantage of film photography is that after practicing with an analog camera, you appreciate each shot you take much more. Analog photography also develops useful skills such as spatial and artistic vision, imagination, and patience. All this will help you to master your favorite digital camera better and then make your portfolio more authentic and appealing to audiences.
