With Halloween just around the corner, designers are busy creating themed promotional materials. We don’t want you feeling left out! Regardless of your Photoshop skills, you can create your very own Halloween banner with our simple tutorial.
You can make social media covers that are simple and tasteful – just follow the steps. Here’s a step-by-step guide to help you in your creative endeavours.
Halloween banner tutorial
1. Finding a background image
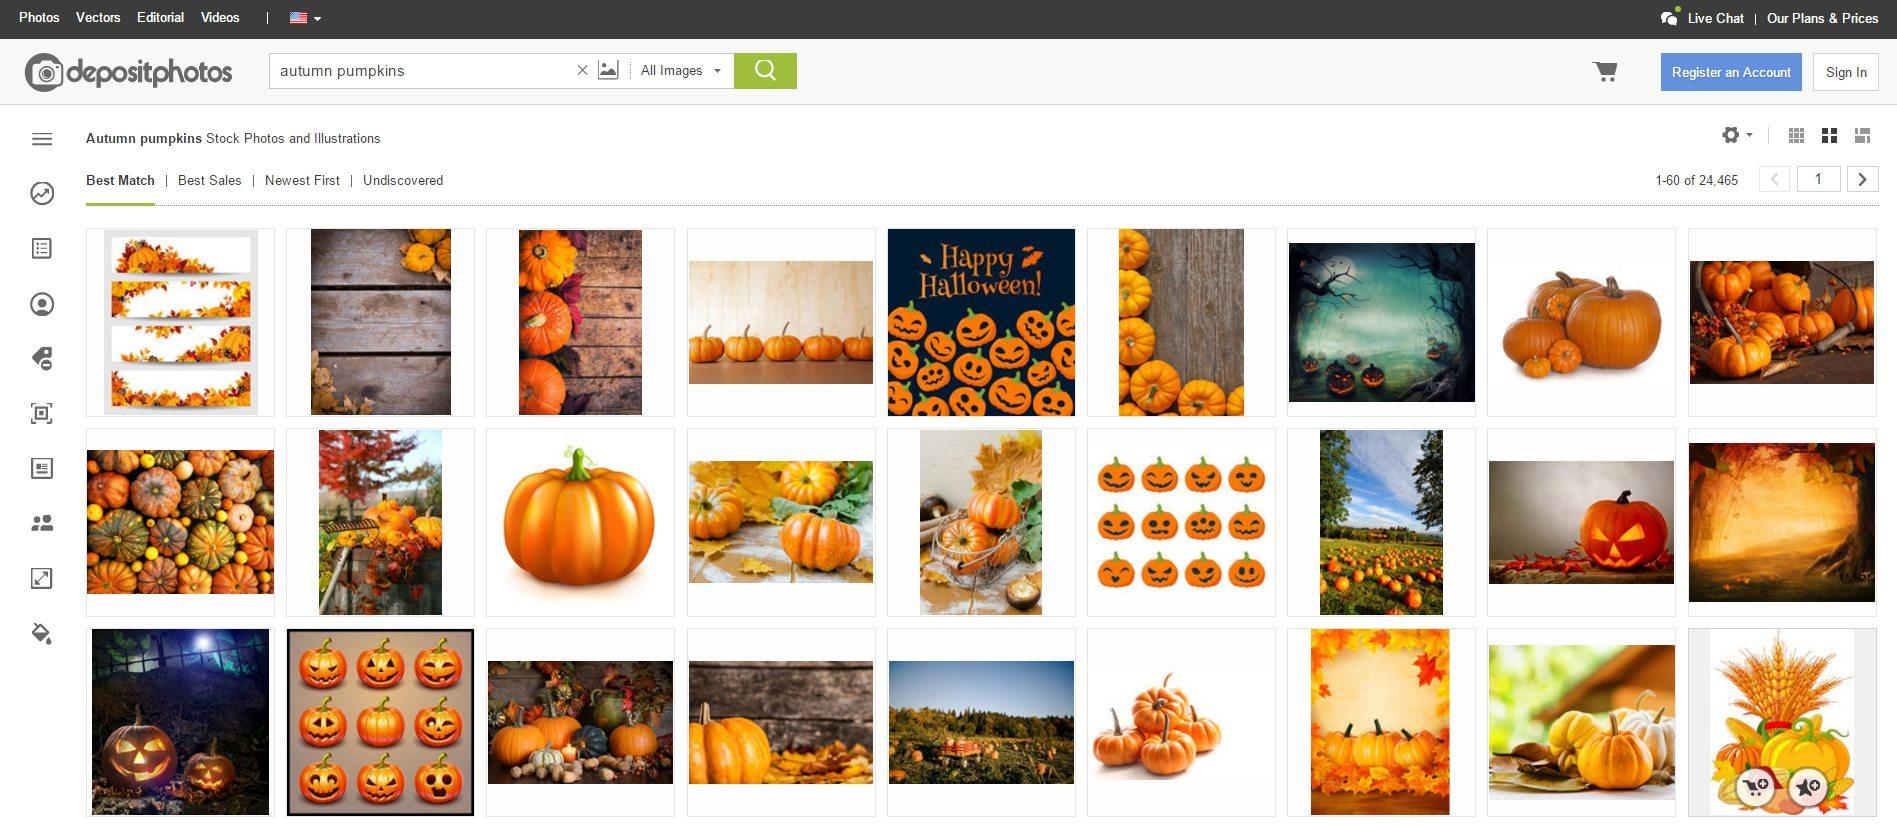
Go to www.depositphotos.com
Enter a keyword to describe the concept you’re looking for. For example, we searched ‘autumn pumpkins’ for our background image.
We have an abundance of images that are fitting for social media covers. Don’t forget our special Halloween collection! Download the image you’re going to use and save it on your computer.
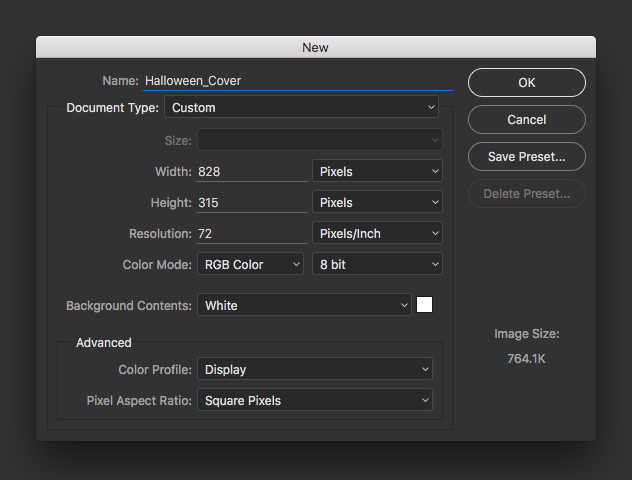
2. Open Photoshop and click on ‘File’, ‘New’.
Set the right size for your layer and name it. Click ‘Ok’.
Make sure the size is right for your format. The size of a Facebook cover page is 828×315 pixels, Twitter is 1500×500 and LinkedIn is a minimum of 646×220 pixels.
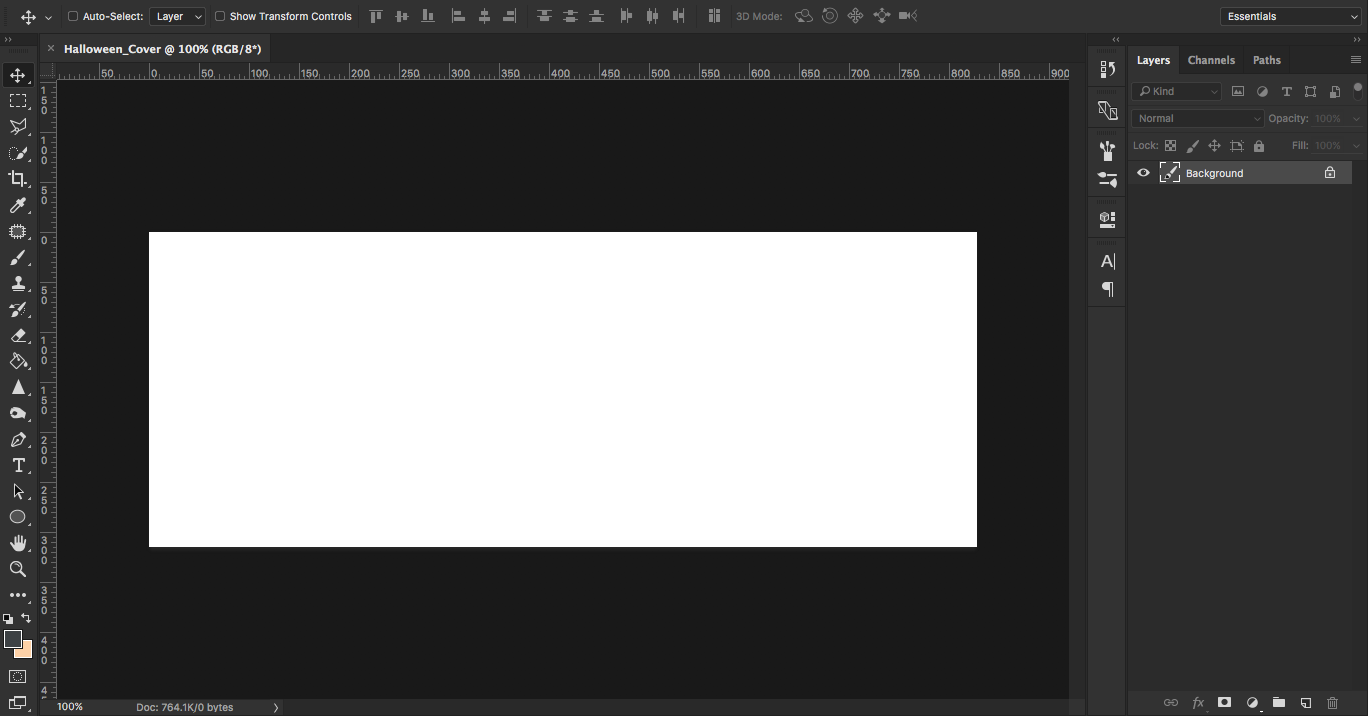
3. A blank document will open with a background layer.
4. Drag your background image to your new file and it will appear as a new layer.
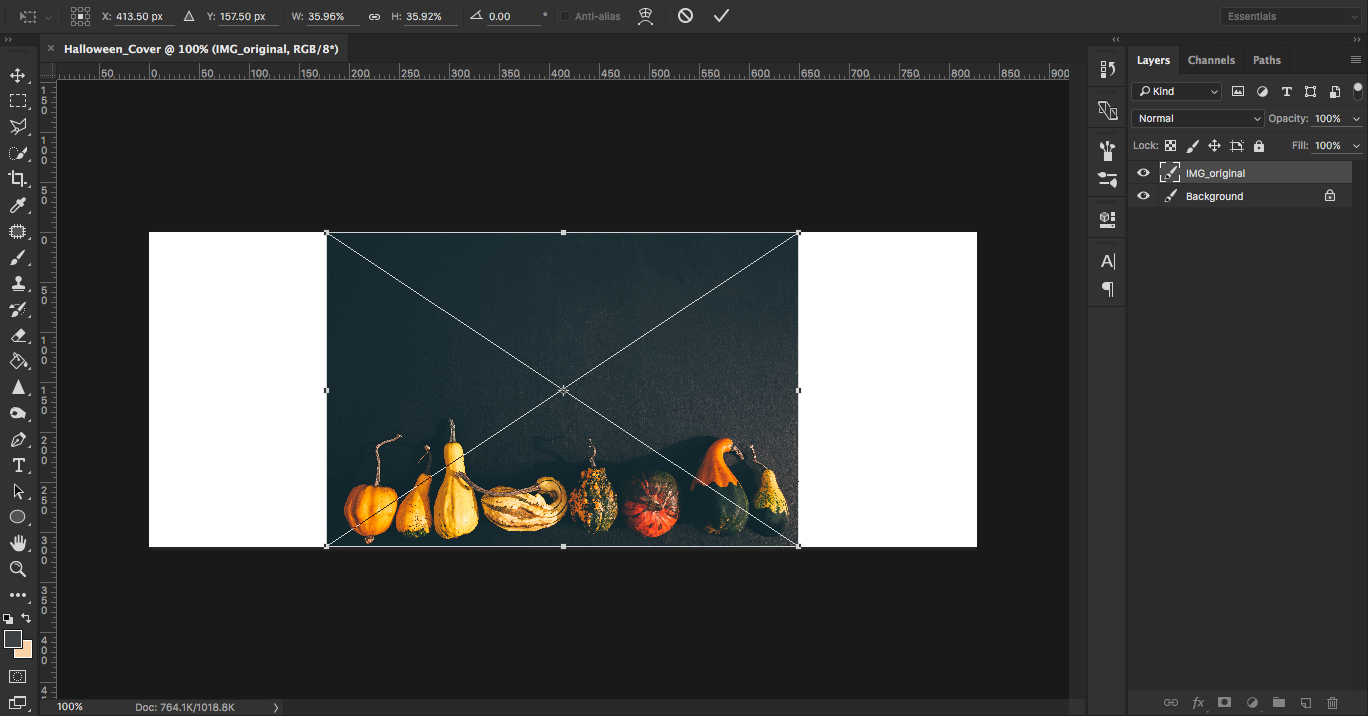
5. Adjust the size of your image to fit the format of the banner.
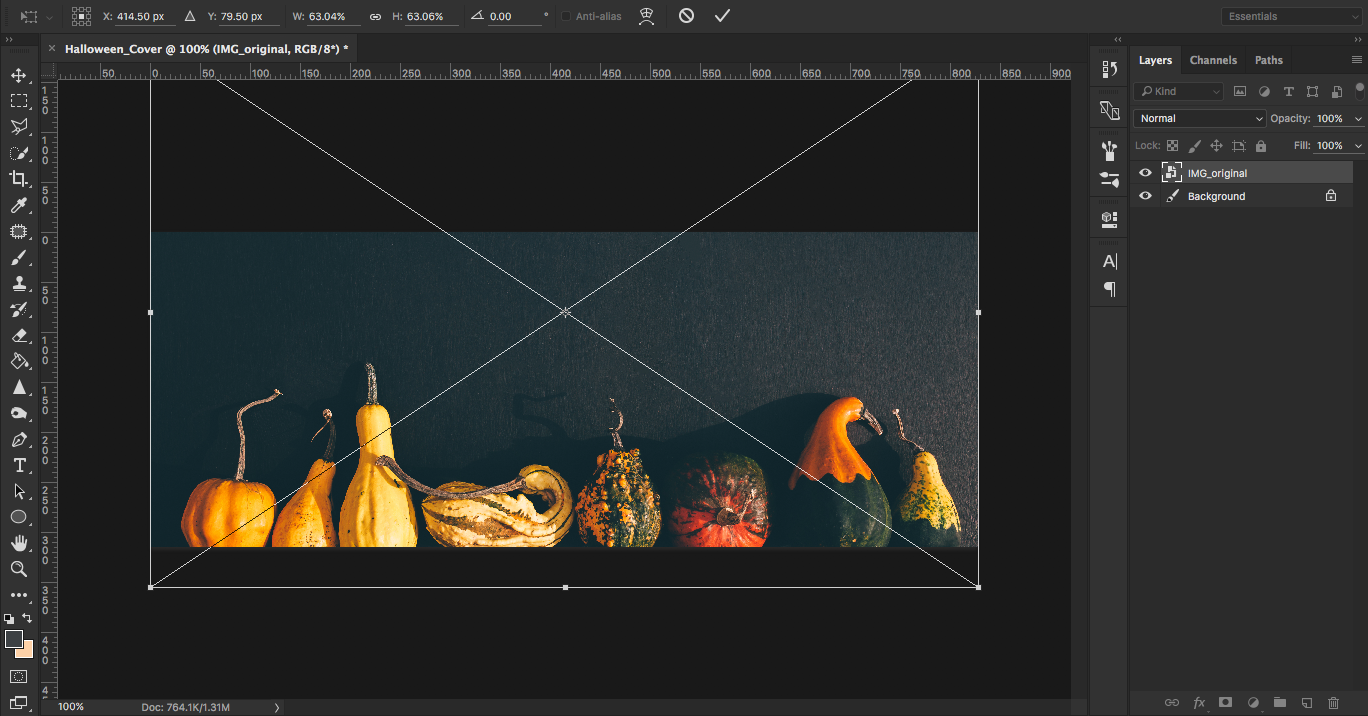
6. Click ‘Enter’.
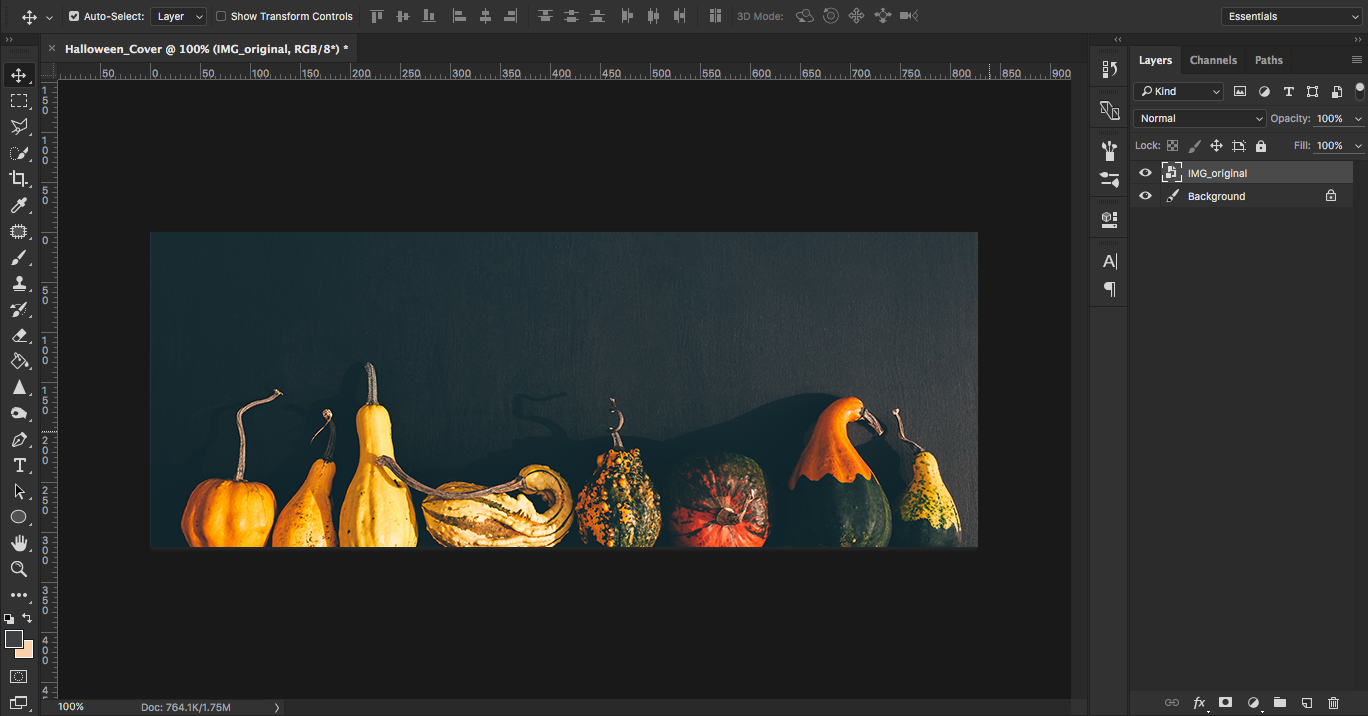
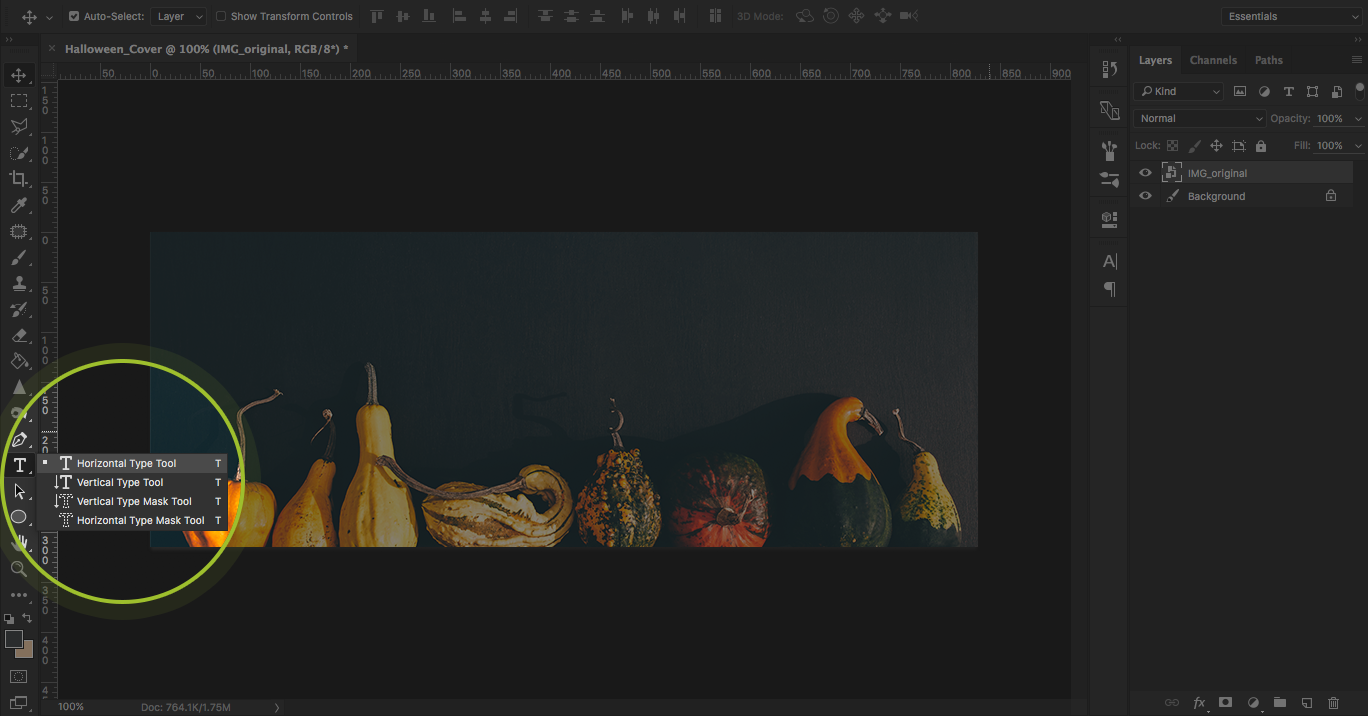
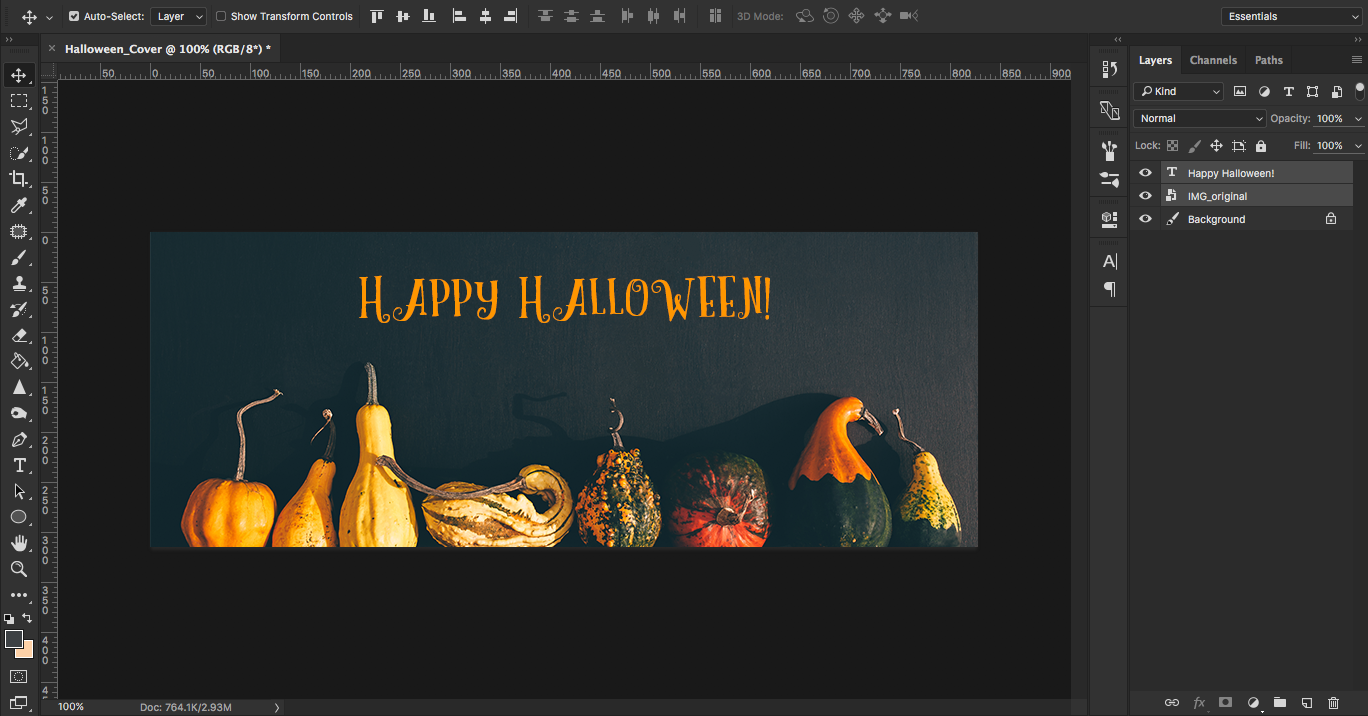
7. Under the ‘Text’ option, select the ‘Horizontal Type Tool’, click on the image and type your text to add it to the banner. Your font will appear in a new layer.
8. Click on the text layer, choose a new font type and the color.

9. Select your text and image layers. Center the text with the ‘Align horizontal centers’ option.
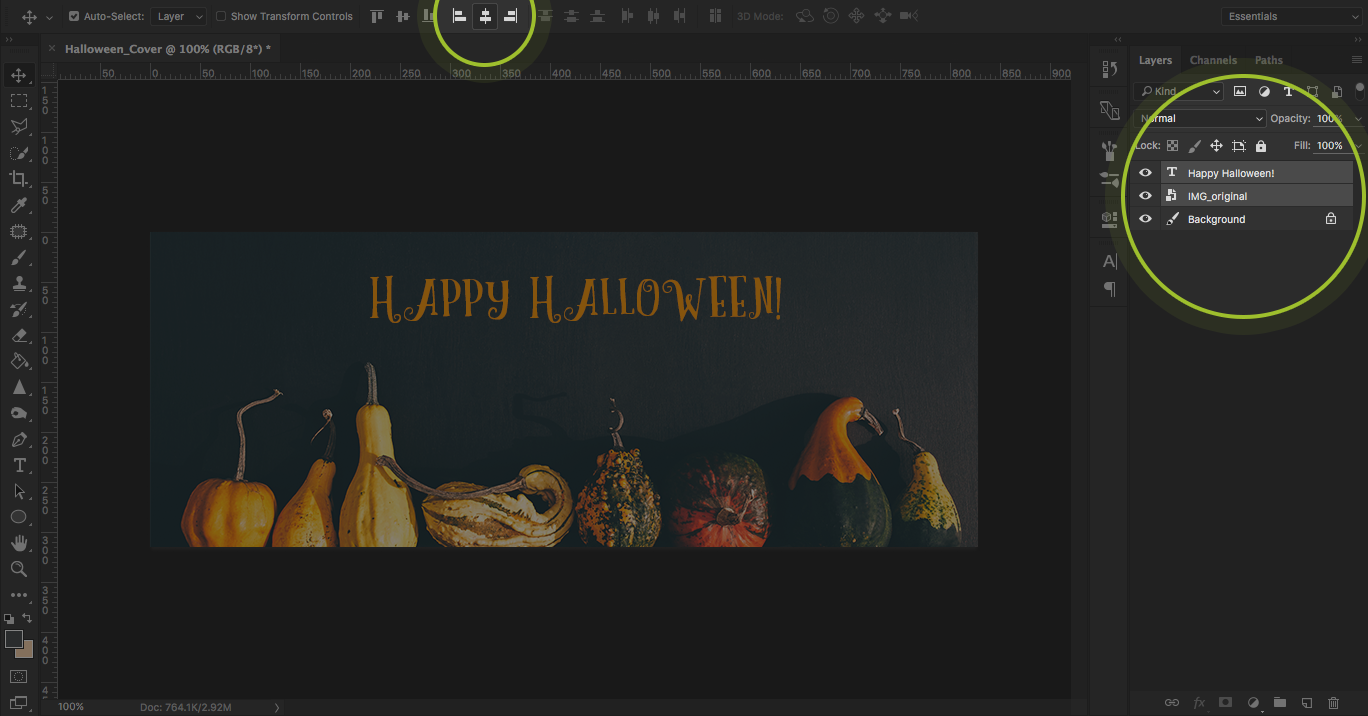
10. Your text will automatically adjust to be in the center of your background image.
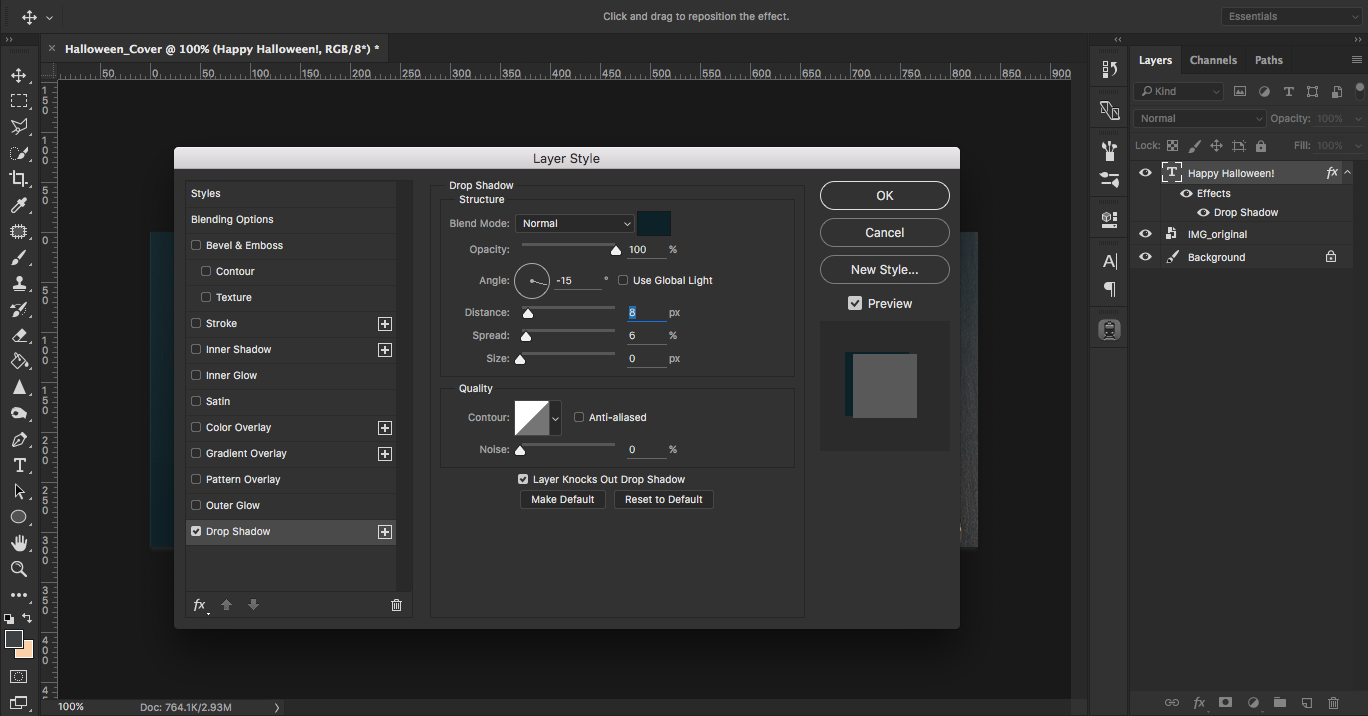
11. To add shadow to the text, select your text layer and double click on it to open the ‘Layer Style’ option. Next, adjust the settings on the screen to get the desired drop shadow effect and click ‘Ok’.
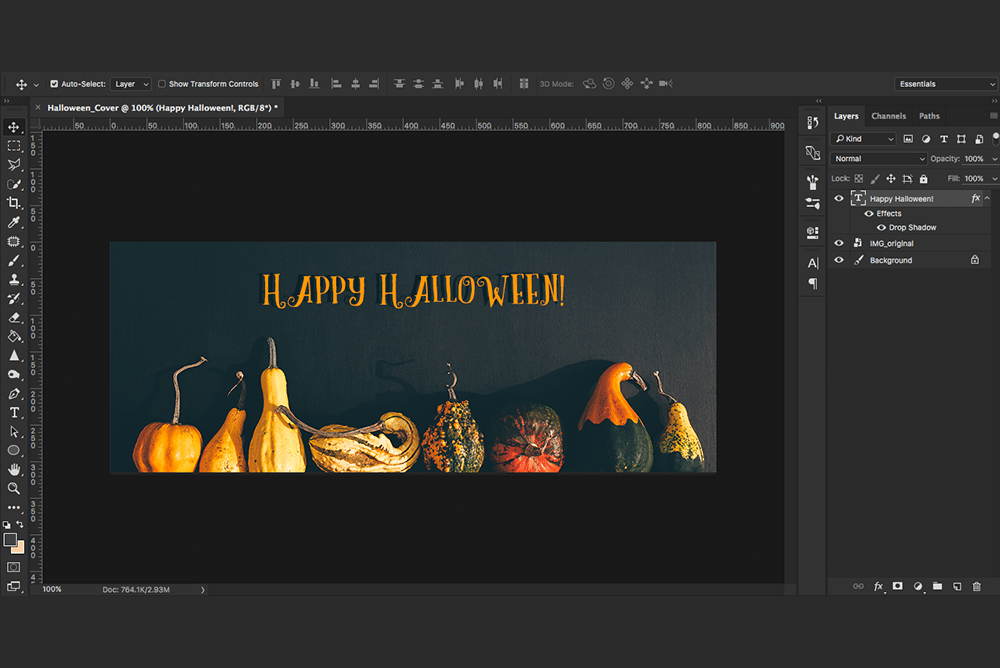
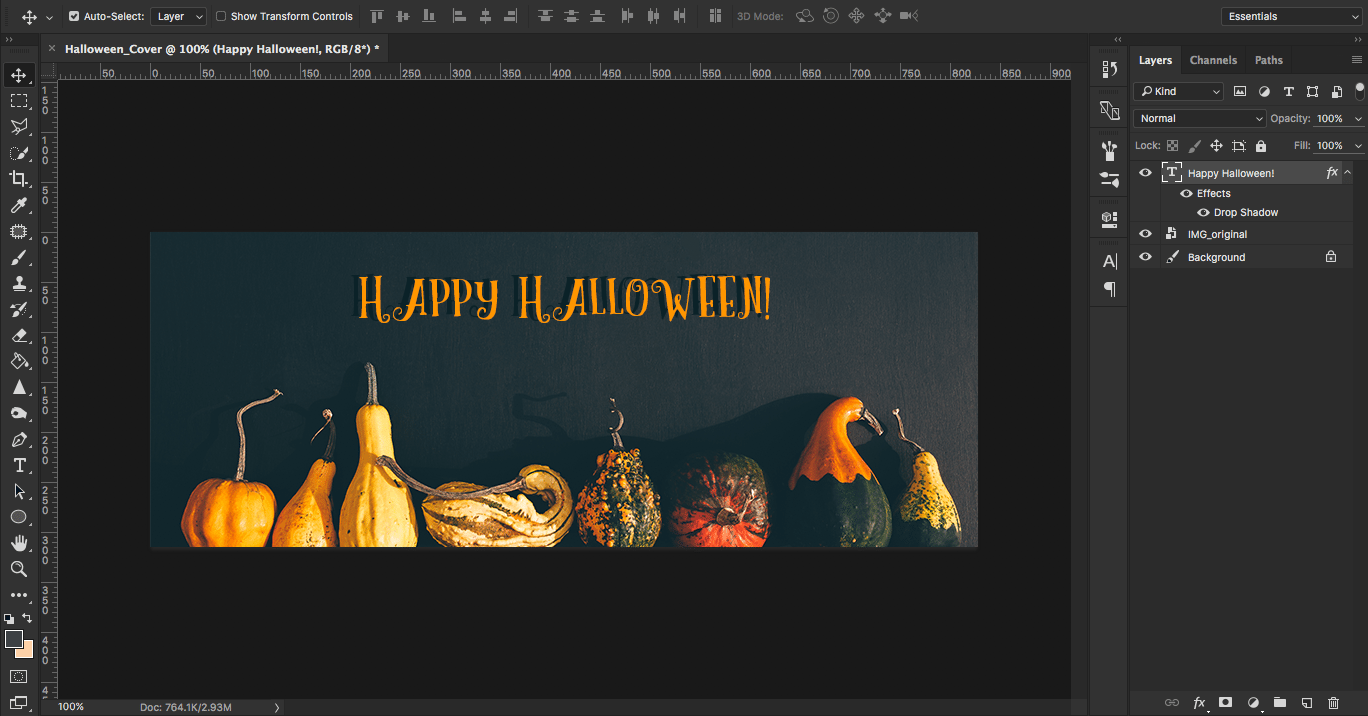
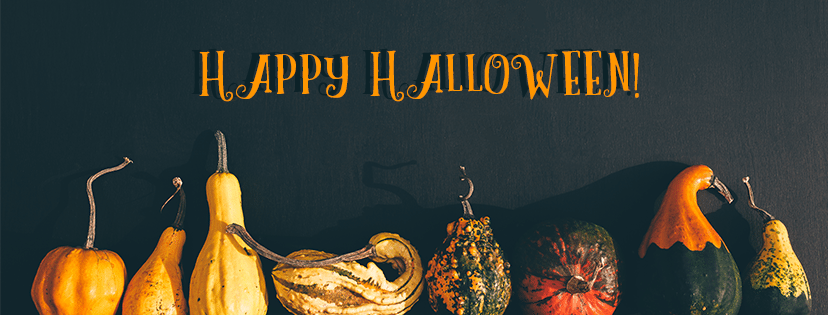
12. This is what your final result should look like.
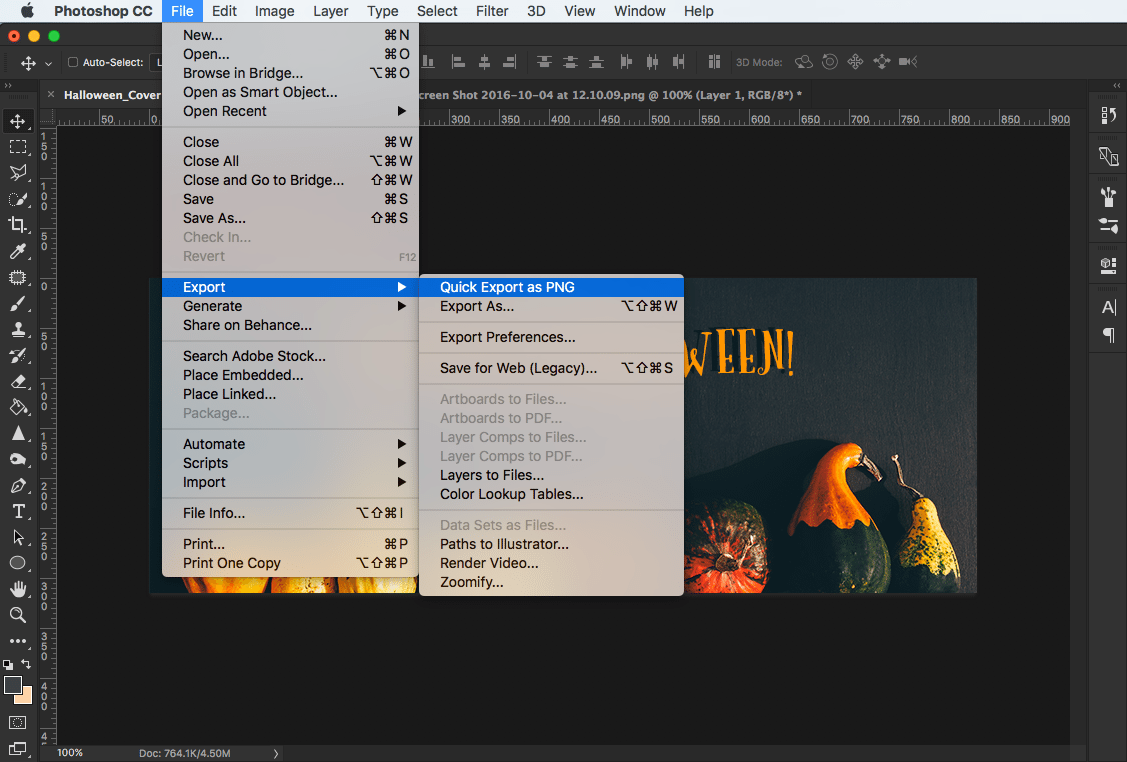
13. To save your file, click ‘File’, ‘Export’ and ‘Quick Export as PNG’.
14. Pat yourself on the back, because you just created your very own Halloween-themed banner.
Tips for creating Halloween social media covers
Pay attention to size specifications
The most important thing to pay attention to is the size of your social media cover. Remember, that different websites and applications have different size specifications. Messing up on this point can throw off your whole campaign. Be attentive to the size that you need.
Facebook brand page: 828x315px
Twitter account: 1500x500px
Google+ profile: 1080x608px
YouTube channel: 2560x1440px
LinkedIn company page: 646x220px
Choosing an image style
For our social media cover, we chose a minimalistic style that would fit in with our brand colors. Try to do the same while you are looking for images. Your seasonal cover should still be true to your brand identity. This also limits your choices of visuals.
Use consistent brand or company colors
You will find a great number of images to your liking so how do you know which ones work best? You can find images that are shot in a style that you like and then look at the images of the same photographer to find variations of it.
With a Halloween themed campaign, you can opt for classical backgrounds, minimalist ones, vectors and patterned backgrounds.
With all this acquired knowledge, you’re ready to add your personal touch to this year’s Halloween campaigns. Share your creations with us!

Related Articles

News and events
Spark Your Creativity! Depositphotos Launches AI Generator With Commercially Safe Images
Discover how to create exclusive, high-quality, and commercially safe images from simple prompts. Your imagination is the only limit.

Other
10 Short Scary Stories to Read This Halloween
Perhaps you’re not even a fan of Halloween, but who’s to say you can’t enjoy these short horror stories?

Curated collections
Photo Collection: Ready for Halloween 2019
A Halloween photo collection will always come in handy at this time of the year. Aside from upgrading…

Curated collections
Featured Collection: All the Little Things We Love About Halloween
Spooky masks, pumpkins, creative costumes and candy - our overall perception of Halloween has not changed from year…

MarketingOther
Guest Blog Post: How to Create Your Own Portfolio Website
Photographers are chosen based on their portfolios which is why it’s so important to make an excellent first impression. Modern tools allow one to not only publish photographs but also build a story around them. A great website can help clients decide whether you’re a professional and choose you from a pool of amateurs.

Curated collections
Featured Collection: Halloween
October is finally here, which means Halloween is just around the corner. One of the wonders of October is that the scenery around us begins to change and those October colors really set the mood for all the upcoming holidays. As Halloween is the closest one, we have gathered all the photographs that may be useful to you in your Halloween and fall campaigns.

Other
Halloween is approaching!
The feast of All Hallows Eve is coming! Prepare to scare and be scared! We’ve got some spooky inspiration for you here: thrill to these select Halloween images we have to share. But beware – even more can be found in our special Halloween lightbox (watch out: the prices have been slashed!) Boy Touching Halloween Ghost | Stock Photo © Depositphotos | Melpomene
Read top articles of the month!
Don’t want to miss any tips or industry news? Subscribe to the Depositphotos blog digest.
