Many assume that the first rule of food photography is to find the perfect lighting. You couldn’t be more wrong. The most important rule is to do the photoshoot after you have eaten. That’s right, approach food photography when you’re not hungry. As you’ve guessed, some tend to jump at the opportunity and devour their meals before they even had their chance to shine on the screen of your DSLR.
Get your primary instinct out of the way and look around your kitchen. There’s an abundance of materials, photoshoot locations, and props. The kitchen, in a sense, is like the perfect studio environment and playing ground for photographers. Done? Then let’s move onto other useful food photography tips and tricks.
10 food photography tips and tricks
1. Hope for (but don’t expect) good natural light
You will find that nothing works better than natural lighting for food photography. Ideally, the day you choose to do some culinary photography should be sunny but nature is unpredictable. You might be stuck with crappy conditions but you have to learn to work with what you have.
You can create believable daylight in a studio environment. All you need is some diffusion material or a softbox to give you a nice variation of light. Your setup can be quite basic to start with. When the focus of your photograph is food items and dishes, you only need one decent light source because less is really more here. It’s important to take a few test shots to see how your lighting conditions translate on camera.
2. Trick to perfect your food photography lighting
With food photography, lighting is everything. The only thing that doesn’t work to your advantage with natural light is that it might be too harsh for lighter objects. You can eliminate this problem by placing a diffuser between your set and the window. Working with direct sunlight is no easy task but a diffuser will significantly improve the quality of light.
This food photography trick softens dark shadows and gets rid of bright highlights which usually happens when direct sunlight hits lighter areas.
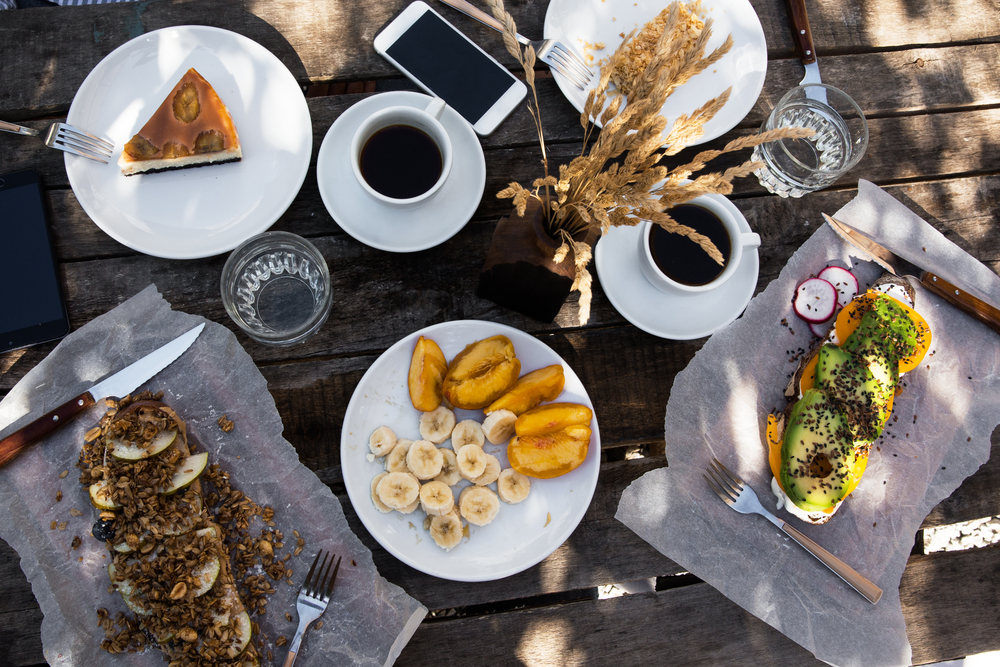
3. Use your kitchen as playing grounds
Aside from lighting, the next most important thing is how you present your food. There are so many textures, colors, and props in the kitchen. You can play with your food photography compositions for hours on end. Use this opportunity to get a little creative.
You can use kitchen appliances to add levels to your food photography compositions. for instance, towels and other fabrics are great for background textures, spices can make an artsy mess, fresh vegetables add visual interest, and tableware may be used as seasonal decor. Explore and play around with items in your kitchen.
4. Clear the clutter to set up for food photography
We know how it goes — you’re excited and ready to start cooking, ingredients are flying left and right, dishes pile up and before you know it you’re standing in front of a great mess. You can’t photograph under these conditions.
Remember to keep it simple. This also means keeping it clean. Before you get to cooking, attempt to declutter your kitchen. Make sure everything you need is within reach. It’s also important that you stage your area before you cook. This is where you’ll be shooting and the set up for food photography needs to be perfect.
5. Your camera during the food photography set up
You might think that you can use a tripod whenever possible. In fact, it’s a bit different.
Bring your tripod and position it right where you want it. Then, check if the position complies with your photography idea and allows for better lighting. The problem is that when you’re shooting in low light conditions, even the slightest camera movement or a hand touch may blur your photographs. For this reason, you need to set your camera up while you’re doing the food photography set up.
If you don’t have a tripod, you’ll need to find something stable to give you more leverage. You can also use a timer or a remote controller to minimize the movements. Having considered all these fine details in advance, you’ll be able to avoid a lot of unfortunate shots and save time.
6. Consider all the possible angles to improve your food photography
When shooting meals and ingredients, there are only so many angles you can take. That being said, you need to choose one and make it a conscious, justified decision. Your camera angle will affect the story that you’re communicating.
The ideal food photography trick to choosing the right camera angle lies in your subject. You have to really observe your goods to figure out what is unique about it and where you’d like to place emphasis in your shot. Place your camera where you can highlight the best qualities of your dish or ingredients.
For instance, if you’re photographing a burger, you’d probably want to shoot it at eye level so you can see all the layers. If you’re photographing soup, you’d want to shoot directly from above. However, you can also experiment with angles even more to create unconventional food pictures and diversify your creative portfolio.
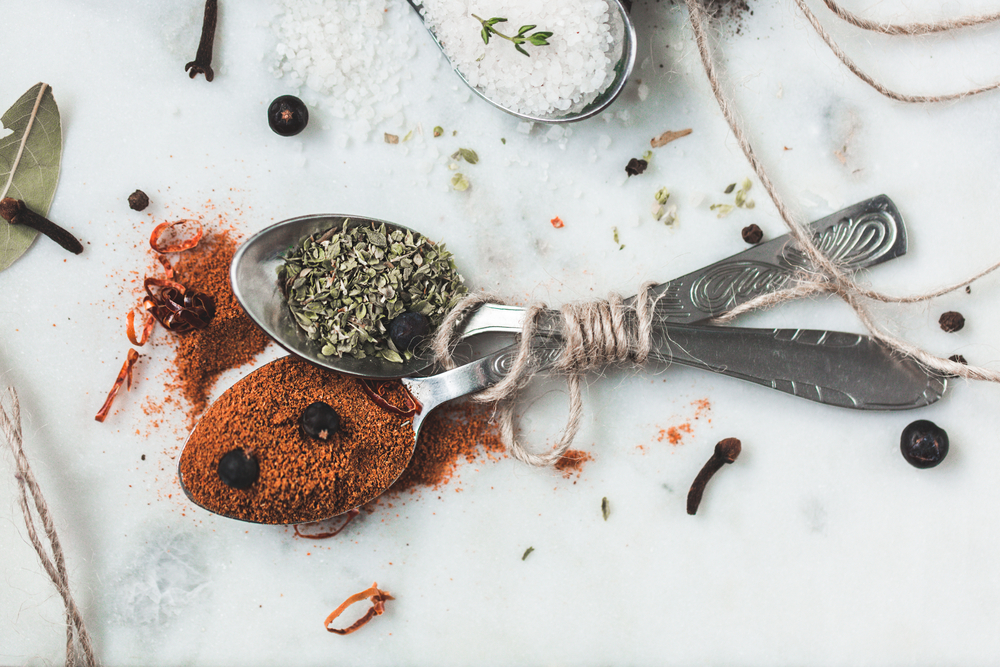
7. Props help tell a story
What you choose to include in your shot aside from your main dish in focus is really important. Props can help tell a story about how the meal was prepared, where it comes from, and the origins.
You can use empty space to add detail to the story you’re telling. For example, ingredients and props around your food can showcase the cooking process. This includes things like fabrics, herbs, glasses, dishes, and jars. Place a few things in the foreground or background to help give your food pictures more depth and visual interest.
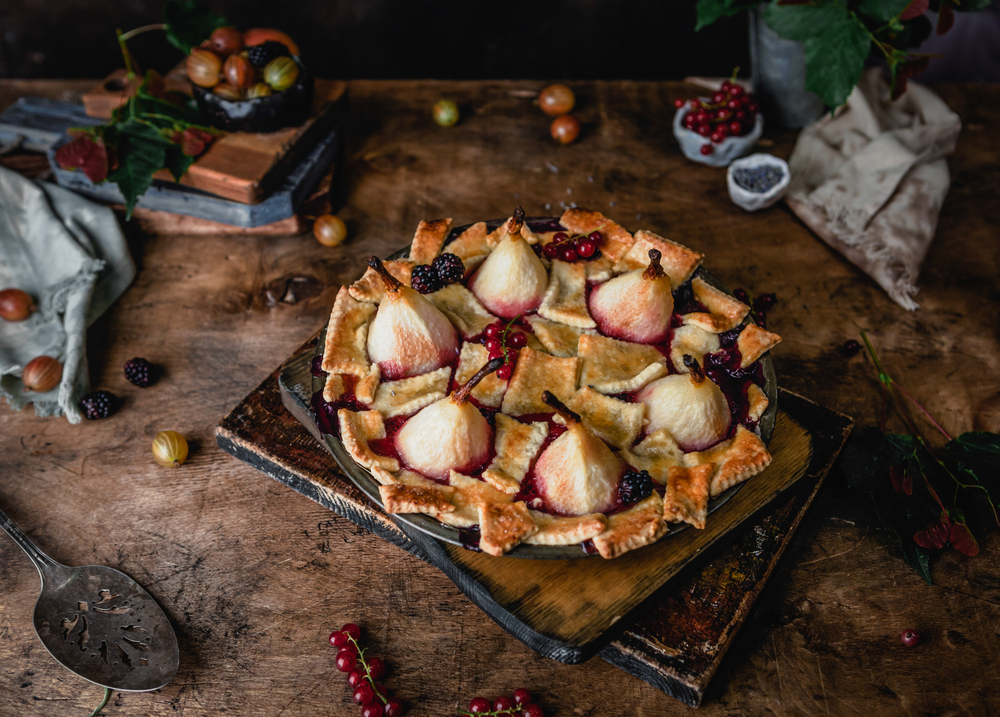
8. Make your colors pop
A common mistake with food photography is using overpowering props. It’s easy to get excited about buying new items to add to your images and make them stand out but don’t forget that the food should be the focal point of your culinary photography.
When photographing food, select neutral tones for props that will contrast with your dishes. Black, grey, white, as well as shades of brown work well depending on the color of your subject. If you’re photographing dessert with colorful berries, use a white background. Beige and light brown perfectly fit photos of creamy cakes or cookies. In short, try to be smart about your use of supporting props.
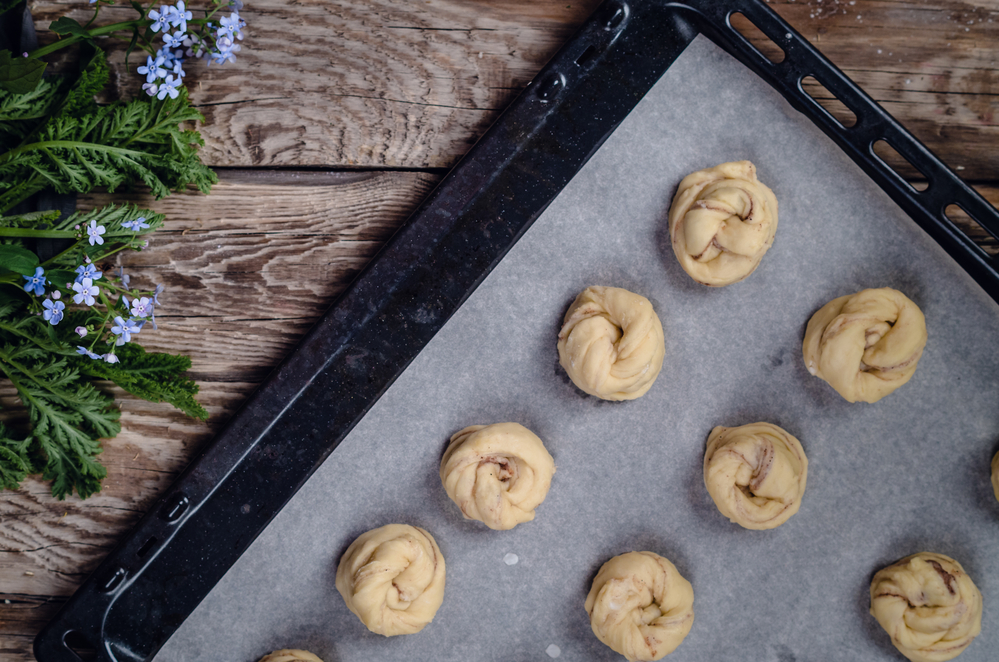
9. Cooking is a process, so document it
To really make the most of your photoshoots, take pictures of your food being prepared. You can start with photographing raw ingredients and all the later stages of the preparation process. You can also document how you arrange the table, decorate the kitchen, and eventually serve the food.
This works especially well for photographers who’d like to make money with stock photography platforms. Storytelling is a big thing in marketing now and a lot of brands are looking not for a single image but for an entire series that would be united by one idea. These kinds of visuals can be included in emails, blog posts, and ads for holiday marketing campaigns.

10. Use humans for scale
In some food photographs, it’s hard to tell how large or small the space and ingredients are. This is where you can include hands to add a delicate touch and make your culinary photography more subtle and contextual.
You can add a stirring hand or show hands chopping ingredients. This shows scale and adds that extra touch to give a better idea of how big or small things are. It could also make your shots more appealing to audiences.
Some of our contributors have mastered the art of food photography and have a lot of tips and tricks to share with you. Check out these insightful interviews and enjoy stunning food photographs by the talented contributors at Depositphotos:
- Exquisite Dishes: Interview With Food Photographer Natalia Lisovskaya
- The Sky’s the Limit: Interview With Food Photographer Daria Kalugina
- Interview with a Self-Taught Food Photographer Marina Kuznetsova
- Improvise If You Have to: Interview With Anna Georgievna

Related Articles

News and events
Spark Your Creativity! Depositphotos Launches AI Generator With Commercially Safe Images
Discover how to create exclusive, high-quality, and commercially safe images from simple prompts. Your imagination is the only limit.

Photography
Diving Into Underwater Photography
Find out more about Underwater Photography to improve your skills before a next dive.

Photography
Fine Art Photography Tips
This guide will help you understand what fine art photography is and how to practice it.

Photography
Improve Your Indoor Photography With These Easy Tips And Tricks
Indoor photography can be tricky but this does not mean you shouldn’t push yourself to try.

Photography
Depositphotos Team up with Pixpa to Share the Best Photography Tips and Tricks
We bring you a list of articles you can bookmark and turn to whenever you need advice.

Curated collections
Featured collection: Food photography
Food photography requires skills and an eye for beauty in simplicity. There’s a certain level of fun and a thrill when you take that perfect shot of the delicious meal before you. Photographers know this feeling way too well. We’re here to share with you some awe inspiring masterpieces of a savory, mouth watering array of dishes.

Photography
10 Tips for Better Macro Photography
Whether you’re a professional or a beginner photographer, you’ve probably experimented with macro photography. Close up images are another opportunity to look at everyday life differently, and capture ordinary objects in a new light. They say that you need special equipment if you want to try macro photography, however here are some tips and tricks that you can try with a regular DSLR camera.
Read top articles of the month!
Don’t want to miss any tips or industry news? Subscribe to the Depositphotos blog digest.
